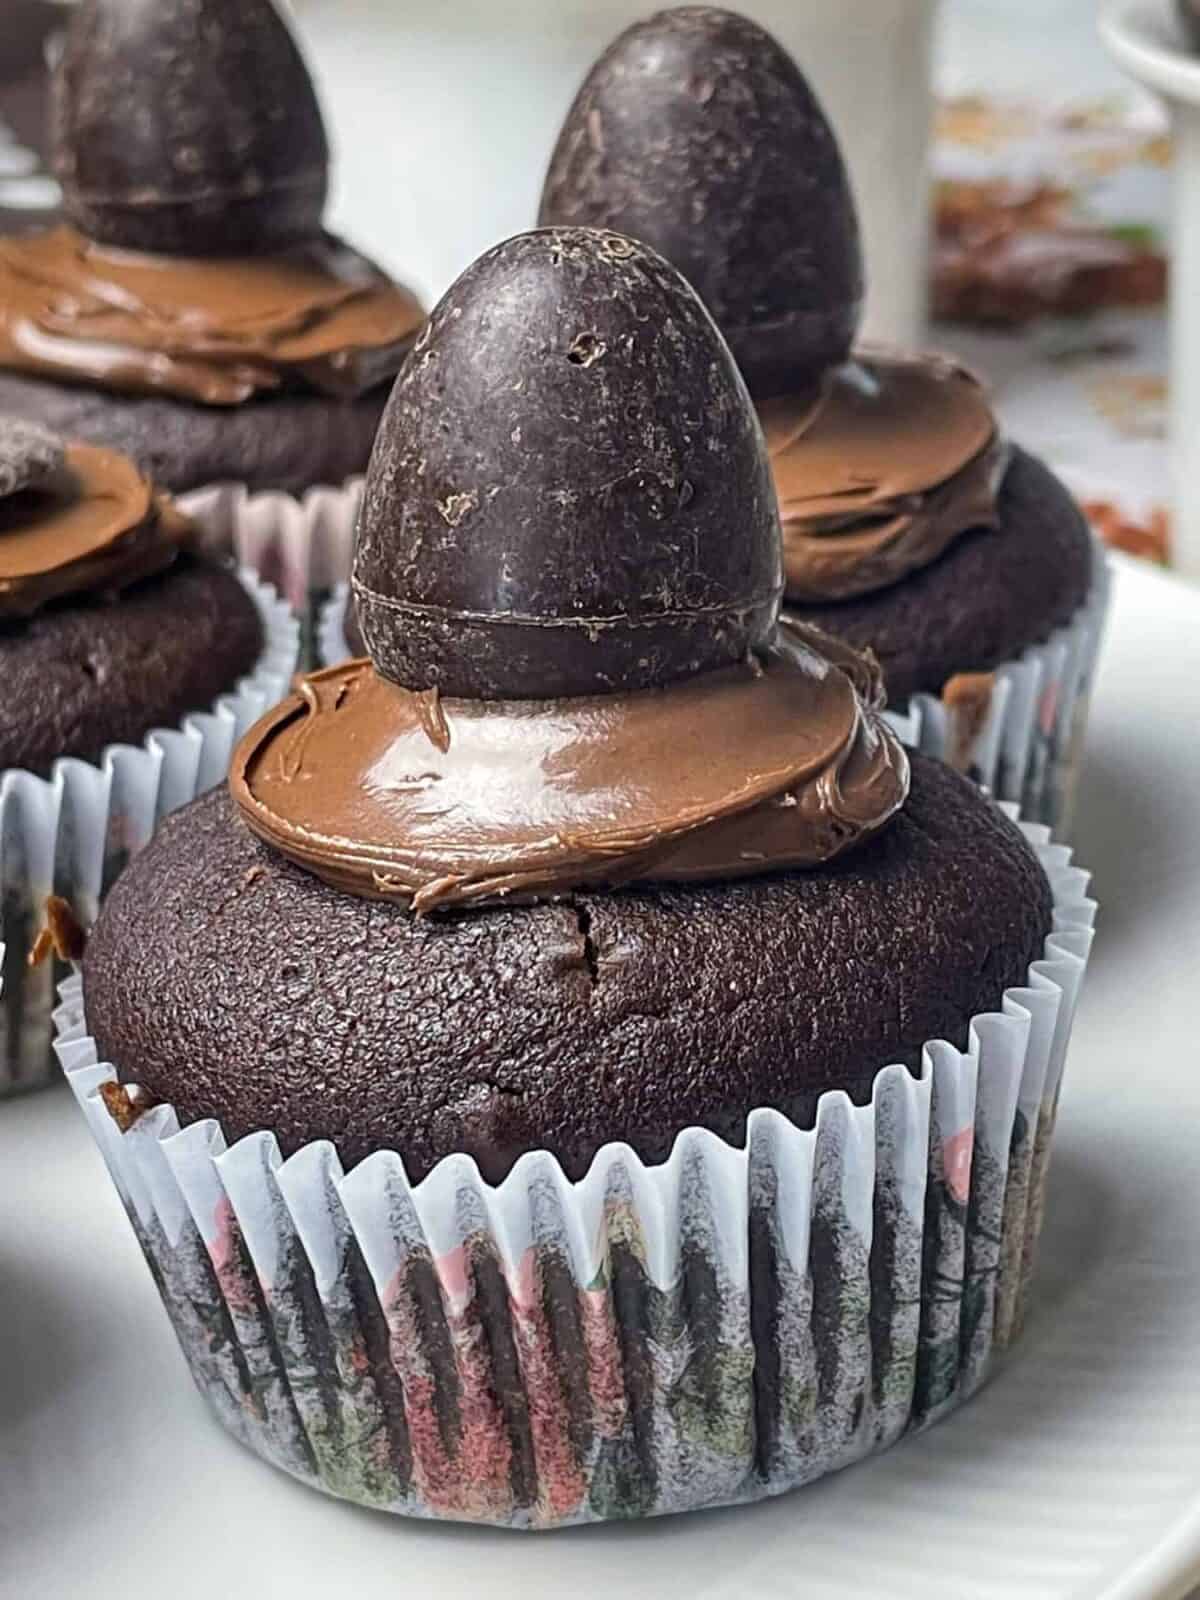
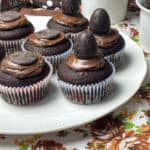
These tasty Old-Fashioned Chocolate Buns or Cupcakes are so easy to prepare and the recipe is straight from the British World War 2 Kitchen Front! As these cakes are a wartime 1940s recipe they are egg-free and as we are a plant-based family we also made these cakes as dairy-free - but you can use your usual milk. These cute wee buns are perfect for parties, picnics, lunchboxes, and afternoon tea. For an Easter treat top with a chocolate mini egg or your favourite Easter candy or sweetie.
These delicious chocolate buns are not as sweet as some chocolate cupcakes and they have more of a moist muffin texture. They are the perfect base for adding your favourite frosting or icing.
Jump to:
Wartime Eggless Chocolate Buns
This recipe for wartime eggless chocolate buns is featured within the Victory Cookbook (2006) by Marguerite Patten OBE. Marguerite Patten (1915-2015) was a British World War Two (1939-1945) celebrity chef. Patten presented radio shows that encouraged ordinary families to viewing their kitchen as a Kitchen Front as this fighting spirit would help the family's deal with food rationing and shortages.
Eggless baking recipes were also featured and these eggless chocolate buns would have been a very popular sweet treat as they were budget and ration-friendly so perfect for frugal families who were trying to cope with a lack or limited supply of eggs, fat, and sugar.

The chocolate bun recipe is less sweet than say more modern chocolate cupcakes and the texture is more like a mini muffin, however, our family found them to be sweet enough especially with the addition of the chocolate frosting and the sweet/candy garnish. The chocolate sponge is also moist and springy with hints of vanilla.
We adapted the original recipe by increasing the amount of vanilla required for the original recipe, as it just called for a few drops of vanilla, so we added 2 teaspoons and found this the ideal amount.
This chocolate bun recipe is perfect for baking on a budget and saving more expensive ingredients by baking egg-free and butter-free, but honestly no-one will feel like they are missing out.
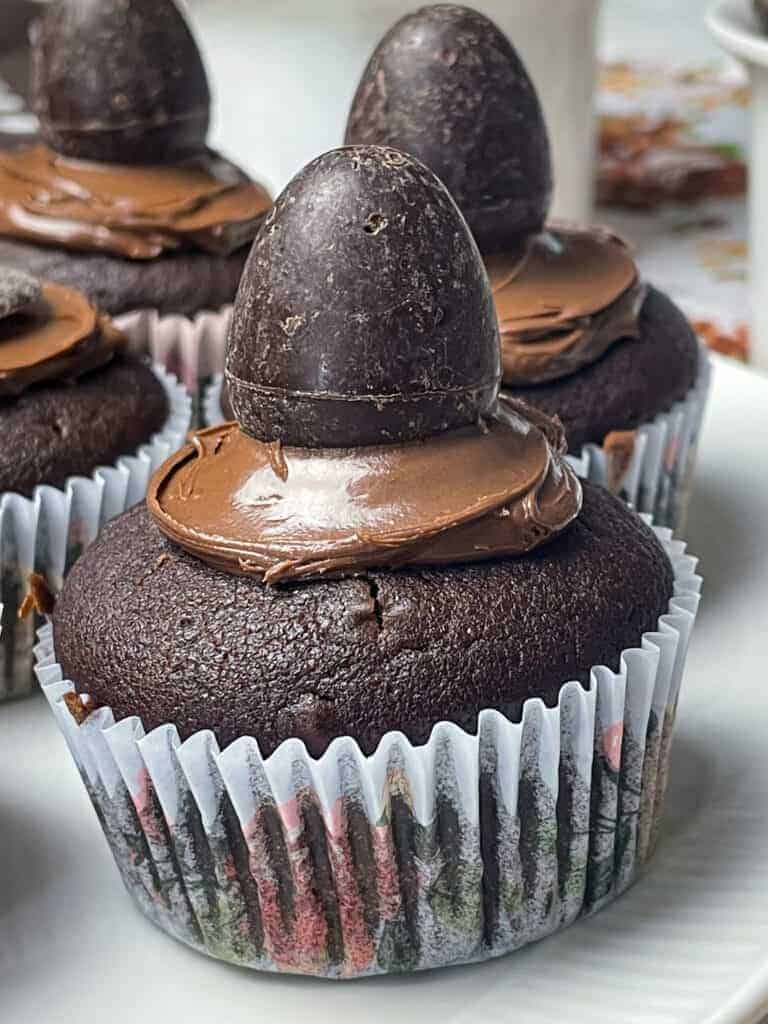
For an Easter time treat pop a little chocolate egg or mini egg, candy, or sweetie on top of the frosting. We used Montezuma's Dark Chocolate Peanut Butter Mini Eggs which are gluten-free as well as vegan. We sourced these chocolate eggs from Amazon, UK.
How To Prepare
The ingredients you will need for the chocolate buns are - self-raising flour, bicarbonate of soda, caster or granulated sugar, cocoa powder, margarine, golden syrup, vanilla extract and hot water.
We kept the frosting simple by using a dairy-free chocolate spread and an Easter sweet - dark chocolate mini eggs. Of course you can top with your preferred chocolate spread or perhaps a different chocolate frosting and your choice of candy.
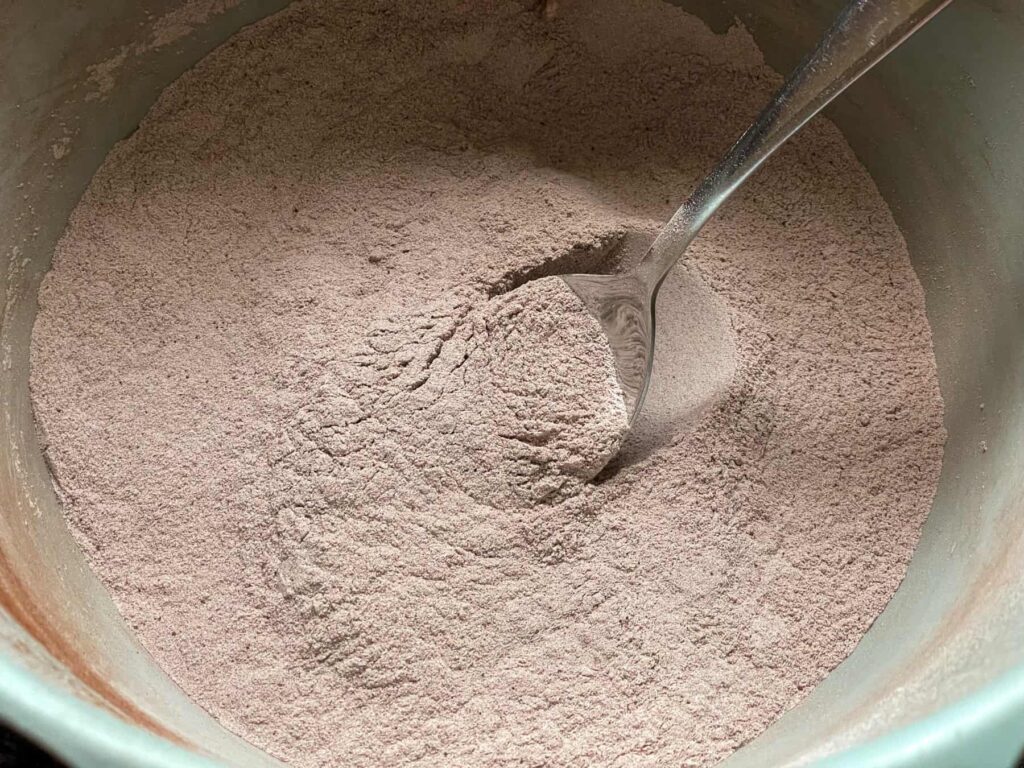
Step 1: Sift the flour and cocoa powder into a mixing bowl.
Step 2: Stir through the sugar.
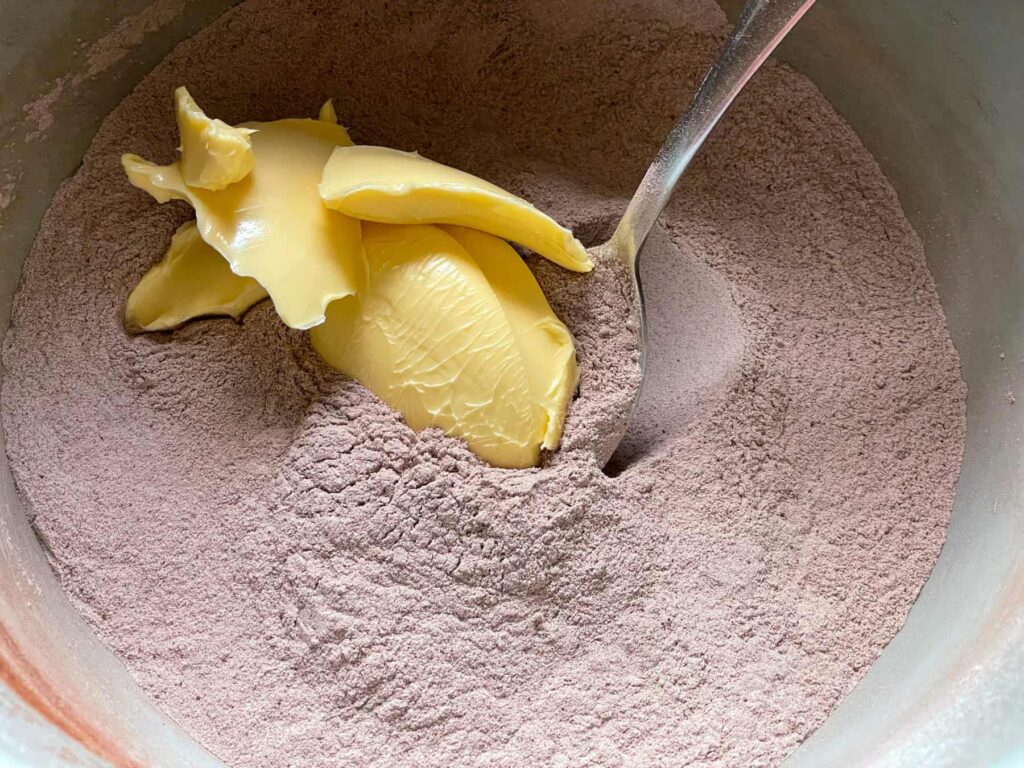
Step 3: Add the margarine - we used Stork baking spread.
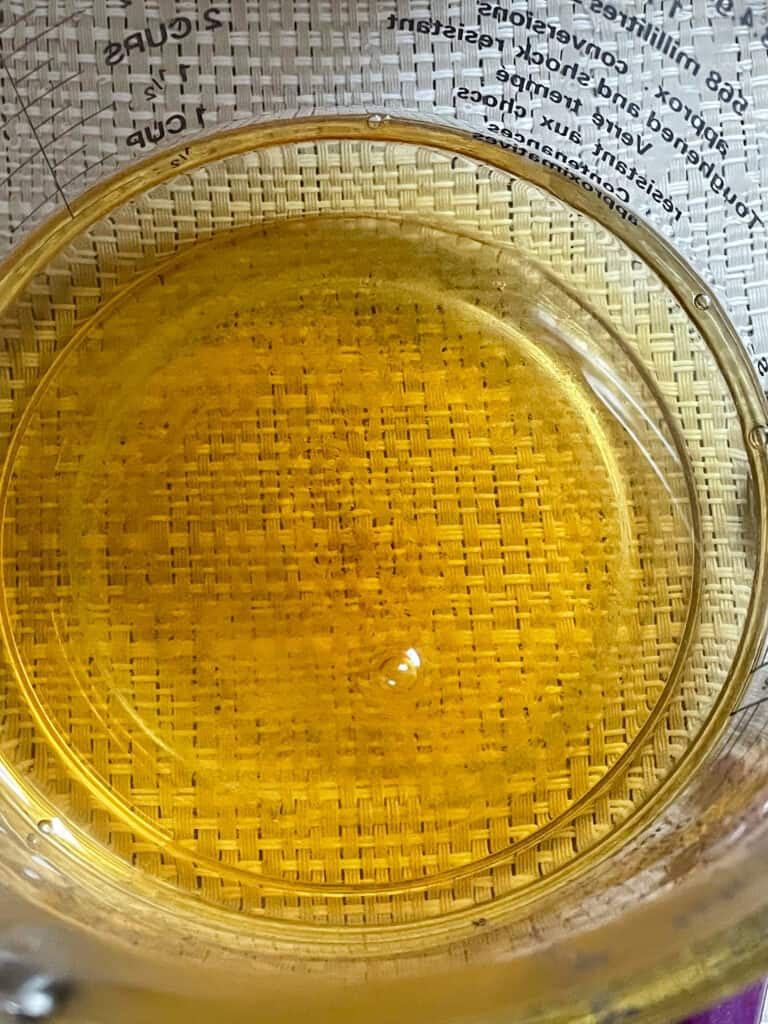
Step 4: Add the bicarbonate of soda and hot water into a small bowl and stir. It may froth up.
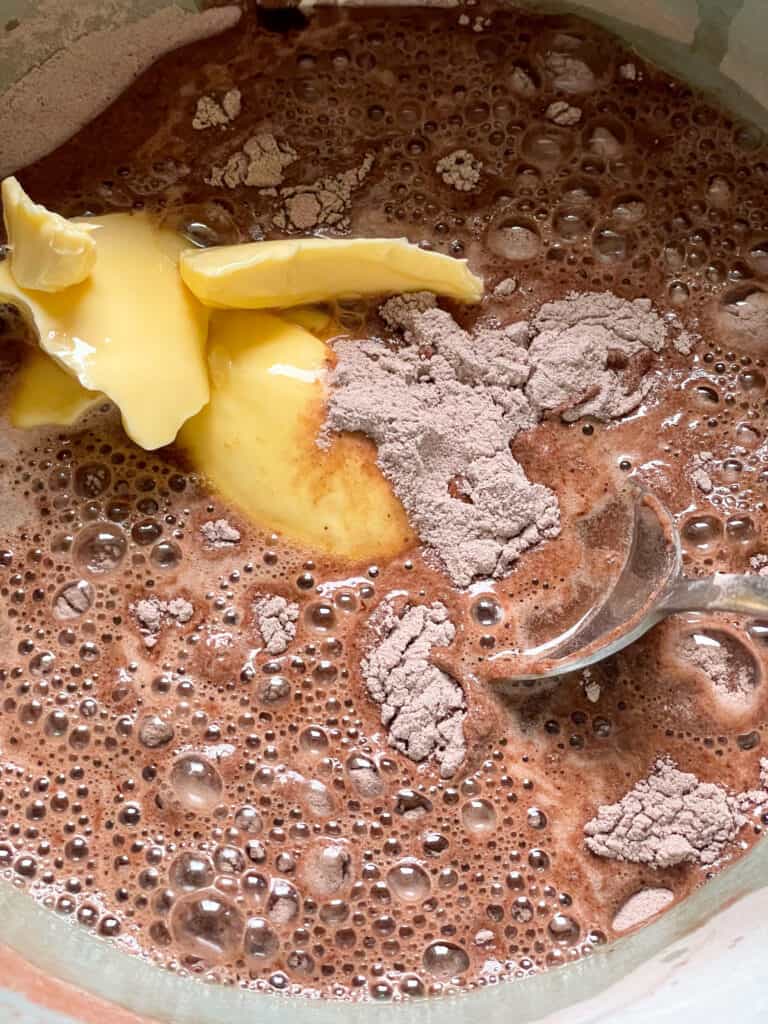
Step 5: Stir through the vanilla extract and golden syrup.
Step 6: Pour the liquid mixture into the flour mixture.
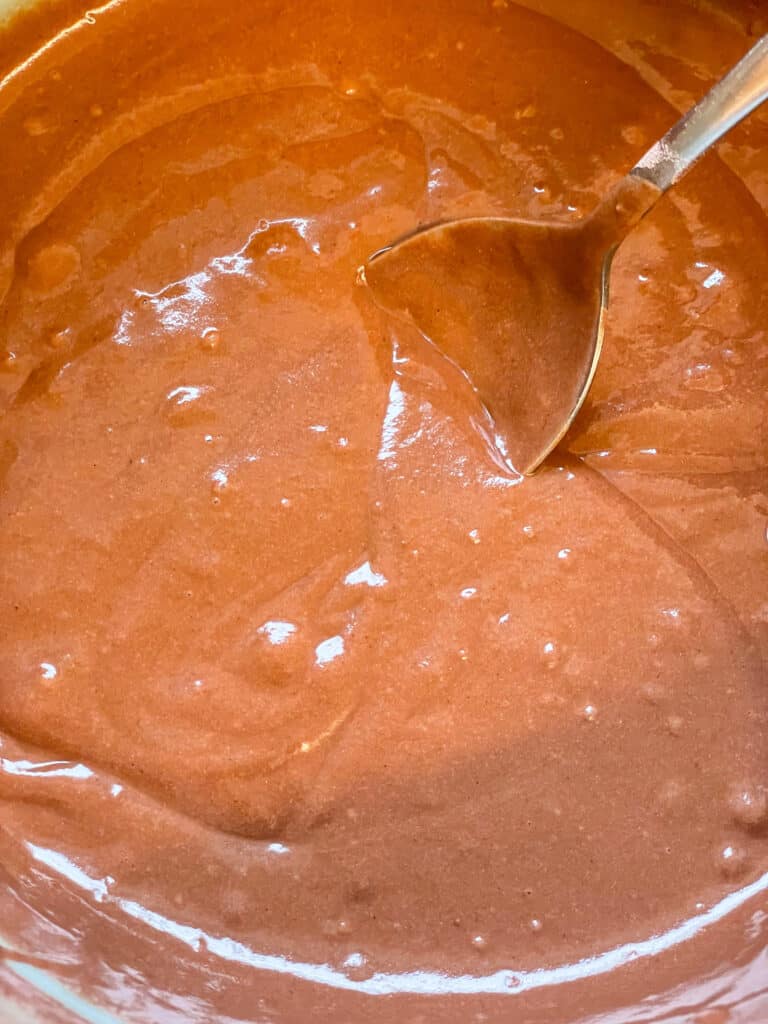
Step 7: Stir all the ingredients together until fully combined.
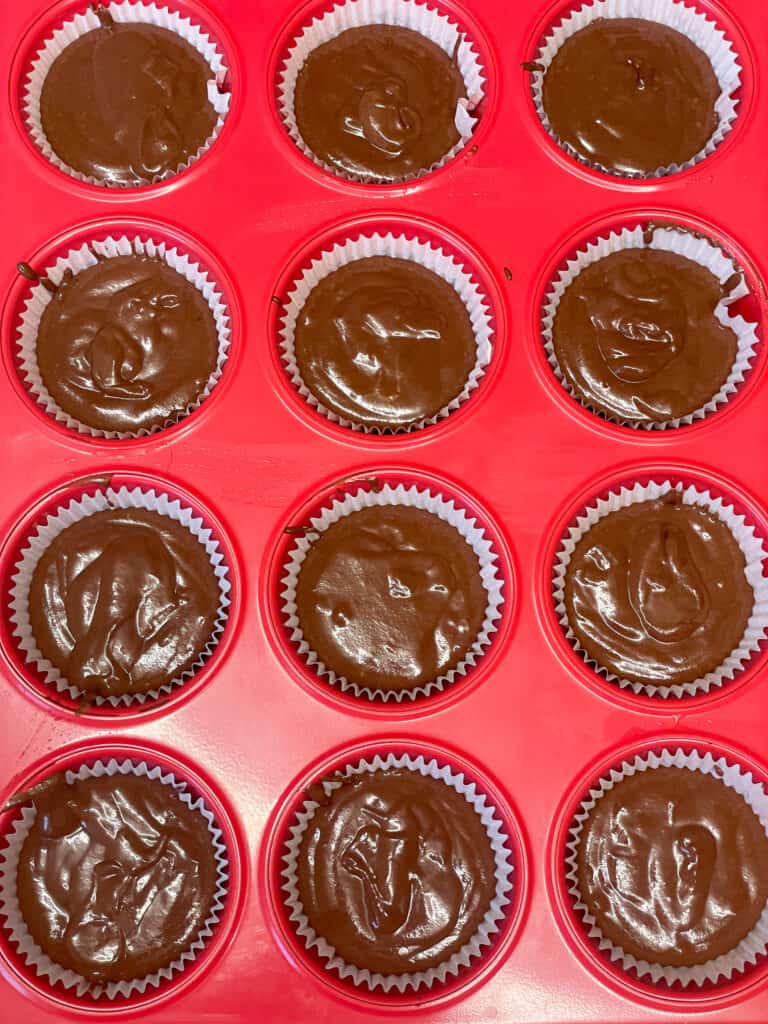
Step 8: Divide the chocolate mixture between 12 small muffin or cupcake cases.
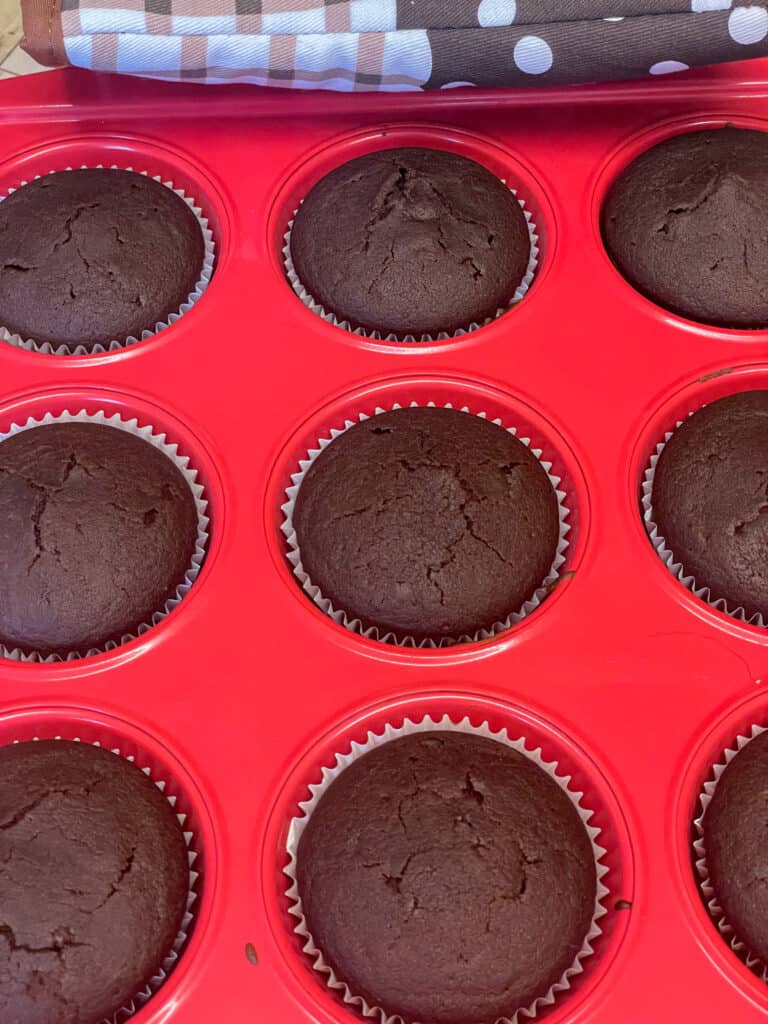
Step 9: Bake for 13-20 minutes until risen, firm, and a skewer popped in the bun comes out clean. Exact times will depend on your oven. Our electric oven took 15 minutes to bake the cakes.
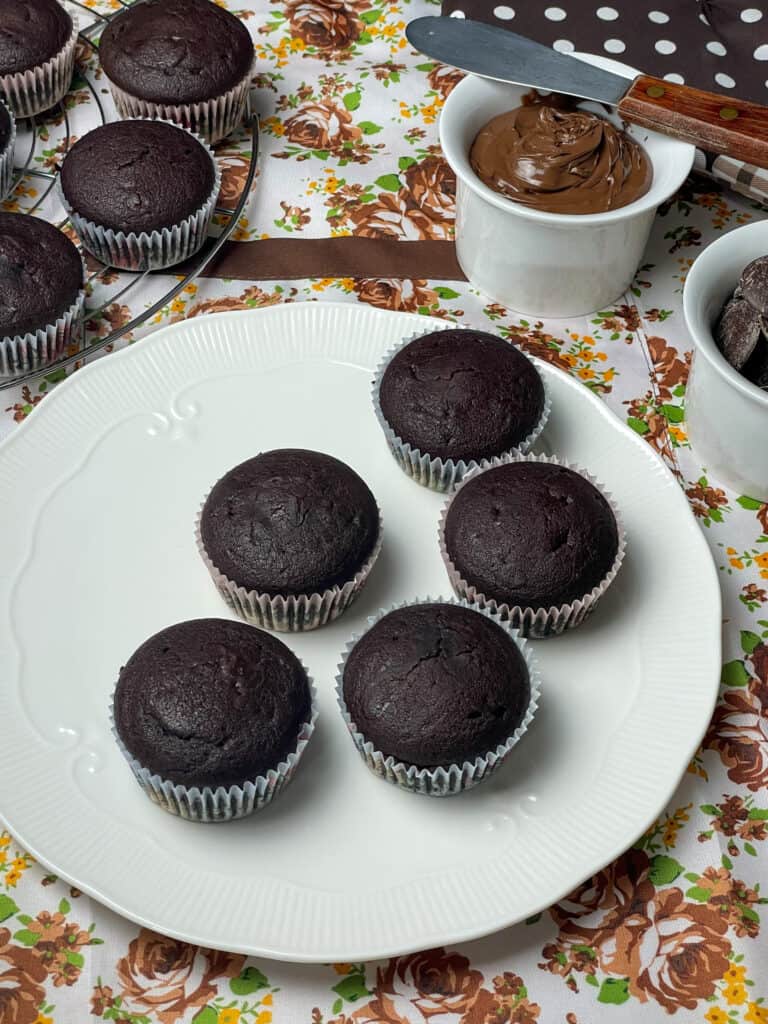
Step 10: After a few minutes cooling in the pan remove the buns and place onto a cooling rack to cool.
Decorate:
Step 1: Spread a dollop of chocolate spread over each bun and then top with a little sweet or candy. Alternatively, you can use your preferred frosting or icing.
Recipe Notes
Storing
Chocolate buns can be stored within a cake tin or covered container for up to 4 days. Wrapping the buns in a layer of kitchen foil can help preserve the freshness for longer.
Freezing
Freeze the un-decorated buns for up to 2-3 months, well wrapped in food wrap and placed into a sealed container. Unwrap and thaw to room temperature before decorating.
FAQ'S
Yes you can, but you will also need to add 2 teaspoons of baking powder and a few pinches of salt.
You can replace the golden syrup with light corn syrup or maple syrup or similar.
Any type of margarine, baking spread or block that is suitable for cooking and baking is fine for this recipe. Although, it is best not to use a low-calorie, lite, or low-fat margarine as those types tend to contain more water which can affect the finished bake.
More Wartime Baking Recipes
Wartime baking recipes are a great source of budget-friendly ideas that are so useful for today's cost of living problems. You don't need expensive ingredients such as eggs or butter to create delicious homely home-bakes that the whole family will love. We are a plant-based family so love vegan baking and the fact that you don't need special ingredients to replicate traditional bakes.
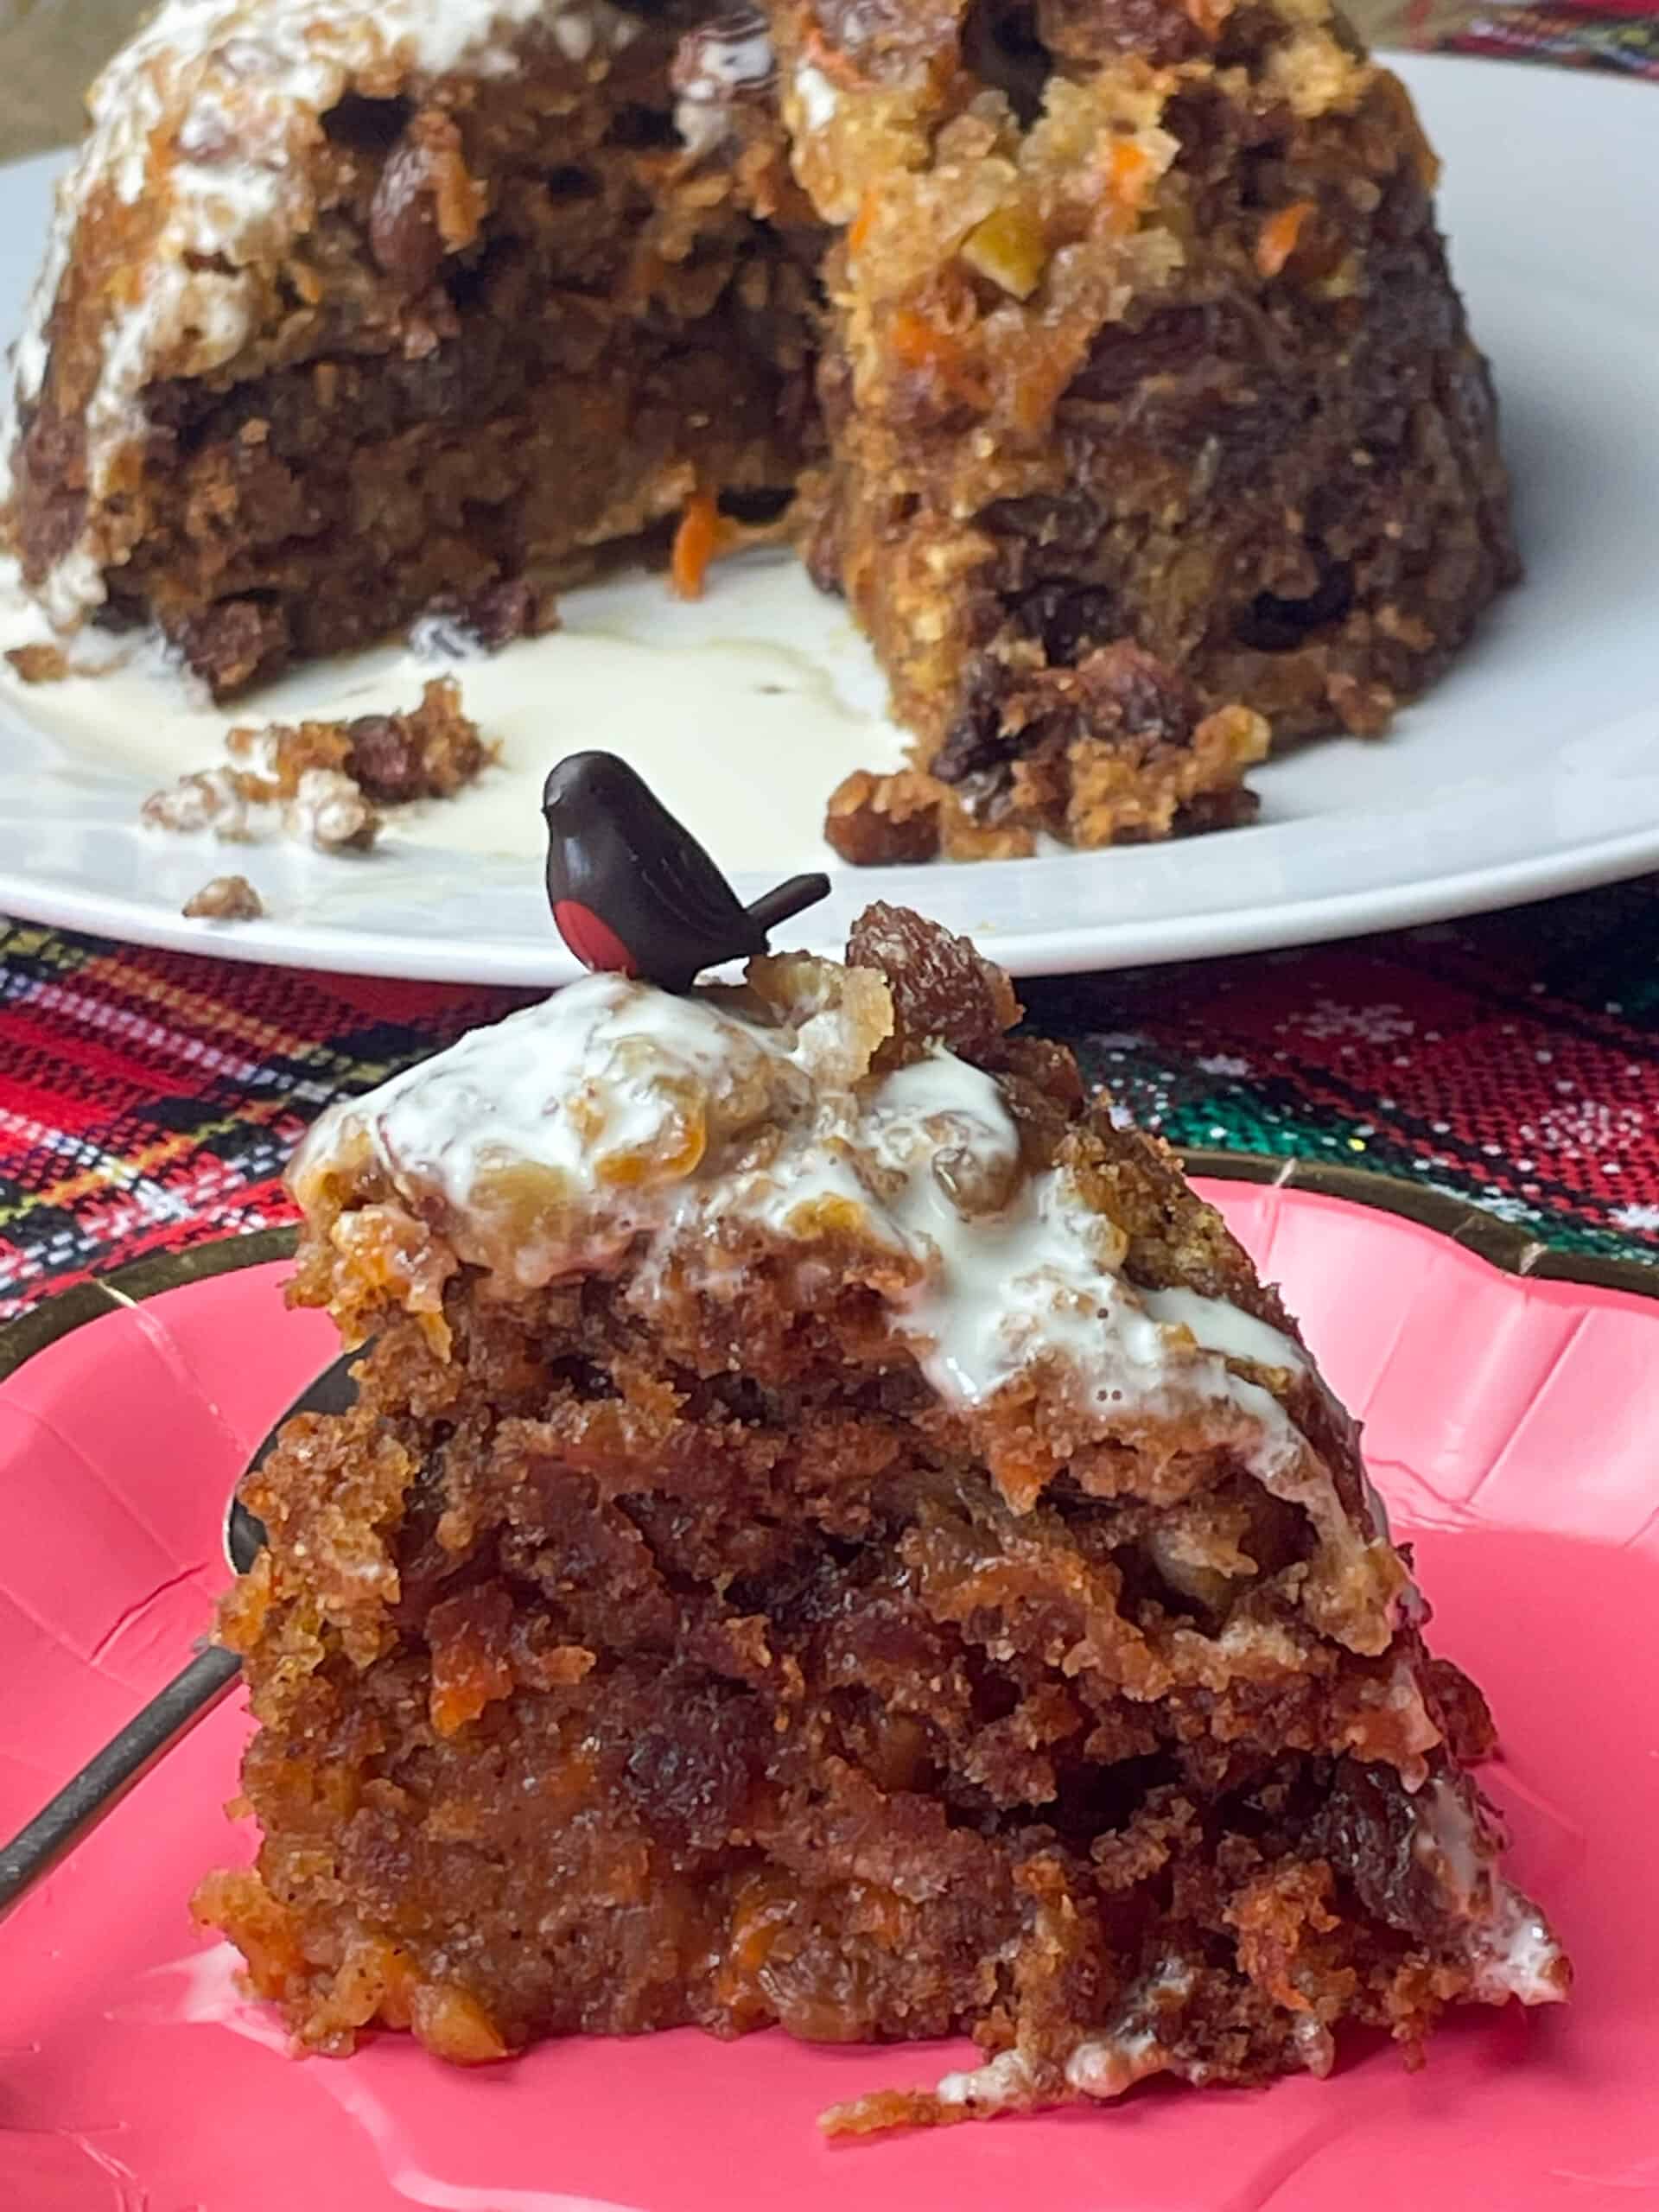
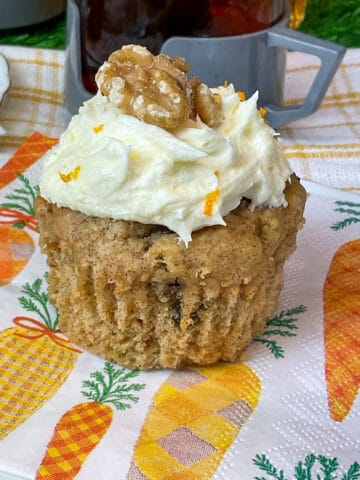
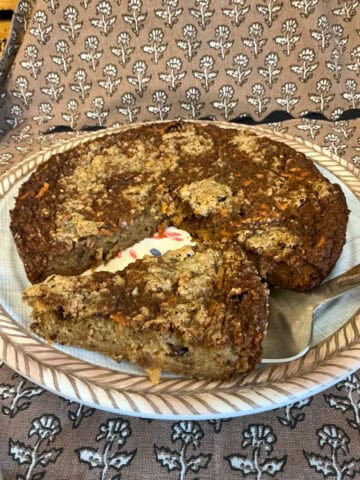
A few of our family favourite wartime baking and sweet recipes are this Wartime Christmas Pudding which is great for a pudding anytime of the year especially with some hot custard or chilled cream, and these Old-Fashioned Carrot Cakes are always delicious for a spring or Easter afternoon tea.
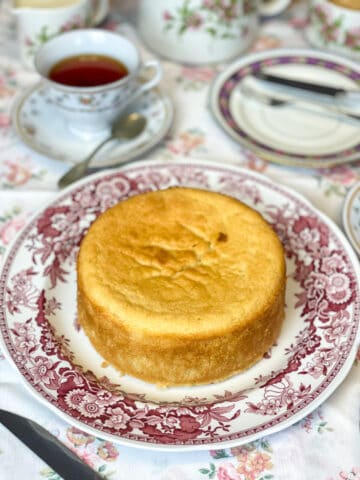
And we like this Old-Fashioned Golden Syrup Loaf spread with some margarine or fruit jam for morning tea break or evening supper.
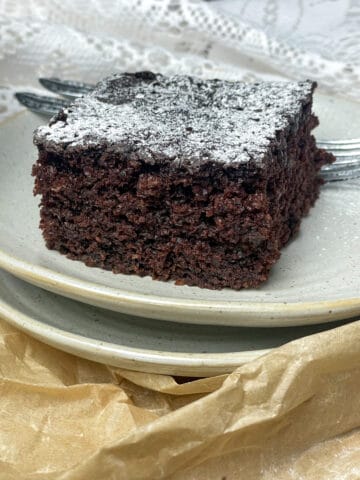
For another wartime era chocolate cake recipe this Chocolate Vinegar Cake also known as wacky or crazy cake is another useful recipe to have up your sleeve especially for those times when you need a chocolate cake fast!

***please note: for US measurements click the 'US customary button' within the recipe and the measurements will switch to tablespoons, cups, and ounces***
📖 Recipe
Old-Fashioned Chocolate Buns
Equipment
- sieve
- Mixing bowl
- small bowl
- mixing spoon
- Small muffin, cupcake or fairy cake paper cases
- Muffin baking tray or cupcake tray
- cooling rack rack optional
Ingredients
- 225 grams self-raising flour [or plain/all purpose flour plus 2 teaspoons baking powder, and a few pinches of salt]
- 25 grams cocoa powder
- 75 grams caster sugar [or granulated]
- 75 grams margarine, at room temperature [we used Stork baking spread]
- 1 tablespoon golden syrup [or corn syrup or similar]
- 2 teaspoon vanilla extract
- 1 teaspoon bicarbonate of soda [baking soda]
- 225 millilitres hot water
Decoration:
- chocolate spread [we used Vego Fairtrade organic chocolate spread]
- chocolate mini eggs [or your preferred sweet/candy, we used Montezuma's dark chocolate peanut butter filled mini eggs]
Instructions
- Preheat the oven 160 Fan/180 Celsius/350 Fahrenheit /Gas 4.
- Prepare the cupcake baking tray by adding a paper case to each cup.
- Sift the flour and cocoa powder into a mixing bowl.225 grams self-raising flour, 25 grams cocoa powder
- Add the sugar and mix.75 grams caster sugar
- Next, add the softened room temperature margarine.75 grams margarine, at room temperature
- Pour the hot water into a small bowl and mix the bicarbonate of soda through the water. It may froth up but this is fine.1 teaspoon bicarbonate of soda, 225 millilitres hot water
- Stir through the vanilla and golden syrup.2 teaspoon vanilla extract, 1 tablespoon golden syrup
- Pour the hot water mixture into the dry ingredients and margarine.
- Stir everything well to combine. The margarine will continue to melt due to the hot water.
- Divide the chocolate mixture out between the 12 cupcake cases.
- Bake on the middle shelf for 13-20 minutes. Our cakes were ready after 15 minutes baked in an electric oven [180C].A fan oven may take a few minutes quicker to bake.
- Buns are ready when risen, firm, and a skewer popped in comes out clean.
- Leave in the baking tray for 5 minutes before removing to cool completely on a cooling rack.
Decorate:
- Once cool add a dollop of chocolate spread to the top of each cake and then pop a little sweet or candy on to the middle of each cake.chocolate spread, chocolate mini eggs
Notes
- Nutritional information is for guidance only and is not a strict calculation as ingredients vary.
- Store the chocolate buns within a cake tin or food container for up to 4-5 days. Wrapping in a layer of kitchen foil can help preserve the freshness.
- Or freeze for up to 2-3 months.
- As we are a plant-based family we used dairy-free margarine for the buns, and vegan chocolate mini eggs and dairy-free chocolate spread for the decoration however you can use your preferred ingredients.
Nutrition
Comments
Prepared our Old-Fashioned Chocolate Buns recipe? Do let us know how you got on with the recipe as we love receiving feedback - drop us a comment below and click the star ratings. Thanks so much. All the best, Jacq x


Leave a Reply