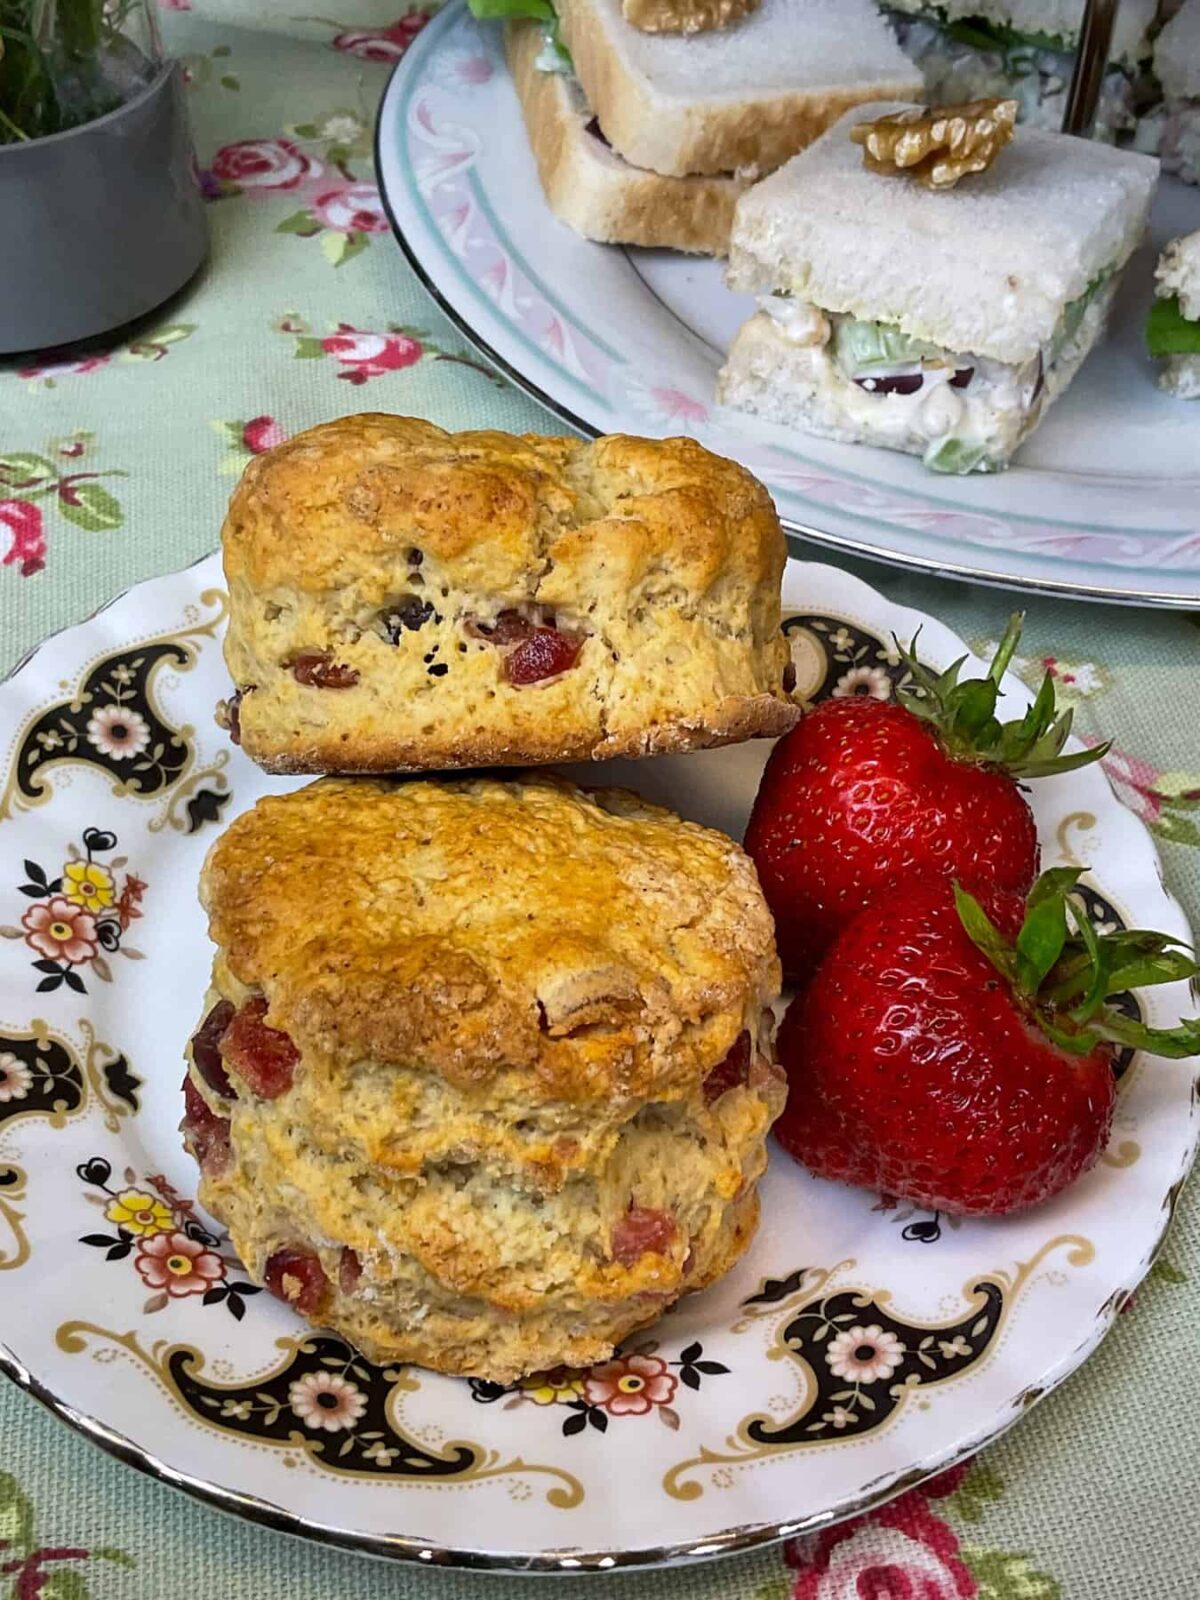
These Old-Fashioned Cherry Scones are prepared with every-day ingredients. They are light and crumbly, and just delicious filled with fruit jam and whipped cream. These scones are flavoured with vanilla extract but this can be subbed out for almond for a delicious Cherry Bakewell Scone.

These vintage scones are perfect for a Cream Tea, Devonshire Tea, High Tea, Supper-Time, Tea-Time, or Afternoon Tea. These scones are egg-free and can easily be dairy-free. Our plant-based family enjoys these scones filled with fruit jam and whipped cream which we prepare with Elmlea Double Plant Cream.
Jump to:
🧡 Why You'll Love This Cherry Scone Recipe
- 🍒 A family favourite these cherry scones are the kind many of us remember from teatime with grandparents or school home economics classes.
- 🍰 Simple pantry ingredients & no eggs needed, and can be easily made dairy-free
- ☕ Perfect for any tea occasion Cream Tea, Afternoon Tea, High Tea, or just a quiet cuppa.
- 🌿 Adaptable as can swap vanilla for almond extract and add flaked almonds and a glacé cherry for a Cherry Bakewell Scone.
- 💚 We make ours vegan, but they work just as well with your usual everyday ingredients.
- 💫 Quick to bake as just 14 minutes in the oven and they're ready to enjoy warm with jam and cream.
📜 Origin of cherry scones
If you are interested in finding out more about the origins of cherry scones then do click the toggle button '🥣' below. We have filed away the food history so that readers can access the recipe quicker.
🥣 Origin of cherry scones
Scones are traditional to Scottish cookery. The word "scone" itself is claimed to have come from the Gaelic word 'sgonn' meaning a shapeless mass or large mouthful. Another theory suggests the name might come from the Dutch word 'schoonbrood', meaning fine bread, or from the German word 'sconbrot', which also translates to fine bread.
Scones dates back to at least the 16th century and evolved from the Scottish bannock which was a type of large, thick flatbread that was originally made with oatmeal, barley, or beremeal. Beremeal is an Ancient type of barley that was brought over by the Vikings and so is more popular in the Shetland Islands. These meals or flours were good hardy ones as the grains flourished in the Scottish climate making them more popular than wheat which required a warmer climate and better soil, and it wasn't until the 18th-19th century that wheat became more popular due to agricultural advances.
Before the farming advances, the bannock was one of the main types of bread in Scotland. The barley grains were usually ground just before baking, by housewives using a rudimentary millstone called a quern which consisted of two stones. In some Scottish rural areas, such as the Highlands and Islands, the quern was still being used into the 19th Century. Next, the bannocks were cooked on a flat griddle at the fireside before being wrapped in a cloth.
The modern scone originated from the traditional bannock sometime during the 19th century, with the invention of baking powder. Baking powder was a god-send to many home cooks as it drastically reduced preparation and baking times, as opposed to using yeast or harnessing wild yeast from the air! Also, during this period, wheat flour became more popular in Scotland and began to replace the older, traditional flours. As a result in a scone that bore similarities to the older bannocks, but resembled our modern scones.

If you love the flavour of Cherry Bakewell, it's easy to prepare these cherry scones into cherry bakewell scones by simply switching out the vanilla for almond extract or essence, and topping the scones with a few flaked almonds and half a glacé cherry. These scones are especially delicious warm from the oven.
🥄 How to prepare
These old-fashioned cherry scones are pretty easy to prepare and quick to bake as they only need about 13-14 minutes in the oven. A scone can be a great alternative to a slice of cake as they have less fat and sugar yet are sweet enough to satisfy a sweet tooth. As we are a plant-based family we used oat milk and stork baking spread for our scones but you can replace those with your usual milk and baking fat or butter.
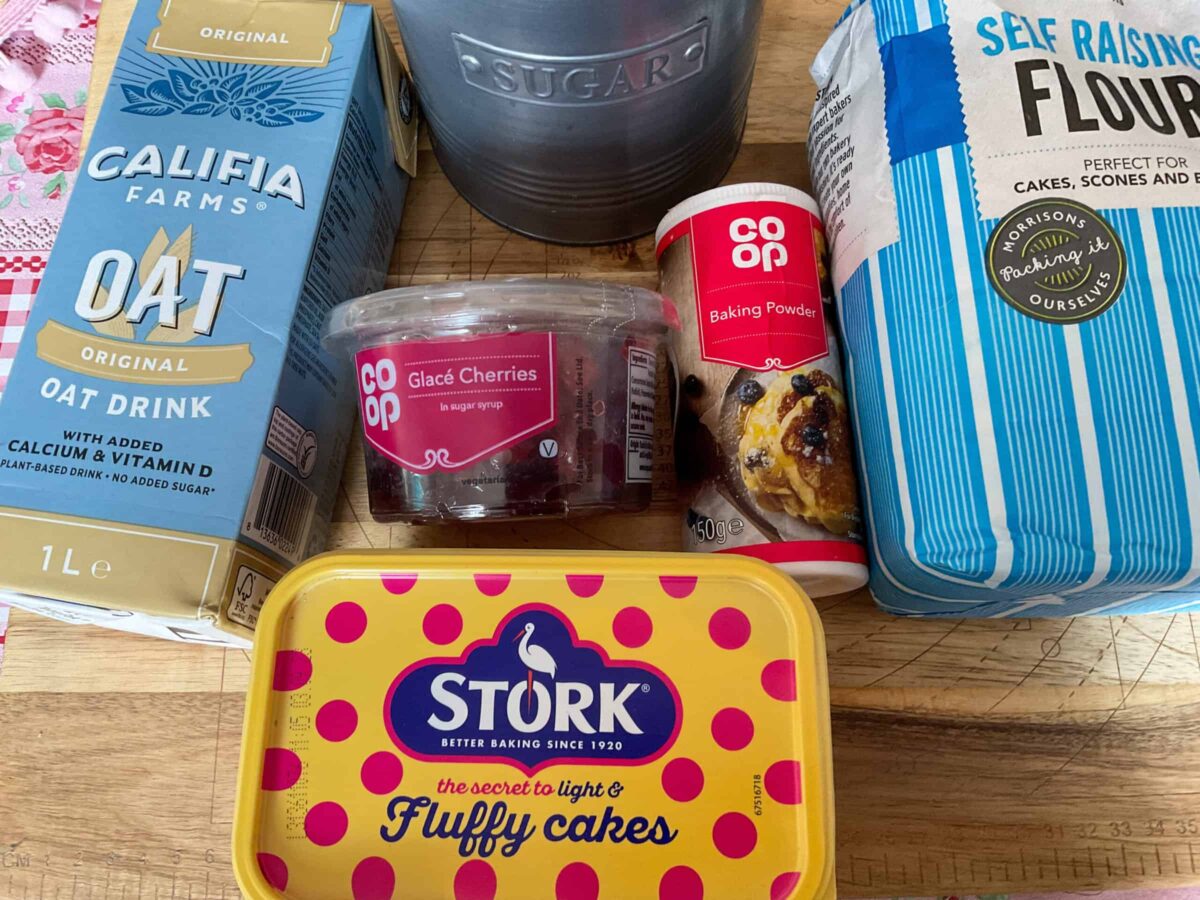
Step 1: First, collect all your ingredients together - milk, margarine, self-raising flour, baking powder, granulated sugar, and glacé cherries.
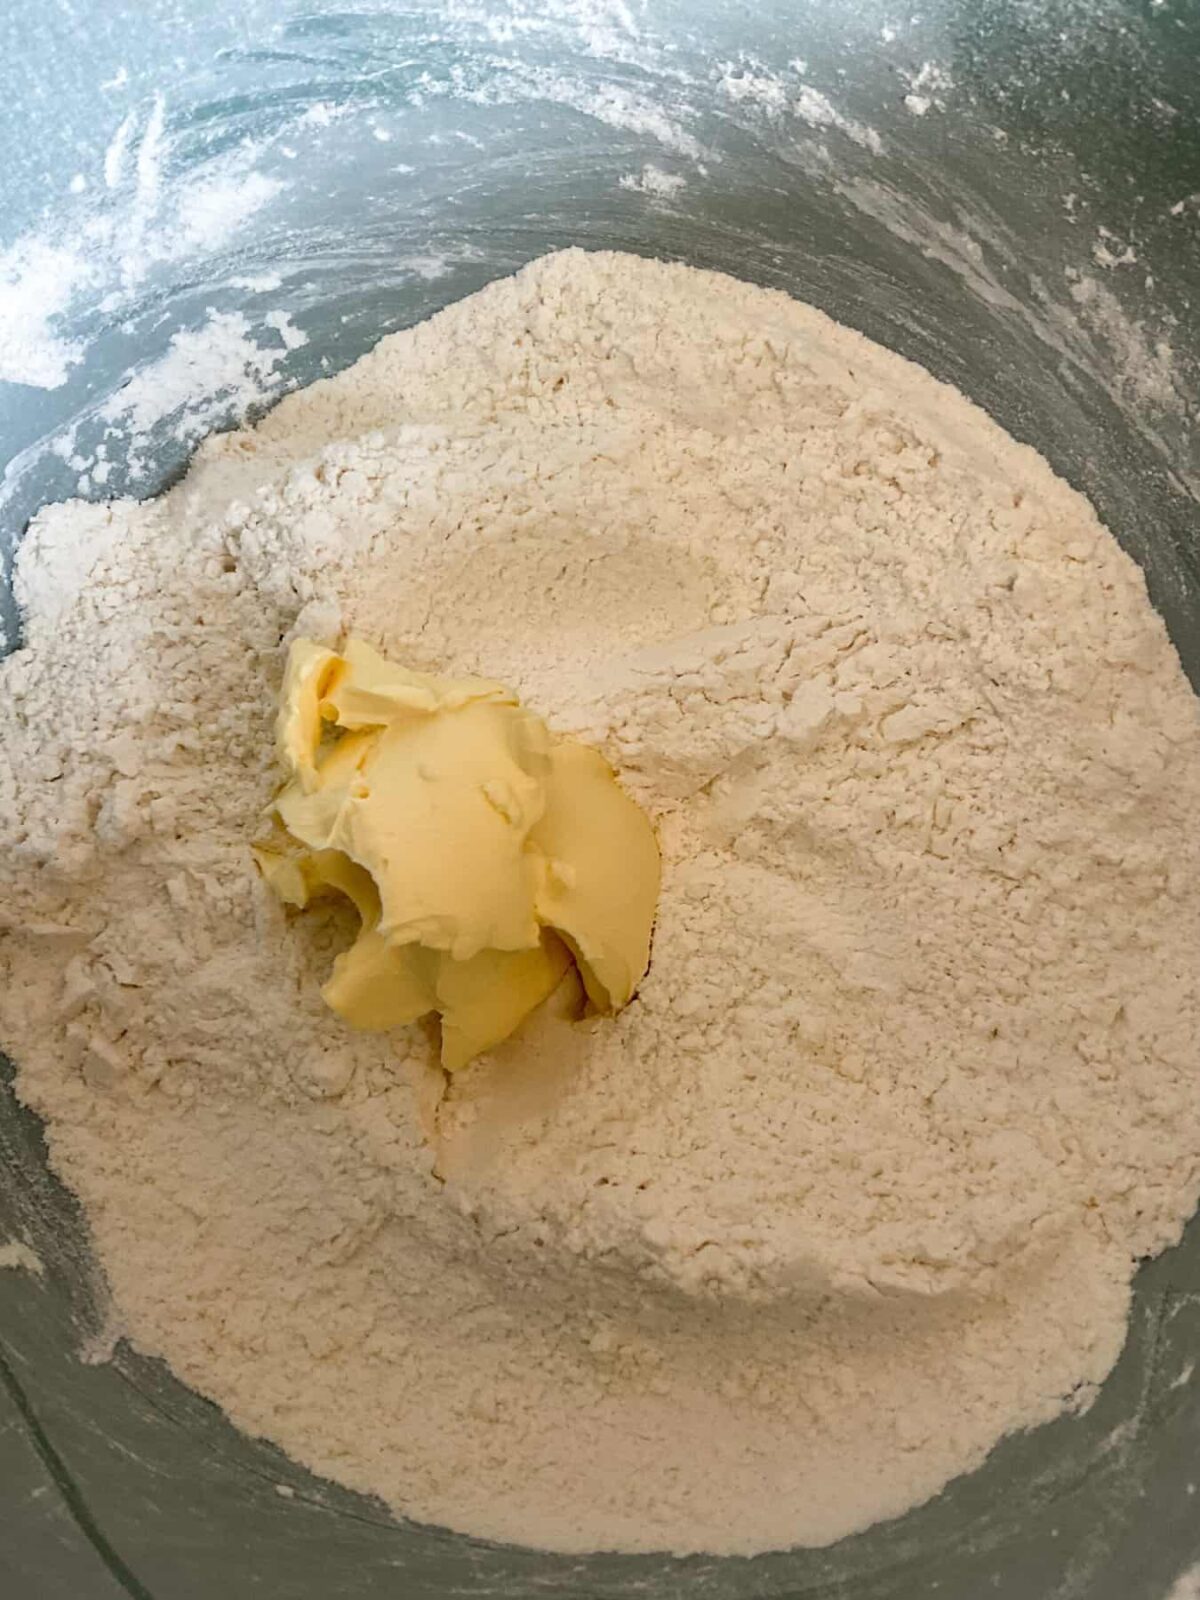
Step 2: Sift the self-raising flour and baking powder into a mixing bowl and stir through the granulated sugar.
Step 3: Drop the margarine into the mixture and using your finger tips rub it into the dry mixture until it resembles fine breadcrumbs.
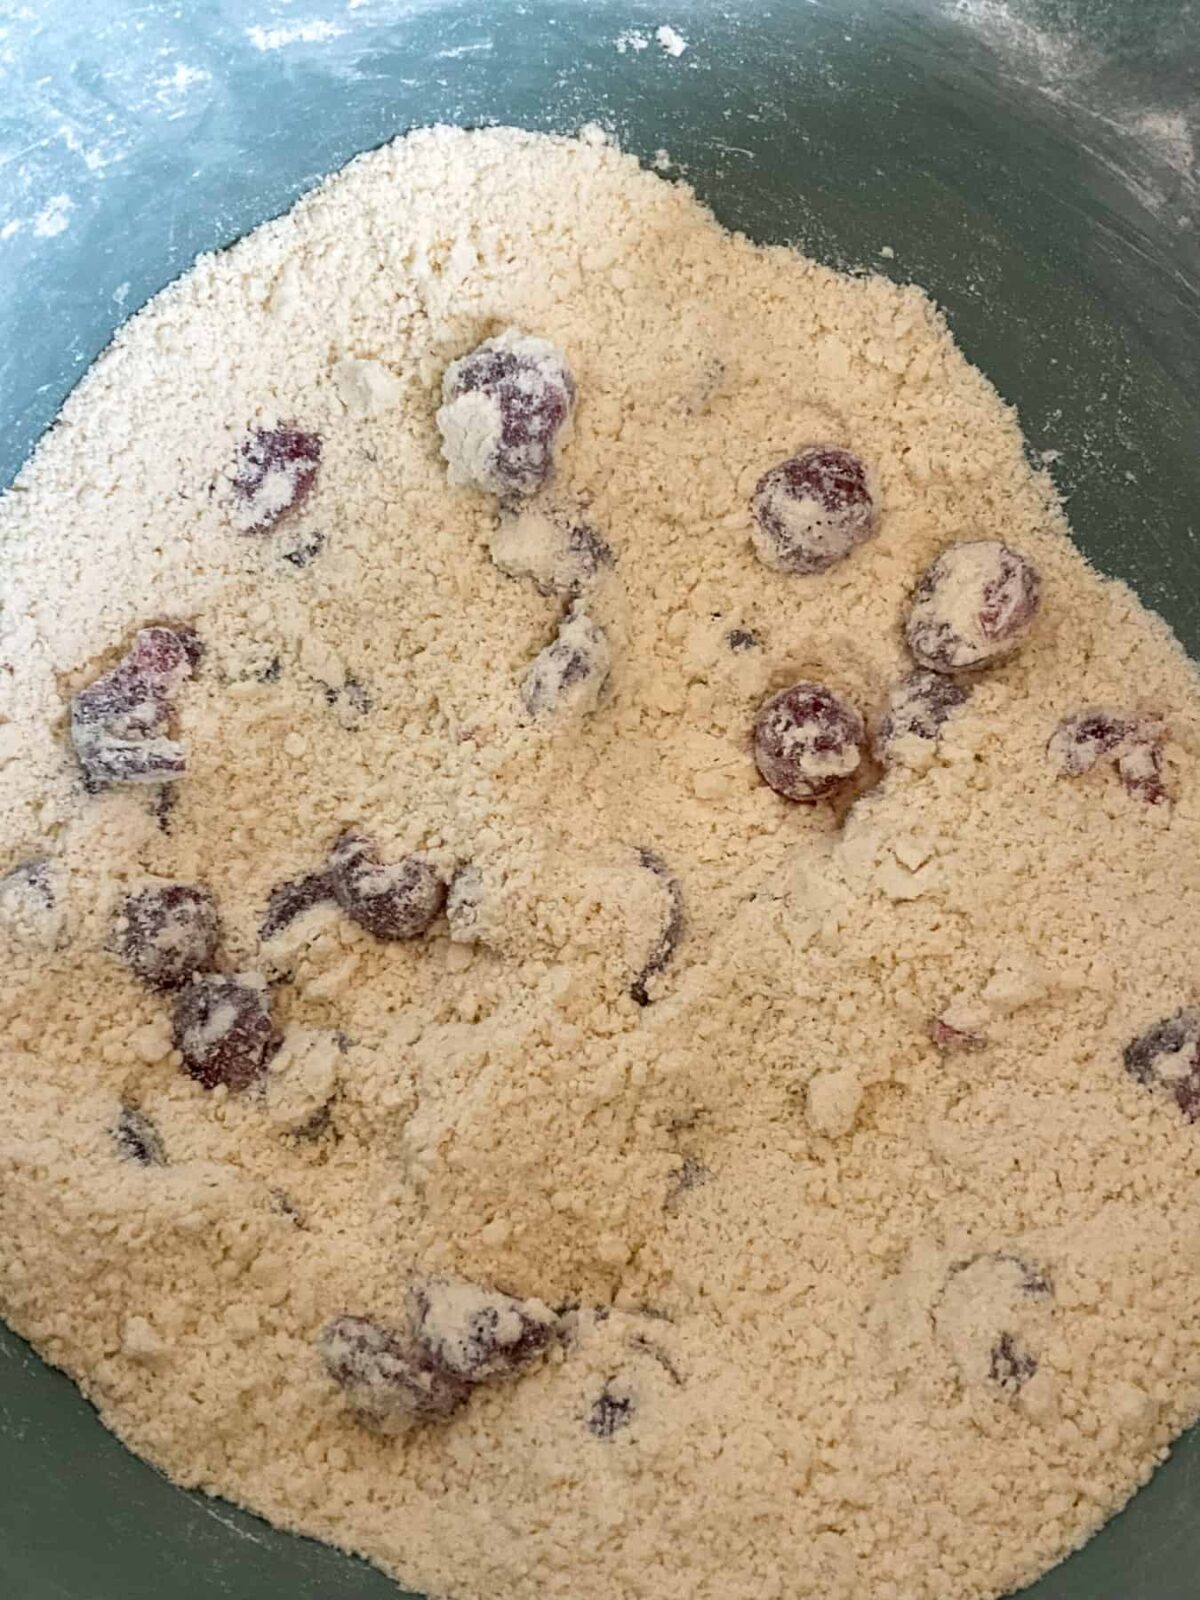
Step 4: Chop the cherries into halves and quarters and stir through the mixture.
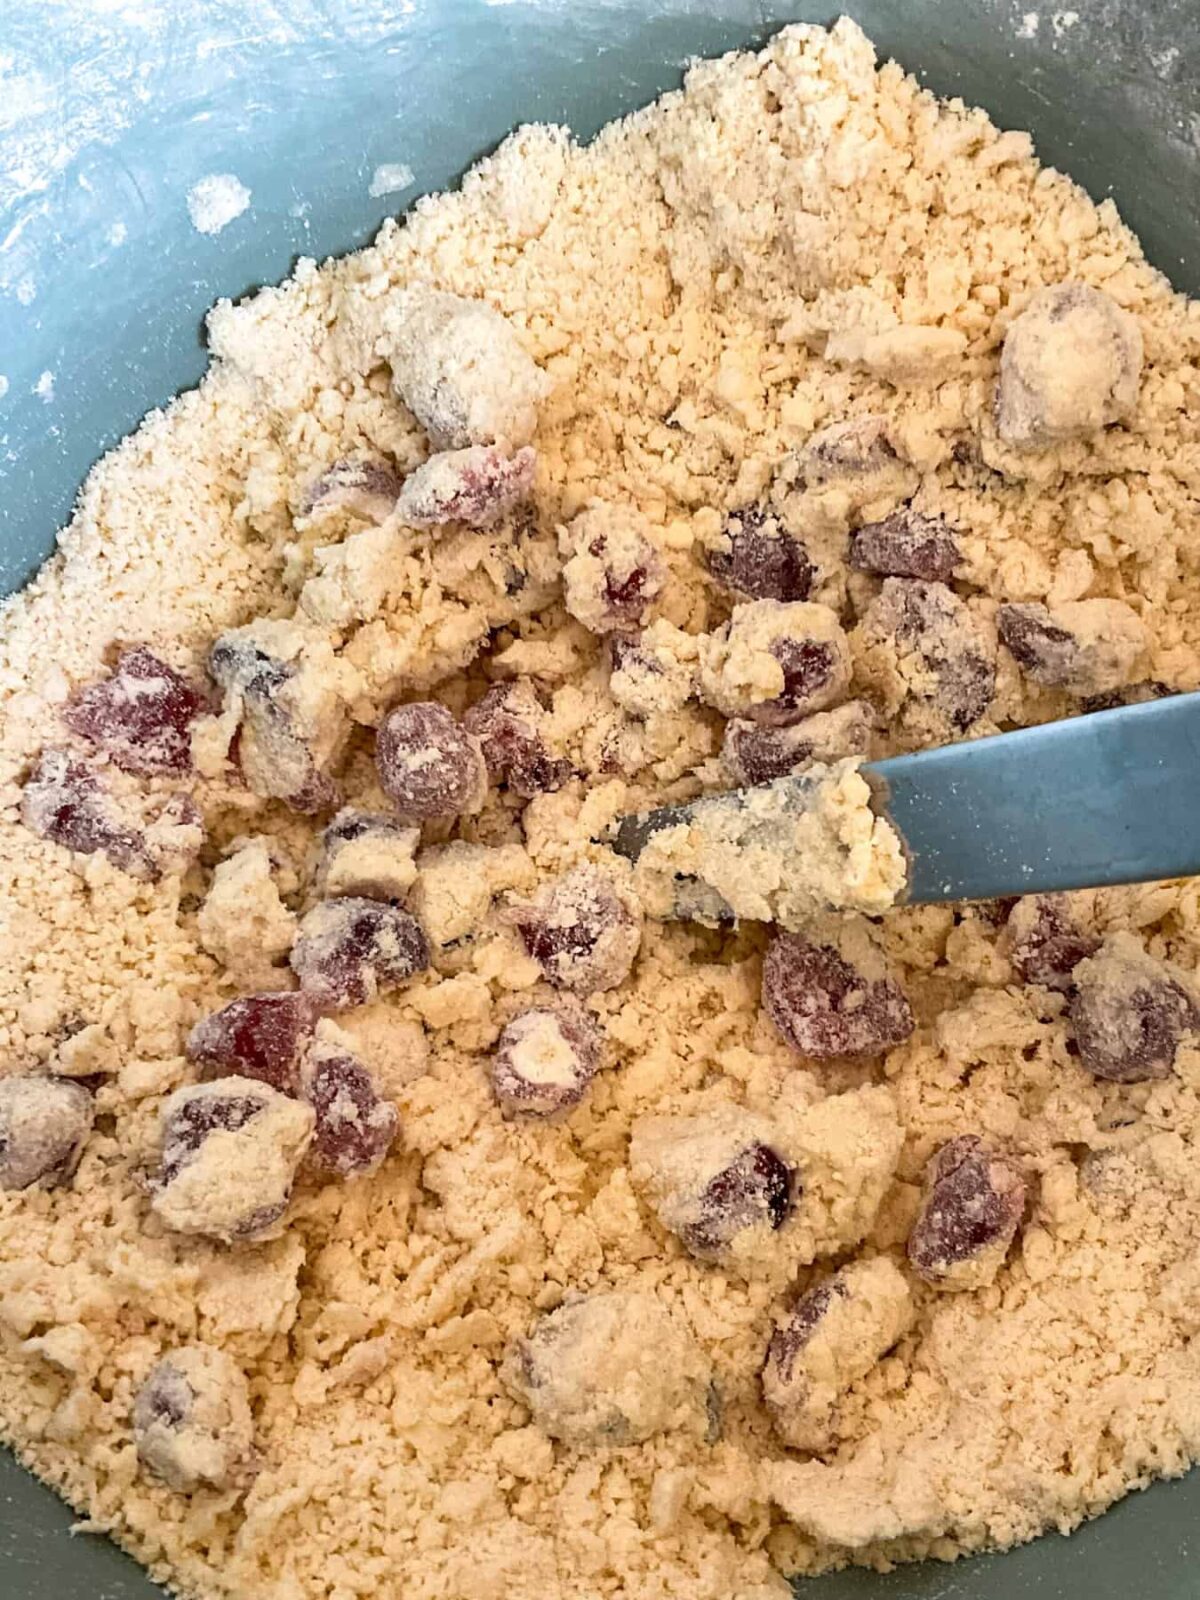

Step 5: Add the vanilla, and stir through enough milk to bring the mixture together into a dough. [Alternatively, instead of vanilla use almond extract for a cherry Bakewell scone.]
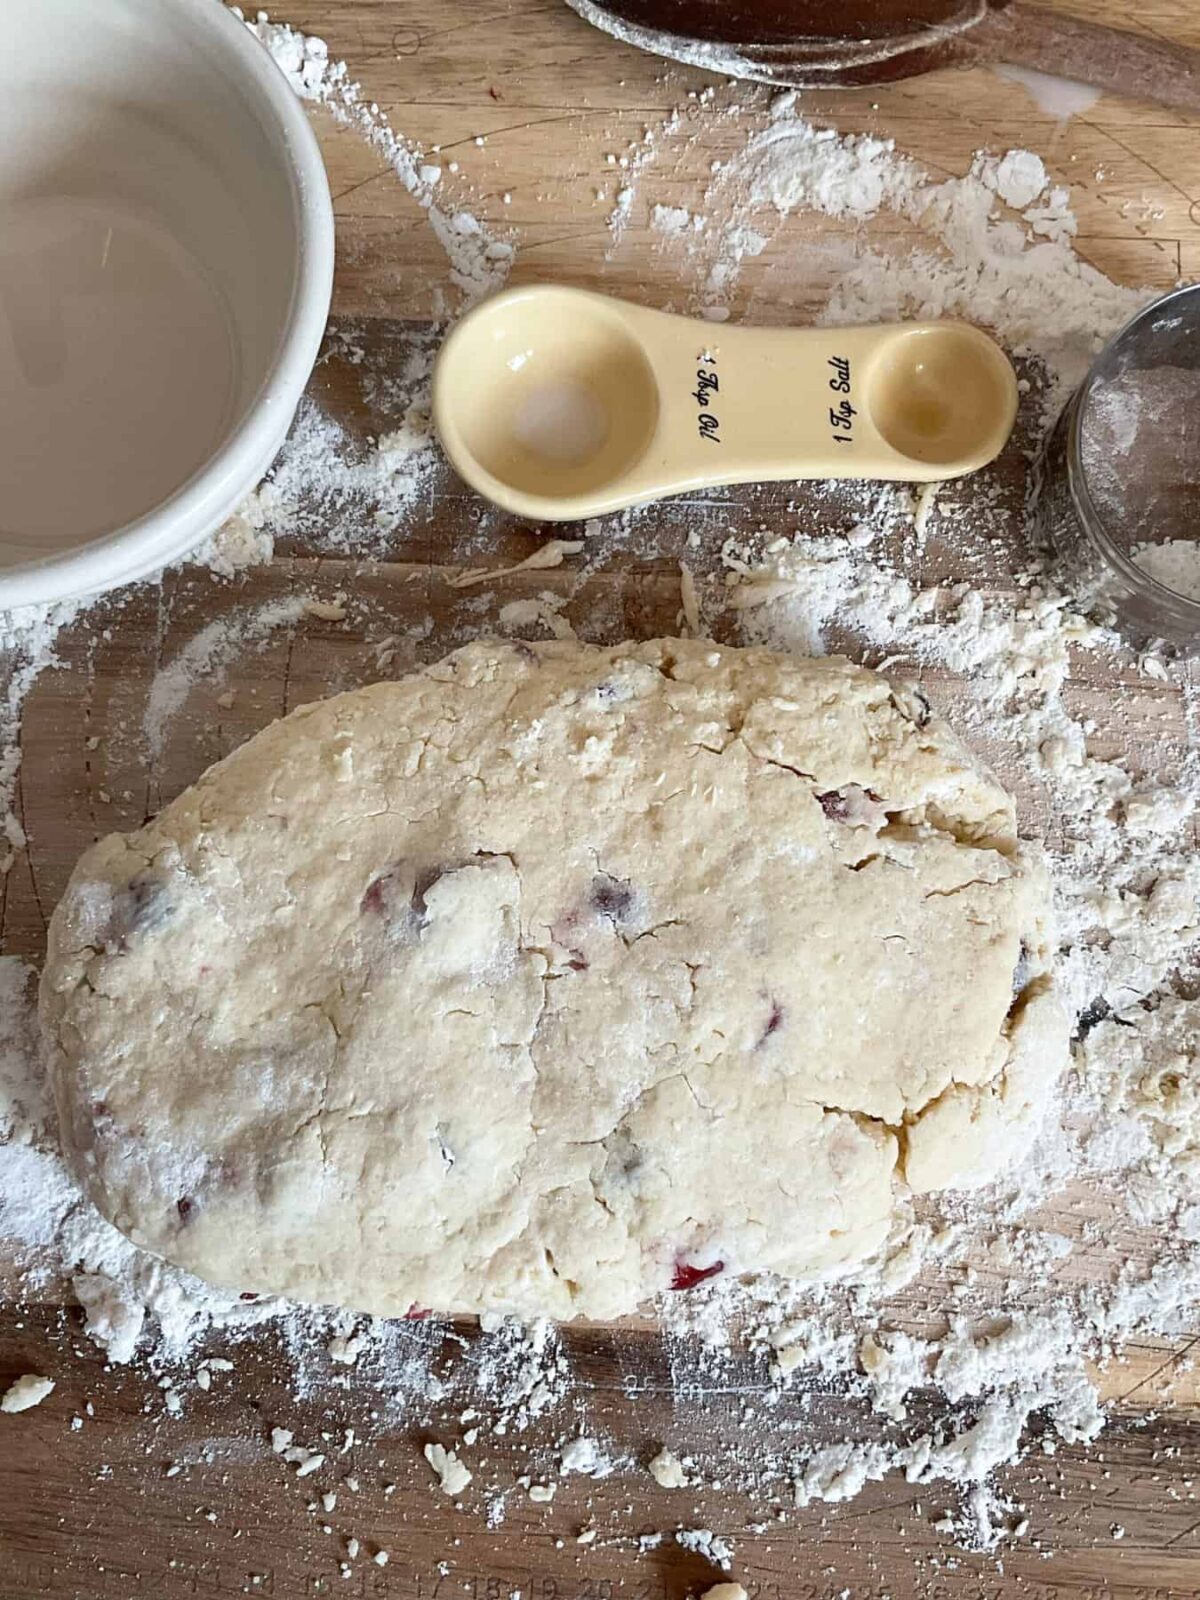

Step 6: Knead the scone dough very lightly just to bring it all together, and place it onto a floured board.
Step 7: Using your hands pat the dough down gently to about ¾ inch thick.
Step 8: Dust the biscuit cutter with some flour and gently stamp out 6 scone rounds.
You won't manage all 6 scones at the one go as the dough will need to be pushed back together and then patted down again.
You may end up with a small amount of dough leftover, and if so this can be formed into a smaller scone and baked along with the other scones as a bakers tester scone.
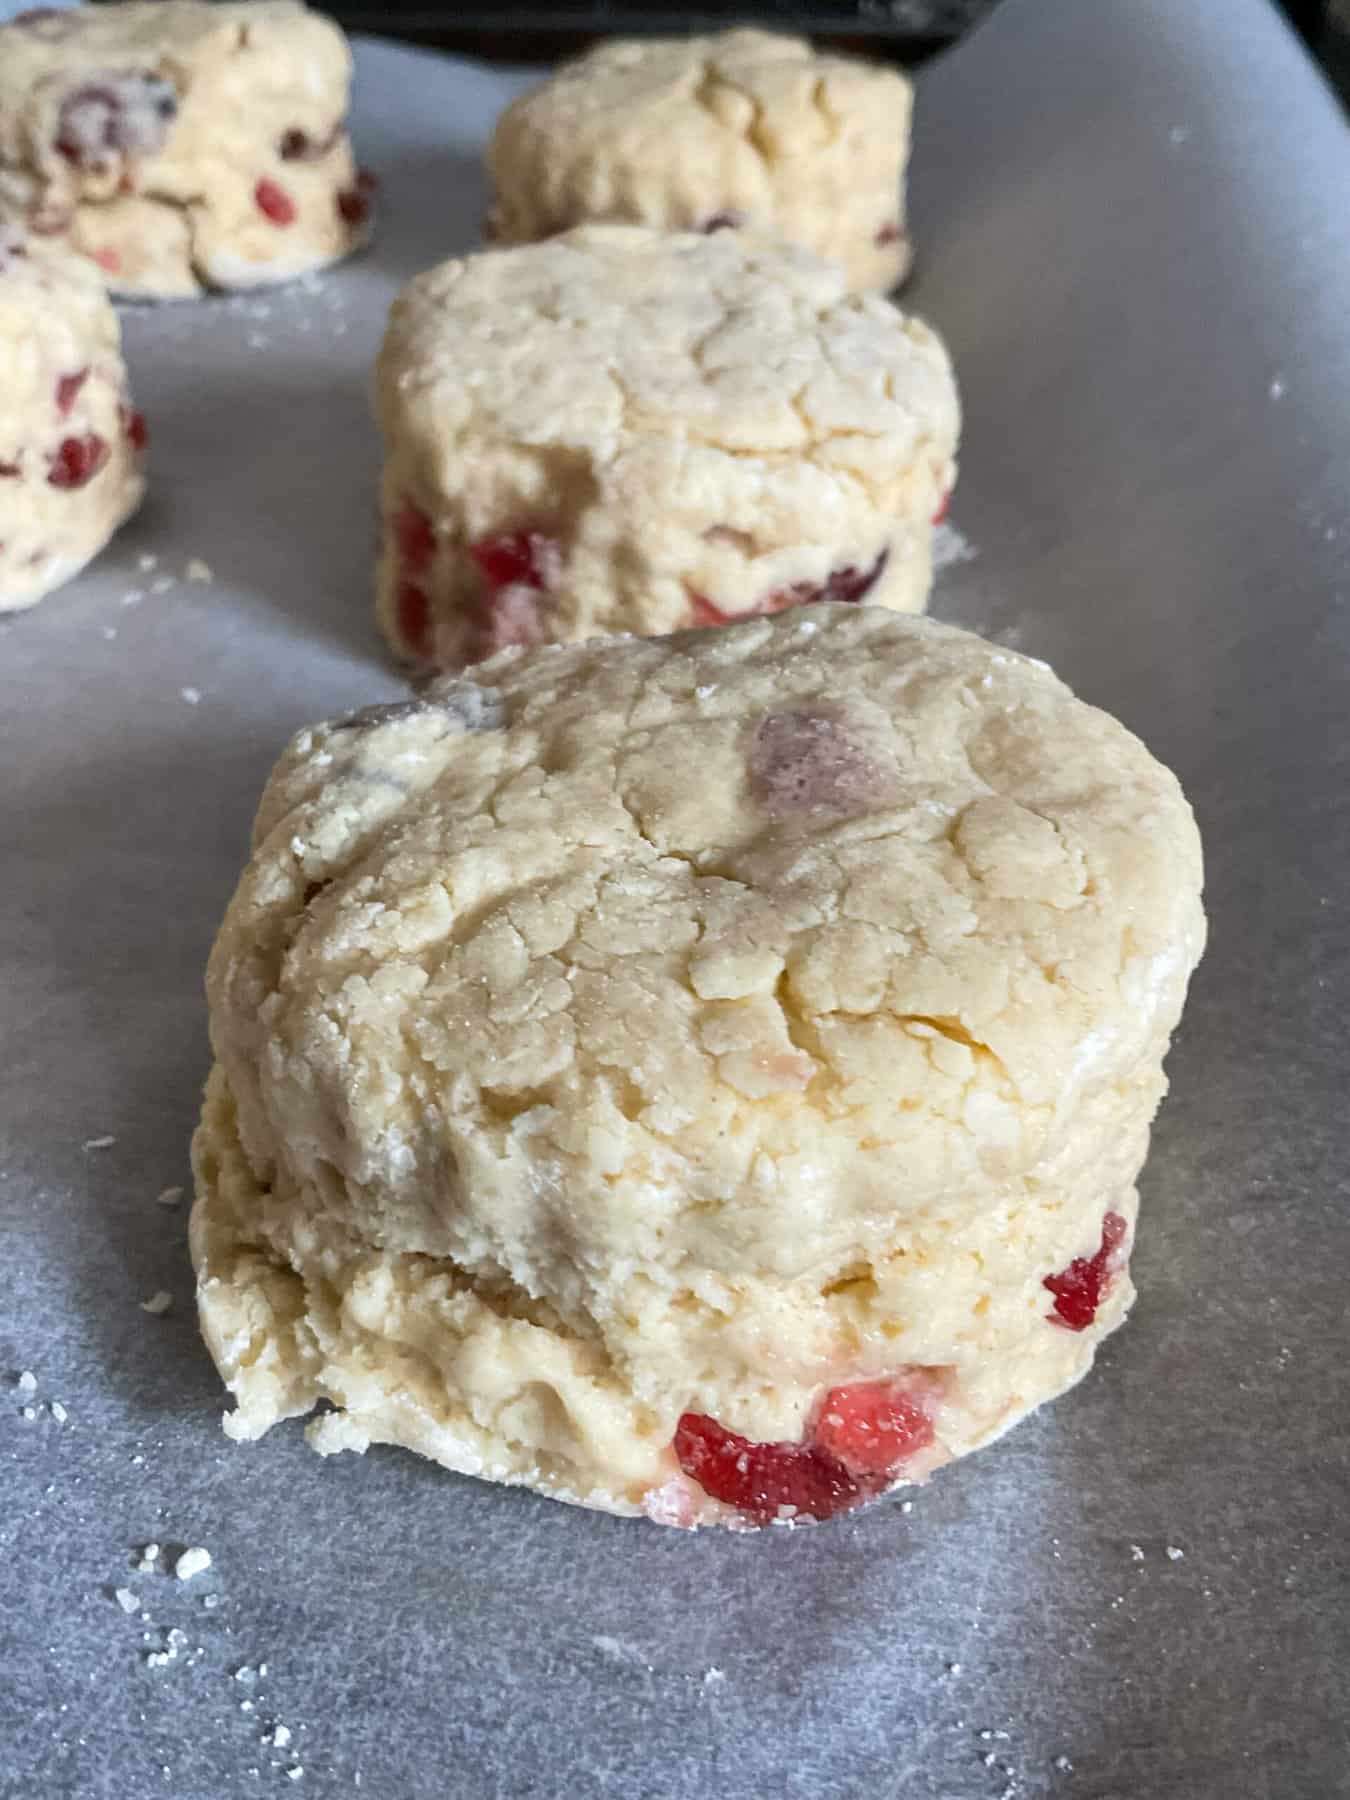
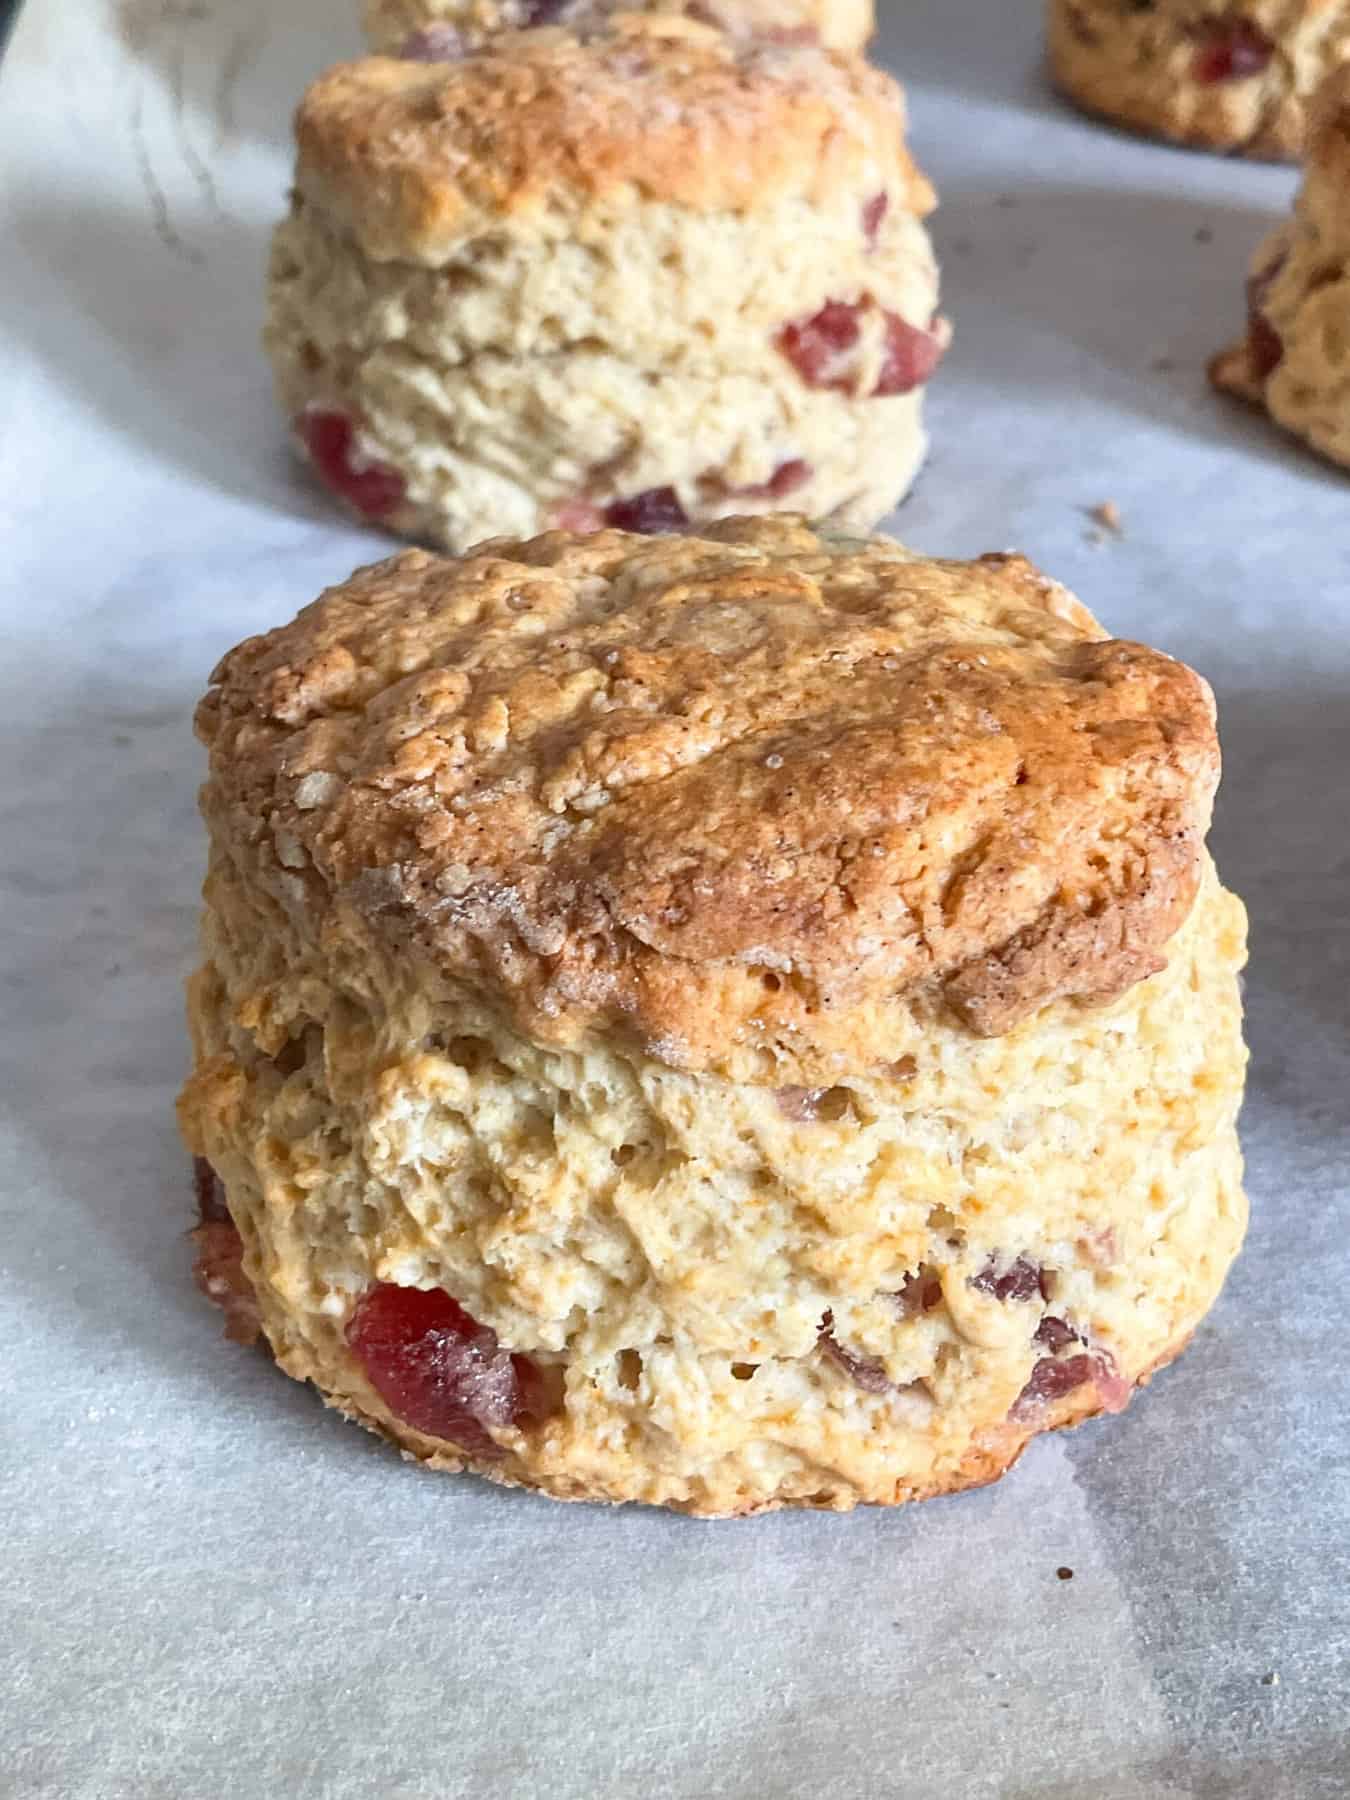
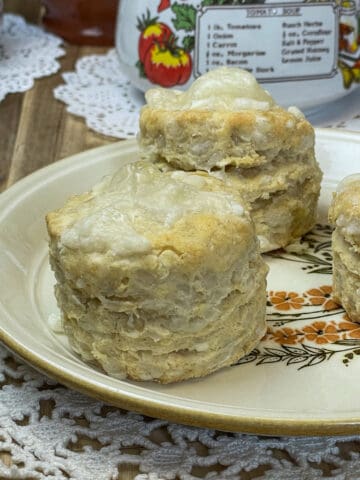
Step 9: Place the scones onto a baking tray and brush the tops with the milk that is left over. Bake for 13-14 minutes until firm, risen, and golden on top.

Step 10: Place the scones on a wire rack to cool.
Scones can be enjoyed simply split open and spread with vegan butter or margarine, or your preferred spread, along with a few dollops of fruit jam. Or add some marmalade, vegan lemon curd, mashed banana, peanut butter, sunflower seed butter, vegan chocolate spread, vegan whipped cream, anything you like really.
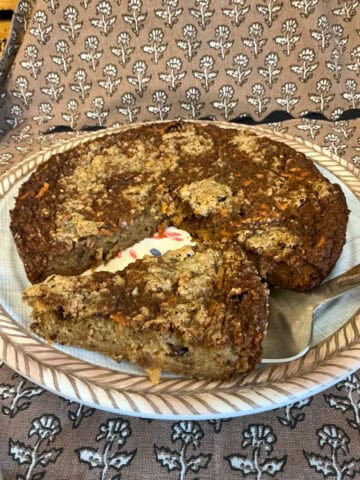
✨ Love traditional recipes with a cosy, vintage feel?
Explore my new Vintage Recipe Card Series Re-Made Vegan, where I remake vintage & retro British dinners and puddings from 1960s-1990s recipe box set cards into easy, plant-based versions. I include images of the original recipe cards including the original recipe so if your just interested in looking at the recipe cards for fun or research then do pop over and have a look at all the old British recipes.
🍽️ Click here to see week one's recipes →
***please note: for US measurements click the 'US customary button' within the recipe and the measurements will switch to tablespoons, cups, and ounces.***
📖 Recipe

Old-Fashioned Cherry Scones
Equipment
- sieve
- Mixing bowl
- mixing spoon
- cutlery knife or similar
- biscuit or cookie cutter about 2 ½ inch [2-3cm] diameter
- Baking tray with parchment paper
- cooling rack
Ingredients
- 285 grams self-raising flour
- 2 teaspoons baking powder
- 2 tablespoons granulated sugar [or caster sugar, for sweeter scones an extra tablespoon of sugar can be added)
- 60 grams margarine, suitable for baking [we use Stork baking spread but any margarine, butter, or baking fat suitable for baking will work fine]
- 120 grams glacé cherries [candied cherries]
- 240 millilitres milk [we use soya, oat or almond milk but any milk will work fine so you can use your usual milk]
- 1 teaspoon vanilla extract [or essence, can replace with almond]
Instructions
- Preheat the oven to 200°C Fan / 220°C / 425°F / Gas 7.
- Sift the flour and baking powder into a mixing bowl, and stir through the sugar.285 grams self-raising flour, 2 teaspoons baking powder, 2 tablespoons granulated sugar
- Add the margarine in small blobs to the mixing bowl, and using your finger tips rub the margarine into the dry mixture until it resembles bread crumbs.60 grams margarine, suitable for baking
- Chop the glacé cherries into halves and quarters, they will be sticky but that's fine.120 grams glacé cherries
- Stir the cherries through the dry mixture so that they are evenly distributed and coated in the flour mixture.
- Pour in 4 tablespoons of the milk along with the vanilla and stir well with a cutlery knife. Add 2 more tablespoons and stir again. It usually takes about 8 tablespoons to bring the mixture together into a dough that is not sticky but the exact amount of milk required may vary.240 millilitres milk, 1 teaspoon vanilla extract
- The mixture will start to look scraggly and this means that it has had nearly enough liquid to bring it to a dough. Press the bits of dough together with your hands to form a dough. If its too dry then add more drops of milk and keep forming the scone dough ball.
- If the dough is too wet, dust some flour over your hands and your work surface, and place the dough onto the floured surface and gently knead some extra flour in, until the scone dough is drier.
- Pat the scone dough down with your hands until its about ¾-1 inch [2-2 ½ cm] high.
- Dust the biscuit cutter with some flour and cut out a scone shape, be careful not to twist the cutter but just shuffle it up and down to remove the scone from the rest of the dough.You may need to lift the scone up inside the cutter and gently tap it out of the cutter.
- Place each scone onto the baking tray.
- You'll likely need to push back the scone dough into a ball again, and then pat down, after cutting out a few scones.
- Once 6 scones are on the baking tray, you may have an extra smaller piece of dough which can be formed by hand into a rustic scone about the same height as the rest. This can be the bakers tester scone. However, you may not have any leftover dough.
- Brush each of the scones surface with some of the leftover milk, taking care not to let the milk drip down the scone sides.
- Bake on the middle oven shelf for 13-14 minutes. [We used an electric oven and the scones are perfect after 14 minutes at 220C]. Check fan ovens a minute or so before as these type of ovens tend to cook faster than other types.
- Leave on the baking tray for a few minutes before removing to a wire rack to cool. Or enjoy warm.
Notes
- Nutritional data is for guidance only as its not an exact calculation as ingredients vary.
- Scones are at their best 1-2 days after baking.
- Keep scones within a covered container for 3-4 days.
- Scones older that 1-2 days can be refreshed by placing in a warm oven for a few minutes until warmed through.
- Or slice the scone in half and toast each side, and then spread with your favourite condiment.
- The glacé cherries do not need to be washed before using as the sticky residue will be dried up once incorporated through the flour mixture.
- We used Stork baking margarine and oat milk to make these scones vegan-friendly but this recipe will work with any type of milk and your usual baking fat, margarine or butter that is suitable for baking.
- For the cream in the photos, we used Elmlea Plant Double Alternative Cream which whips up very easily in minutes.
- We used Co-Op strawberry jam to fill the scones.
- Don't get too caught up with trying to perfect the perfect rising scone as wonky scones are just as nice if not better! Our local bakery on the Scottish island always has wonky scones for sale and the tourists and locals love them!
- To prepare Cherry Bakewell Scones:
- Switch the vanilla out for almond essence or extract, and if liked top the scones with a few flaked almonds and half a cherry, add the topping after you have brushed the milk over the scone tops. Bake as normal.
Nutrition
❓ Frequently asked questions
Yes, a toasted scone is very tasty and easy to prepare. Toasting can bring out a slightly different flavour and add crunchy golden edges. Spread with some vegan butter or margarine, or your favourite condiment, its a delicious quick snack.
To toast a scone:
1. Slice the scone in half horizontally.
2. Toast the scone in a toaster if the halves are thin and stable [i.e. not too crumbly] enough, or use an oven or toaster oven. If using an oven, set it to broil or grill, and place the scone halves cut-side-up on a baking sheet. Watch them closely and remove when they start to become golden brown, likely after a few minutes. The scones can have either just the insides toasted or flipped over and the outside toasted as well.
3. A panini machine or an electric hot-plate can also be used to toast the scones.
4. After toasting, you can add spreads, jam, marmalade, or other toppings as desired.
Fresh scones are soft and moist enough to be enjoyed without toasting, but after a few days older scones are very tasty toasted.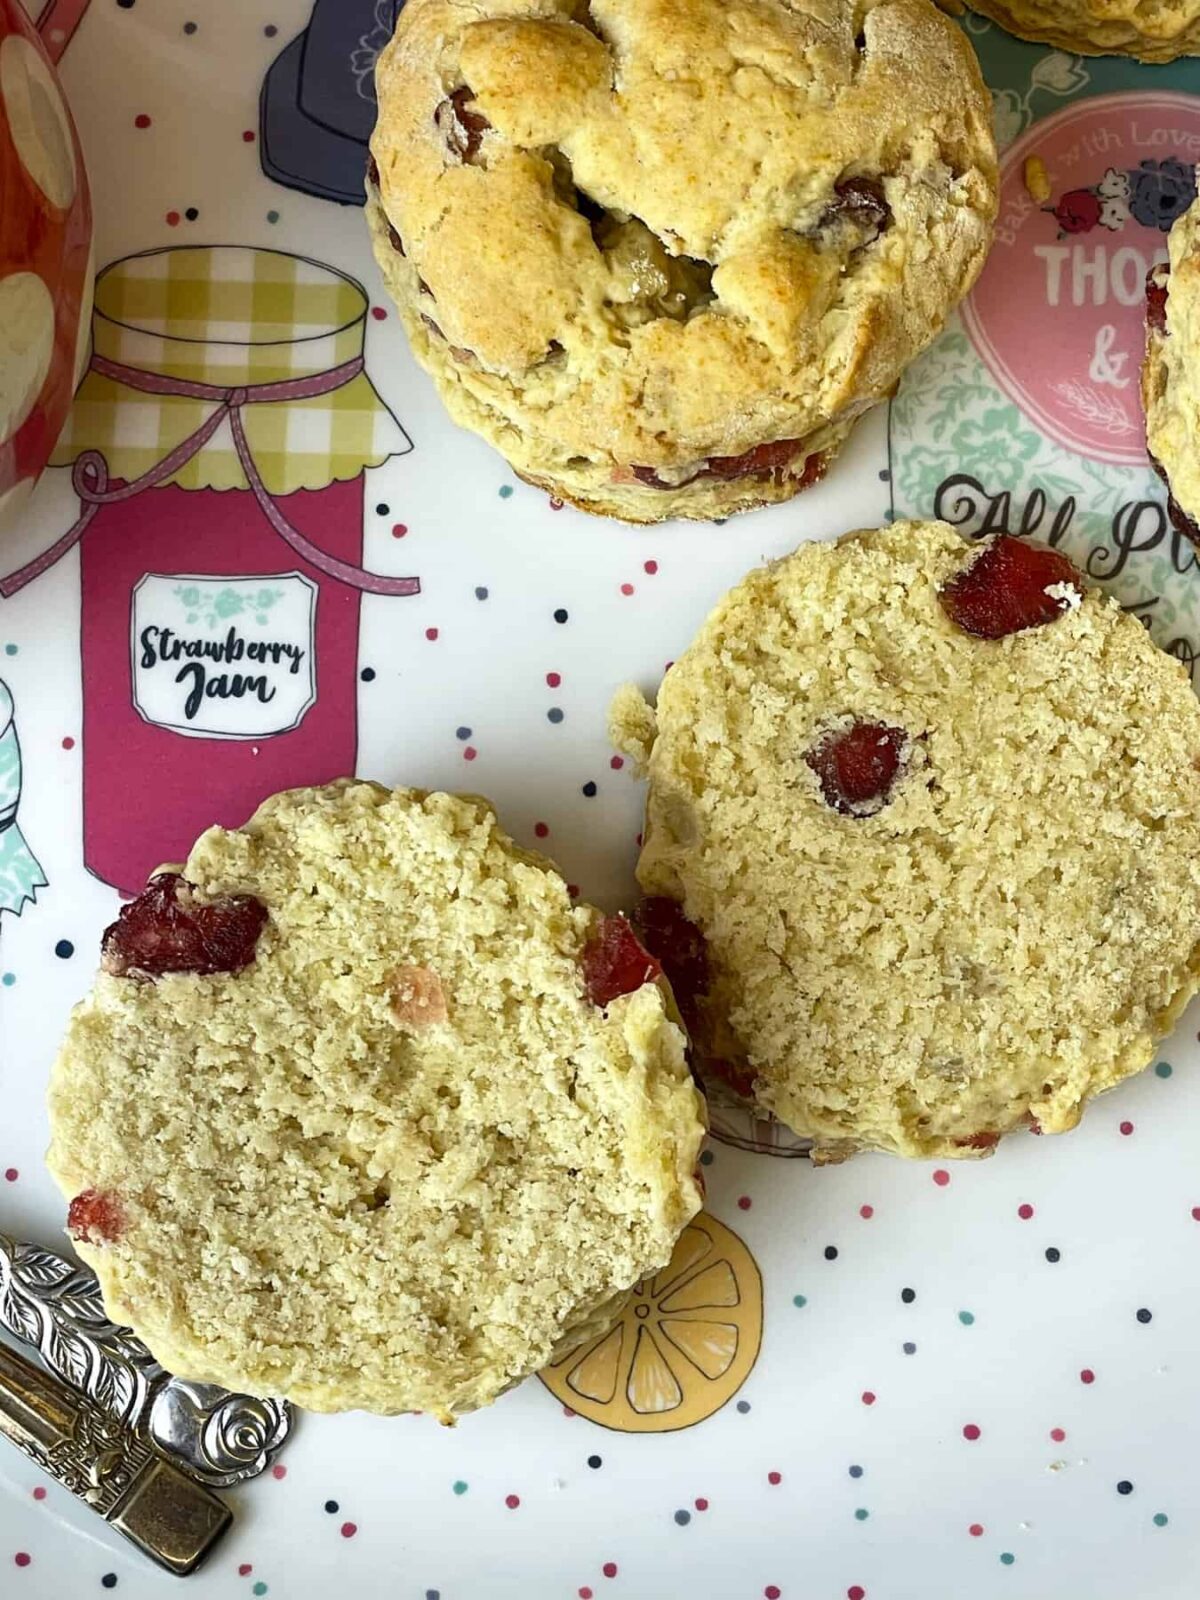
🍮 More old-fashioned scone recipes
For more traditional scone recipes do try our Buttermilk Scones, Cheese Scones, Edinburgh Fruit Scones, and Treacle Scones. As we're a Scottish family we absolutely love scones so will be adding many more recipes. All our scone recipes are egg-free and can be easily prepared as dairy-free.


Comments
Do let us know how you get on with the recipe as we love hearing from you. Thanks so much. Jacq x


Jazz says
hi. what are the measurements for the ingrdients?
Jacq says
Hi, The measurements are in the recipe card, here is a direct link to the recipe card https://traditionalplantbasedcooking.com/old-fashioned-cherry-scones/#recipe If you click the 'jump to recipe' button at the very top of the blog post it will take you direct to the recipe. Jacq x