This Depression Era Peanut Butter Bread is a vegan adaptation of the 1930s peanut butter loaf or bread that was popular during the US Great Depression when budgeting, making-do, and substituting ingredients was key to survival.
More recently, Peanut Butter Bread has arose to popularity during the global pandemic and it became something of a lockdown baking sensation on social media!
Peanut butter bread is a great recipe to have-to-hand as its an easy, quick, and budget-friendly bake that can be jazzed up with either sweet or savoury spreads and jams, toppings, and fresh fruit or enjoyed simply with a nice cup or tea, coffee or chilled oat milk.
What was the depression era?
The Depression Era, also known as the Great Depression, was a severe worldwide economic downturn that began in the summer of 1929 in the United States following a major fall in stock prices, and extended until 1939, ending with the advent of World War II. It was the longest, deepest, and most widespread depression of the 20th century, and resulted in high unemployment rates and widespread poverty.
The economic crisis of the Great Depression had a profound effect on food and cooking as many people lost their jobs which led to a loss of income, so families had to stretch their food dollars and make do with what they had.
Frugality and making do in the Depression era
People suddenly found that to survive they had to become more resourceful and find ways to make their food last. They learned to use every part of the food they had, including parts that would normally be discarded. For example, bones from a roast could be boiled to make a cheap broth, stale bread could be used for bread pudding or breadcrumbs, and overripe bananas could be used to prepare banana bread.
The U.S. government created programs to help families in need and one of these was the introduction of food stamps which provided staple foods like flour, cornmeal, and canned foods. With some foods hard to come by, cooks became experts at finding substitutions and they would often replace more expensive ingredients with cheaper alternatives, such as using applesauce instead of butter in baking.
Recipes from the Depression Era often included inexpensive ingredients and were designed to stretch expensive items. Casseroles and stews, which could be made in large batches and stretch small amounts of meat, were common. Dishes like meatloaf, macaroni cheese, creamed chipped beef [have a look at our version creamed chickpeas on toast!], creamed corn soup, American goulash, chocolate cake [made with vinegar instead of eggs], and many variations of beans and rice dishes became popular due to their budget-friendly ingredients.
These resourceful and frugal practices had a lasting impact and influenced home cooking and recipes for many generations, even now many people look back fondly at their grandmas or great grandmas recipes recreating the dishes and despite their humble frugal ingredients they taste all the nicer because of their amazing history!
The lessons of the Great Depression continue to resonate, particularly in times of economic hardships, food shortages, and the recent pandemic we all experienced, and we can look back and see how people managed by developing their resourcefulness, resilience, making-do, adapting, and valuing the benefits of good home-cooking.
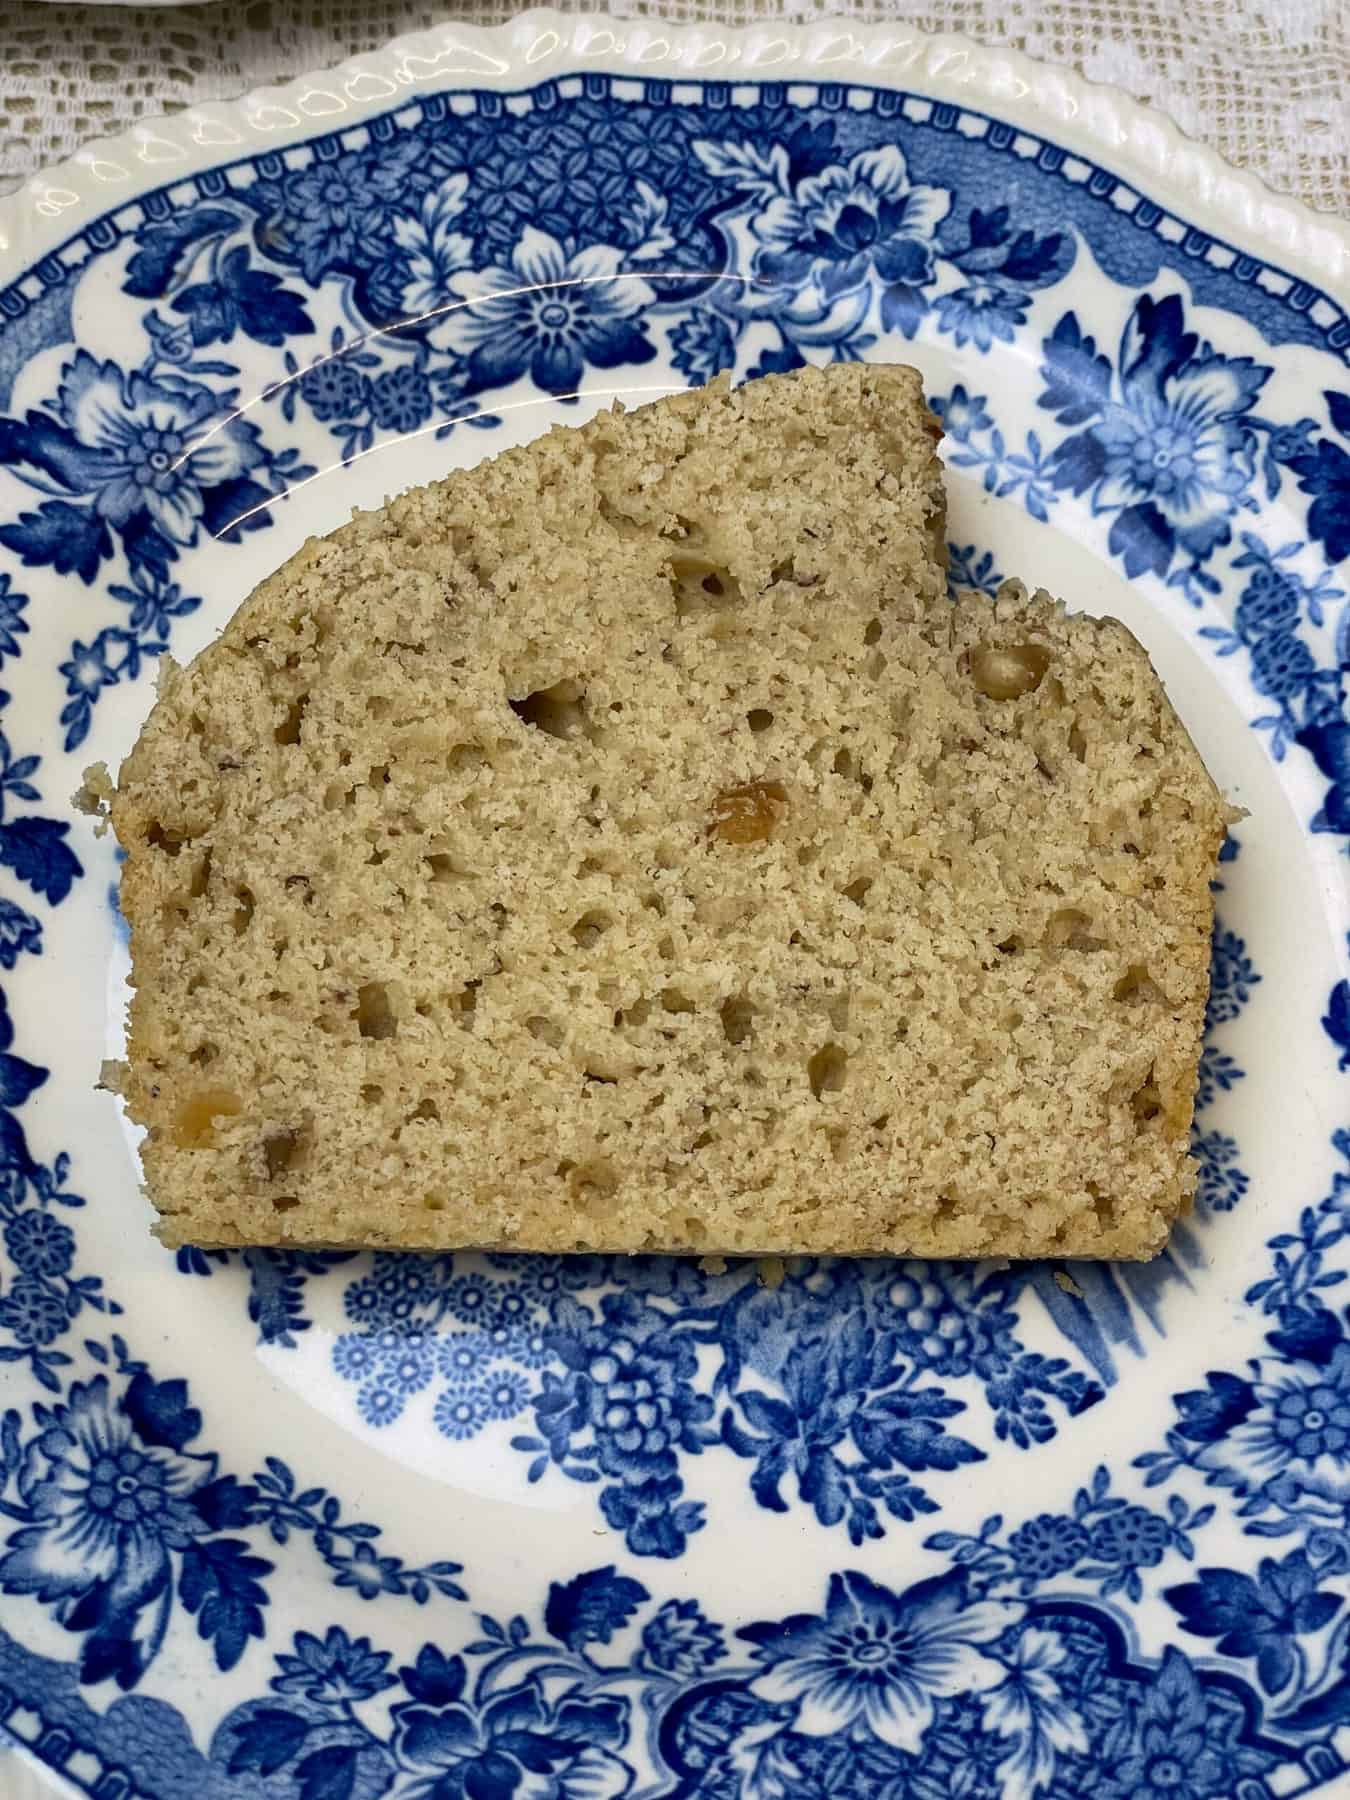
Peanut Butter Bread may hail from the Great Depression era of the 1930s but this bread is too good to stay in the past! This is a no-egg and no-dairy peanut butter bread and is simply baked with everyday pantry ingredients so is perfect for everyday enjoyment. If you are allergic to peanuts replace the peanut butter with sunflower seed butter for a tasty Sunflower Seed Butter Bread. Or try a toasted soya spread such as the Wowbutter brand which is the perfect peanut butter alternative.
Peanut butter bread and the Great Depression
Peanut butter bread, a type of quick bread, was one of those budget-friendly recipes that rose in popularity during the Great Depression. The ingredients for peanut butter bread were every-day pantry ingredients, and coupled with peanut butter and peanuts being readily available as well as high in protein and energy, this meant that a quick home-baked bread prepared with peanut butter was a great resourceful idea.
An example of an old peanut bread or loaf comes from the "Five Roses Cookbook; Bread Pastry Etc," [1915] a cookbook that was published in the early 20th century and this amongst many other Five Roses cookbooks became staples in many Canadian homes.
The old-fashioned 5 Roses recipe is titled ''Peanut Loaf'' and calls for ''4 tablespoons of butter, 1 cup of flour, 1 egg, 1 ½ cups of Five Roses flour, 1 ½ teaspoons of baking powder, ½ cup of milk, and 1 cup of peanuts [cut fine].'' The instructions are simply to 'Bake in a loaf''! [pg106]
ONLINE SOURCE: archive.org [retrieved on 20th June, 2023].
Cutting the peanuts fine would have released the peanuts oil and depending on how fine they were cut or ground may have resulted in a rustic home-made peanut butter which would be perfect for peanut bread or loaf.
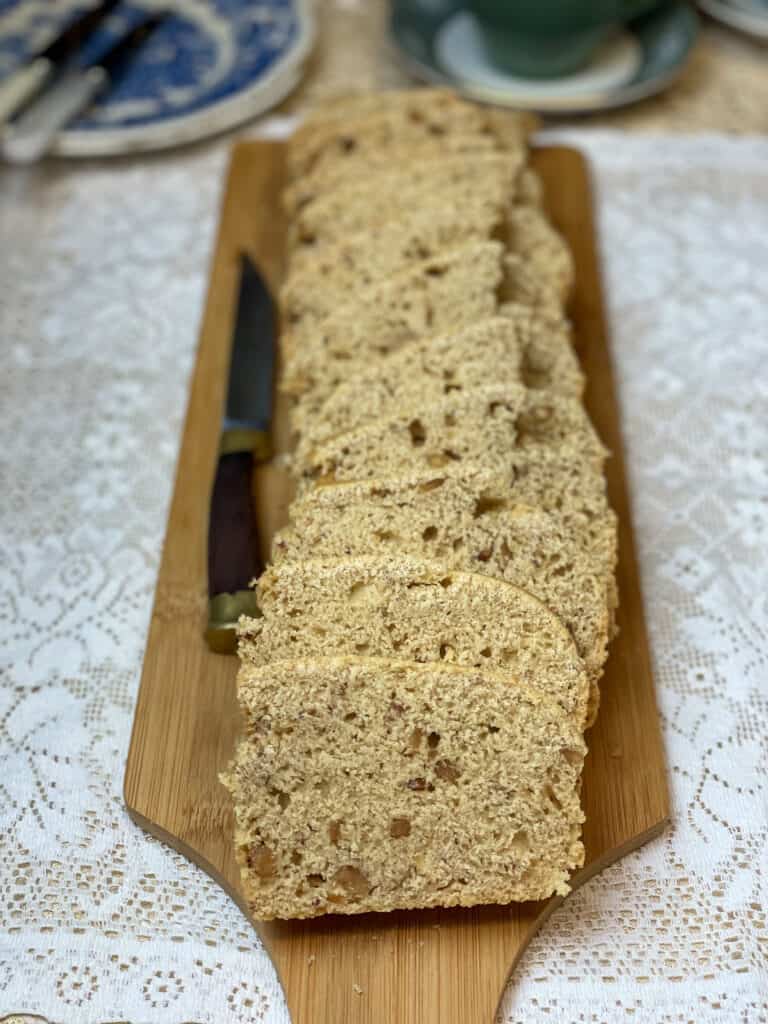
During the recent pandemic, there was a resurgence in the popularity of peanut butter bread mainly fueled by lockdown baking crazes and the depression era peanut butter bread won the hearts of many people!
Vegan depression era peanut butter bread
A vegan adaptation of a depression era peanut butter bread is not as strange as it may sound as during the Great Depression many cake, cookies, biscuits, and bread recipes were supplied by flour companies that substituted eggs as well as dairy ingredients as these staples were very expensive and harder to source. Also applesauce was a popular butter replacement for certain bakes. So a vegan peanut butter bread is for everyone and anyone to enjoy!
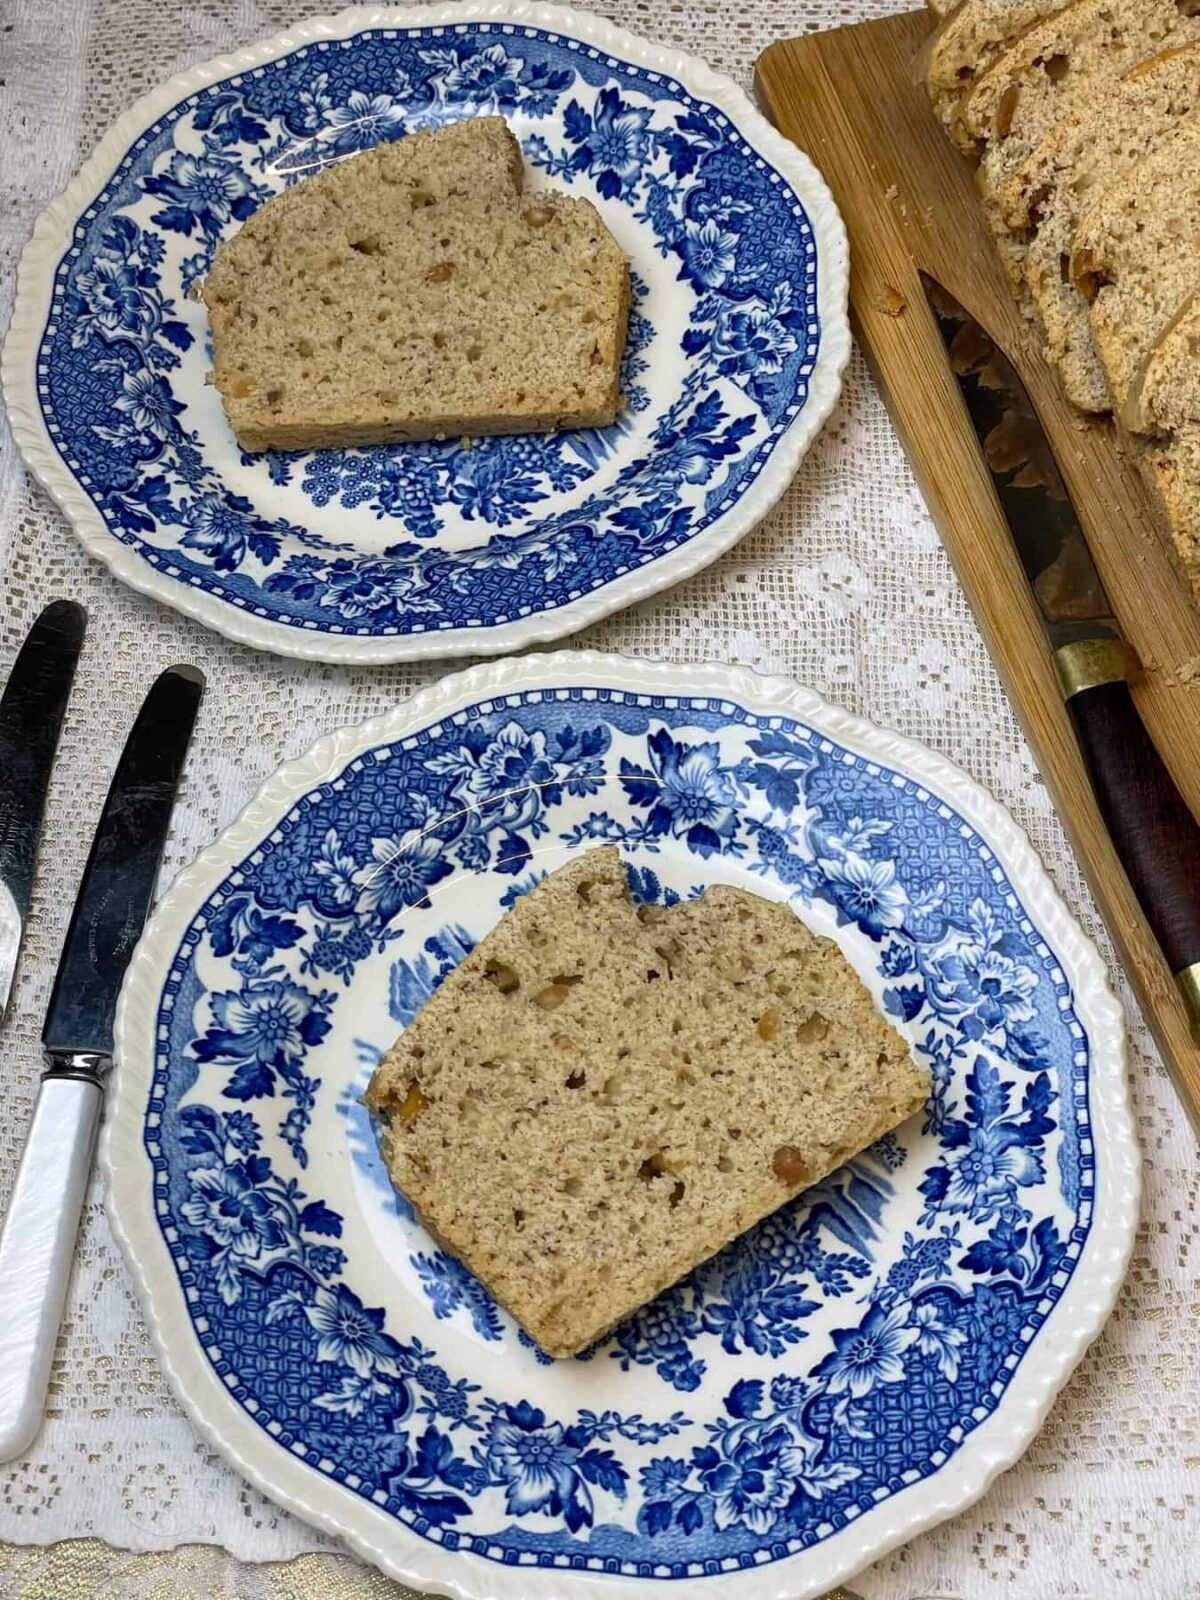
How to prepare peanut butter bread
Preparing this vegan peanut butter bread is so simple that it will likely become a staple in your home as it has in mine. It's just perfect for a quick snack or breakfast on-the-go and is really tasty with a cup or mug of tea or coffee.
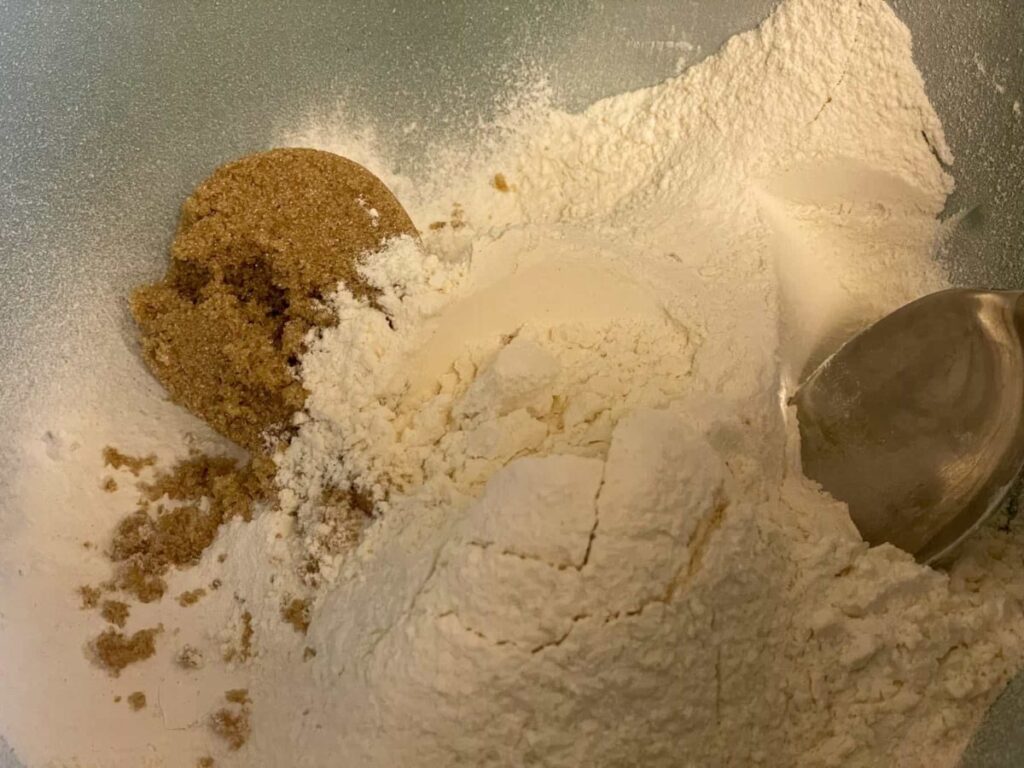
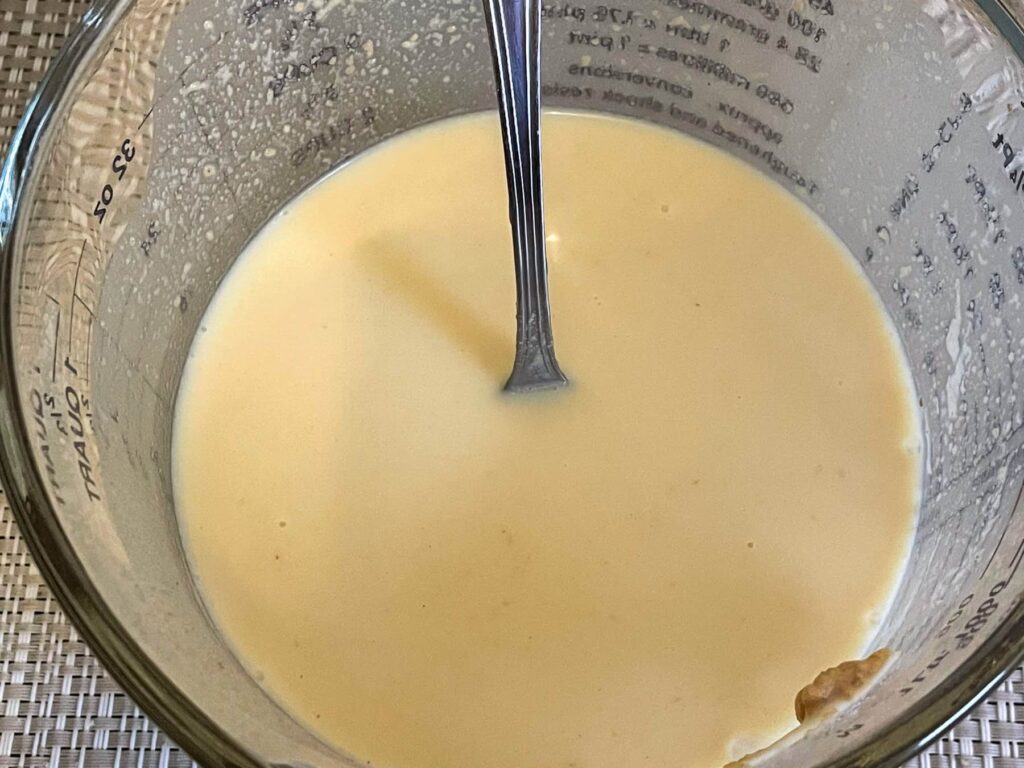
Add the plain/all-purpose flour, soft/light brown sugar, baking powder and a pinch of optional salt to a mixing bowl. Mix the peanut butter, plant milk and vanilla extract together in a separate jug/small bowl.
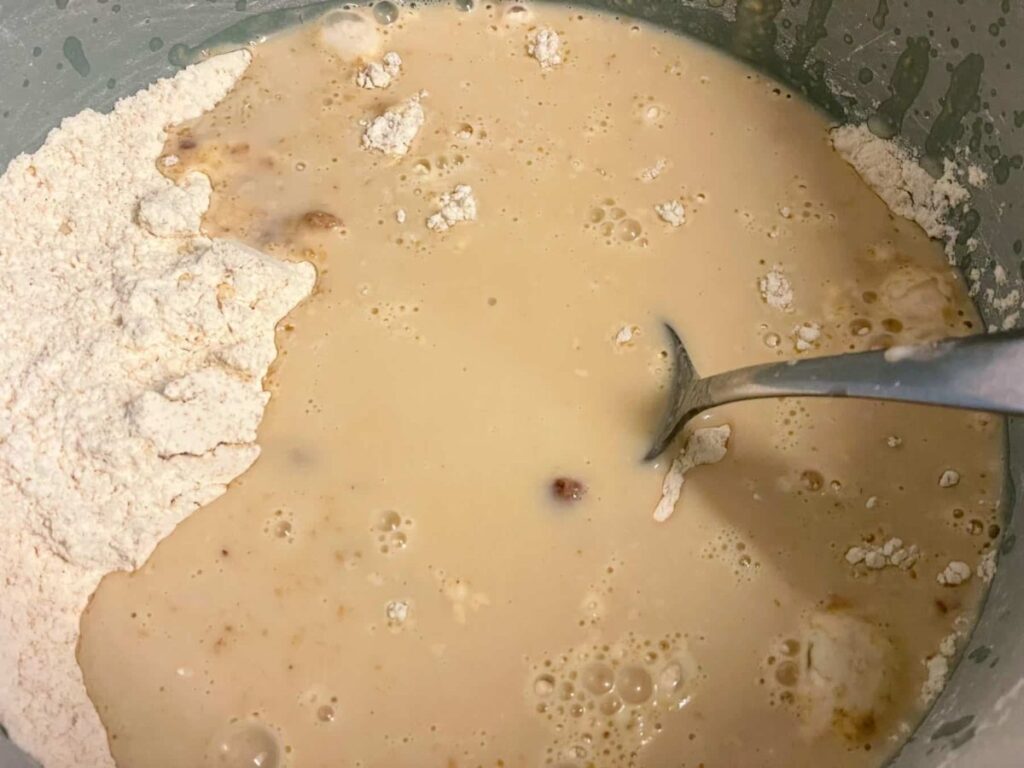
Pour the plant milk mix into the flour mix.
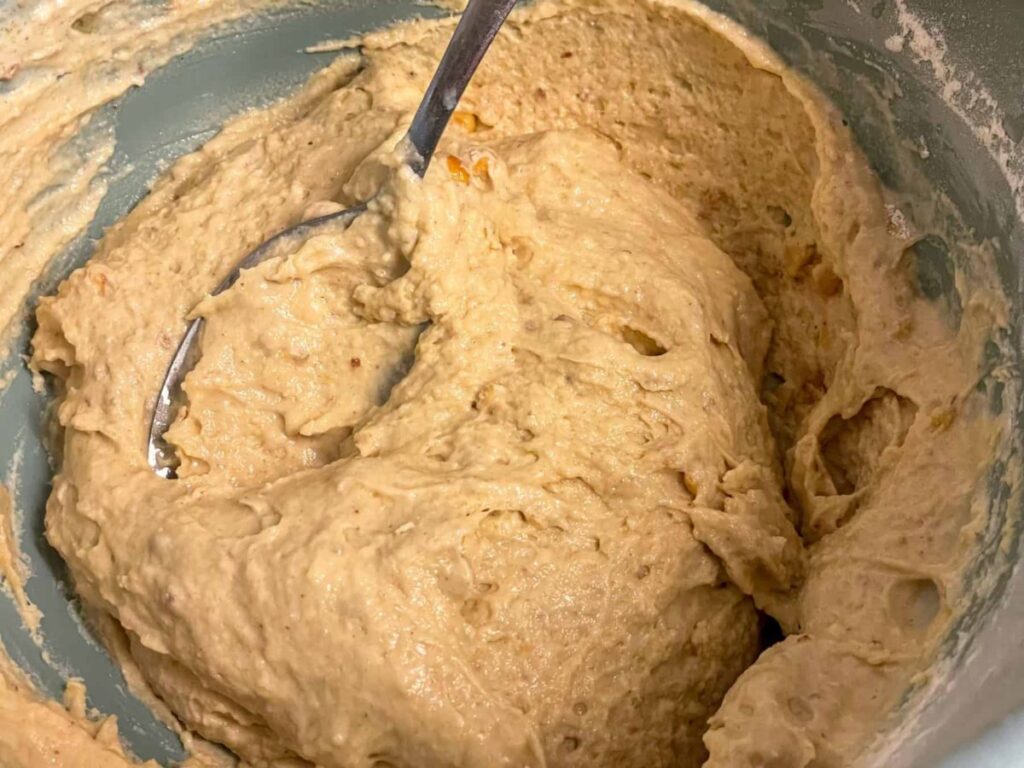
Mix everything until combined.
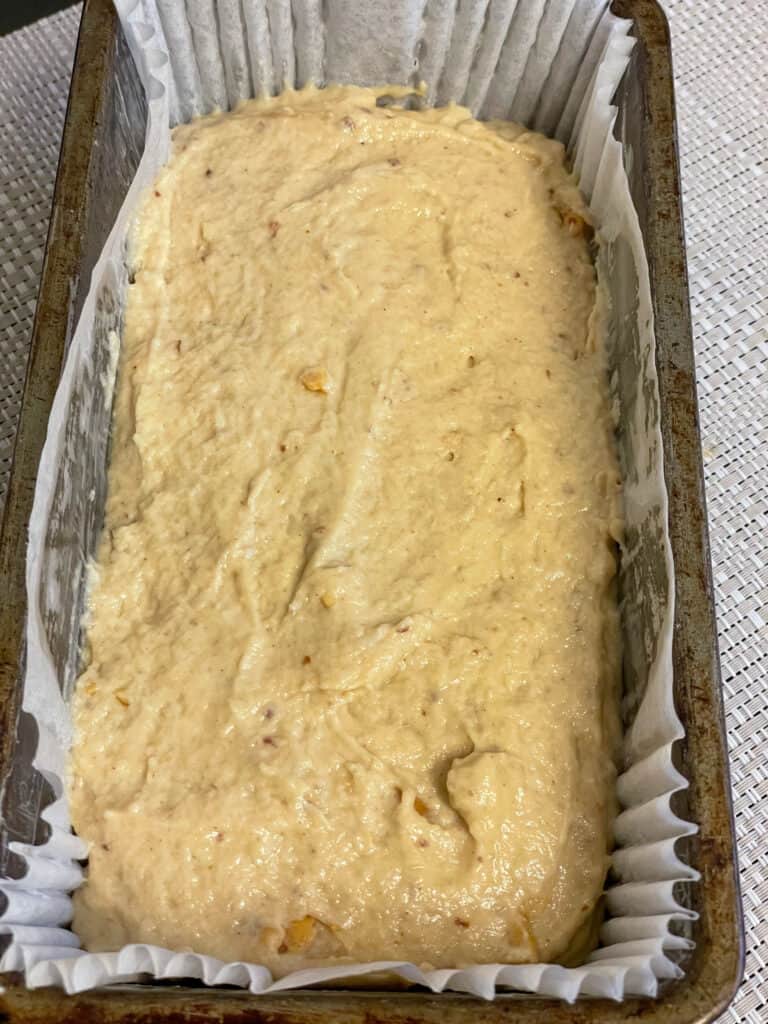
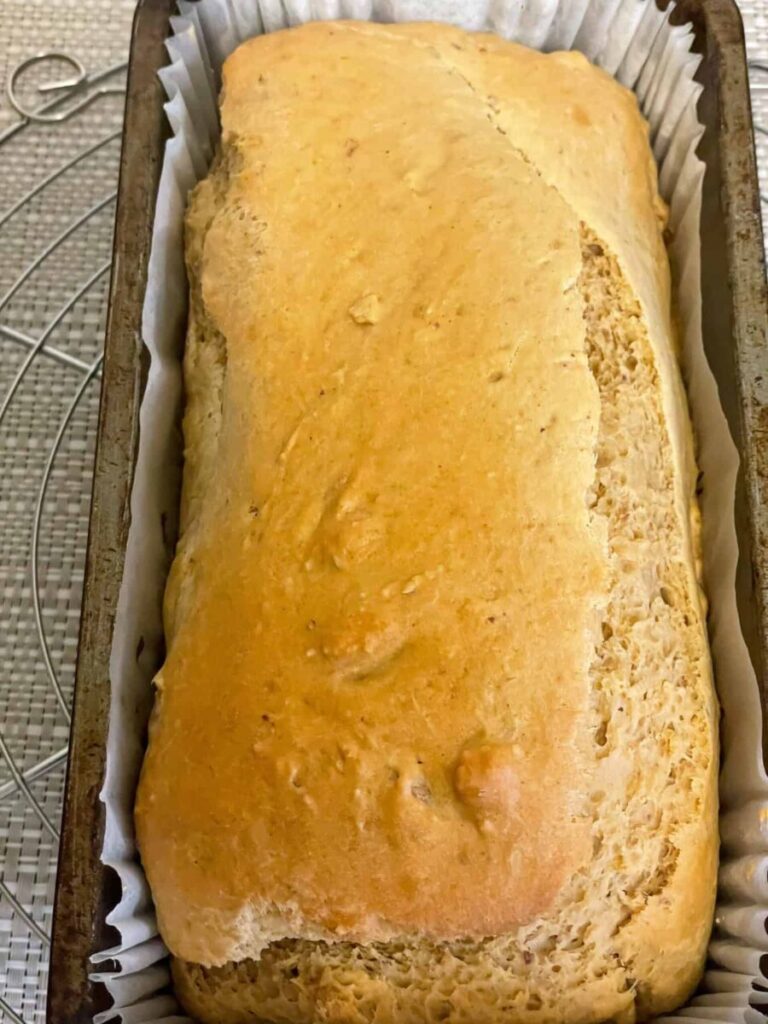
Scoop the bread mix into a prepared loaf pan.
Bake on the middle oven shelf for 45-60 minutes until well risen, firm, and golden.
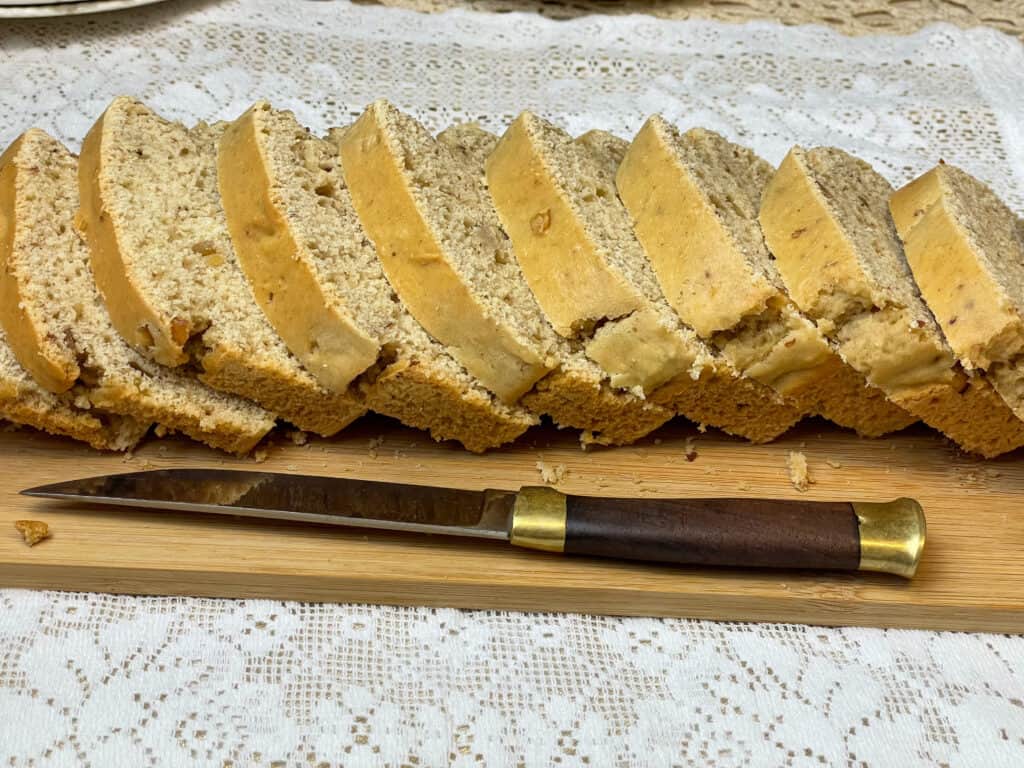
Allow the bread to cool in the loaf pan for at least 15 minutes before carefully tipping out to cool completely on a wire rack. If you don't have a wire rack simply place on a chopping board or similar.
Peanut butter bread is a delicious bake on its own but for an extra special treat perhaps stud the top of the just-out-of-the-oven bread with some vegan chocolate drops or chips so that they partially melt in the residual heat.
Recipe notes and frequently asked questions
Storage
Store peanut butter bread wrapped well in greaseproof paper and an extra layer of kitchen or Aluminium foil for 3-4 days. Once wrapped the bread could also be placed in a bread tin. Alternatively, place in a bag suitable for keeping bread fresh such as a bread bag.
Freezing
Or freeze the peanut butter bread for 2-3 months either as an entire loaf, part of the loaf, or place small pieces of parchment paper between slices so that it is easy to remove 1 or 2 at a time.
Refresh
Refresh slices of peanut butter bread by toasting them in a toaster or under a grill [broiler]. A dry fry pan or skillet can also be used to toast or warm through slices. Alternatively, warm the sliced bread for a few minutes in a warm oven.
As peanut bread bread is not too sweet it can be topped with either savoury or sweet toppings and enjoyed for breakfast, brunch, sides, or snacks.
It can be spread with vegan butter or margarine, fruit jam, marmalade, preserves, chutneys, relishes, vegan cream cheese, vegan chocolate spread, biscoff, peanut butter, sunflower seed butter, soy nut butter, marmite, hummus, mashed avocado, salsa, vegan yogurt, vegan creme fraiche, vegan cottage cheese, etc.
A few peanut butter bread topping ideas:
* chopped fruit such as kiwis, plums, peaches, fresh berries, grapes, etc
* mashed banana or banana slices
* slices of fresh tomatoes, cucumber and other salad bits
* sprinkle of nuts or seeds
* slices of your favourite dairy-free cheese
* cooked vegan bacon
* a drizzle of maple syrup, date syrup, rice syrup, etc
* vegan chocolate sauce, this would go wonderfully with the peanuts and would be like a vegan chocolate snickers style peanut butter bread
For a chocolate chip peanut butter bread, chocolate chips or drops could be scattered over the top of the bread once it is out of the oven. Gently press the chips into the surface and they will melt beautifully in the residual heat.
Or drizzle some vegan chocolate ganache over the bread once it has cooled and allow the ganache to drip down the sides to create a delicious chocolate peanut butter bread.
For a quick filling snack simply have a slice of peanut butter bread along with a nice cup of tea, coffee, or chilled glass of oat milk.
Other than simply eat slices of buttered peanut butter bread or topping it with your favourite toppings, sauces, or spreads, here are a few ideas:
* Use slices of peanut butter bread to prepare vegan french toast.
* Slices can be used for a vegan bread and butter pudding, or an old-fashioned bread pudding.
* Add peanut butter and fruit jam to two slices for a delicious peanut butter and jelly sandwich.
* Fry slices in a little oil or pan fry without oil and enjoy as a side along with a vegan cooked breakfast or brunch, such as with our tasty Vegan Corned 'beef' Tempeh Hash, or our Vegan Smoked Tofu Kedgeree, or our Scrambled Chickpeas, and our Vegan Mushroom Steak Diane.
* Slices of peanut butter bread can also be toasted, grilled or broiled.
* Enjoy a few slices along with our delicious Budget-Friendly Tomato Soup or with our Slow Cooker Spicy Peanut, Black Bean Soup and Potato Soup.
For a baking recipe, you would generally want to use a creamy and smooth peanut butter, as it mixes into the batter more easily and ensures a good distribution of peanut flavour throughout the bake, however for a peanut butter bread a chunky peanut butter can provide the bread with interesting texture so can work just as well as a smooth peanut butter.
Here are a few more considerations:
Natural vs. processed peanut butter: Both types can work in baking, but keep in mind that natural peanut butter (the kind that separates) might make your bread a bit more oily or dense. Processed peanut butter is usually easier to work with in baking, as it's already emulsified and won't separate, although, saying that we used a natural 100% peanut butter in our recipe and it does work fine.
Sweetened vs. unsweetened peanut butter: This depends on how sweet you want your bread to be. If your recipe calls for added sugar, an unsweetened peanut butter might be best to prevent the bread from becoming too sweet. However, if your recipe doesn't include much added sugar, or if you prefer a sweeter bread, a sweetened peanut butter could work well. A less sweet peanut butter bread would make it more suitable for accompanying soups and stews.
Salted vs. unsalted peanut butter: If the recipe doesn't specify, you can use either, but adjust the amount of added salt accordingly. If you're using salted peanut butter, you might want to reduce the amount of added salt. For our peanut butter bread recipe, if your peanut butter contains salt you can omit the added salt or just add a small pinch.
Ultimately, the "best" peanut butter to use for your baking recipes could vary depending on the specific recipe and your personal taste preferences. So just go with whatever peanut butter you have to hand or like best.
Yes, the peanut butter can be replaced but then so would the name of the recipe! For example if you replace the peanut butter with sunflower seed butter [or toasted soya spread] the bread will become a sunflower seed butter bread which will still be very tasty.
Other substitutions you can try are almond butter, cashew butter, or soy nut butter.
A thick tahini may be used but this will substantially change the flavour of the bread and possibly the texture. We have not tried these substitutions yet so if you do make changes do let us know how you get on.
Sunflower seed butter or sunflower butter or sun butter, is a ground seed paste made from roasted sunflower seeds. Similar to peanut butter and other nut butters, the seeds are typically roasted and ground until they turn into a paste, and then salted and or sweetened to taste.
Sunflower seed butter has a slightly earthy, nutty flavour that's a little less sweet than traditional peanut butter and the texture is similarly creamy and spreadable, though it can be a bit thicker and less smooth compared with some nut butters.
One of the benefits of sunflower seed butter is that it's a great option for people with peanut or tree nut allergies, since it offers a similar taste and texture while being nut-free and it's also a good source of protein, healthy fats, fiber, vitamin E, magnesium, and other nutrients. For allergies do check the packaging carefully for the allergen safety advice.
Sunflower seed butter can be used in the same ways as peanut butter, in sandwiches, baking, cooking, dips, sauces, smoothies, and more.
However, it can sometimes have a slightly greenish color when used in baking due to the presence of chlorophyll in sunflower seeds reacting with baking soda or baking powder, though this doesn't affect the flavour of the finished bake.
Soy nut butter is a spread made from roasted and ground soybeans and its also known as toasted soya spread. Its texture is similar to peanut butter or other nut butters as the roasting and grinding process gives the soybeans a creamy consistency that's similar to peanut butter.
Soy nut butter can be a good alternative to peanut butter for those who have peanut or tree nut allergies, as it's usually produced in a nut-free environment, although do check the packaging carefully to confirm that it is safe for allergies. Soy nut butter has a similar protein content to peanut butter, and can be a good source of fiber and omega-3 fatty acids.
Although, the flavour of soy nut butter is not an exact match to peanut butter it does have a nutty flavour but it is not quite as rich or sweet as peanut butter. The best thing is that it can be used in the same ways as other nut butters such as in sandwiches, baking, cooking, smoothies, dips, sauces, etc.
Wowbutter Creamy Toasted Soya Spread can be found on Amazon both in the US and the UK, but it can also be found in Holland & Barratt and Tesco in the UK, and Walmart in the US, and in Australia it can be found online at Great Gourmet Foods or you could use Vgood Peanot Butter which may be found on Amazon and other stores.
Yes, you can definitely make peanut butter at home, and it's pretty easy if you have a food processor. The peanuts can be either roasted before processing or left unroasted, whatever you prefer. Also, if a chunky peanut butter is liked better simply process for less time. The additions of oil, salt, sweeteners such as maple syrup or sugar, and salt are all optional.
Ingredients:
* about 2 cups of unsalted peanuts, out of their shell, the peanuts can be either skinless or have their skins intact
* ½ to 1 teaspoon of salt, to taste or omit altogether
* 1-2 tablespoons of oil, such as peanut, canola, or a your preferred vegetable oil, the oil can be omitted but it does help the peanuts grind more smoothly and less thick
Instructions:
1. Preheat the oven to 170 Fan, 190C, 375 Fahrenheit, Gas 5.
2. Spread the peanuts out on a baking sheet/tray in a single layer.
3. Roast the peanuts in the oven for about 10 minutes, checking a few times to make sure they do not burn.
4. Allow the peanuts to cool for a bit after roasting.
5. If you prefer smooth peanut butter without the skins, you can rub the peanuts together in your hands to remove the skins. This step is optional, and leaving the skins on will give your peanut butter a better flavour.
6. Place the peanuts in a food processor. Process the peanuts until they form a paste. This usually takes about 1-5 minutes depending on the strength of your food processer. You may also have to do the processing in small bursts to avoid over heating your processor although do consult the manufacturers booklet for advice on your particular processor. You can add some oil to help the process if it looks like your processor needs some help!
7. At first, the mixture will look crumbly, then it will form a rough ball shape and finally it will turn into more of a smoothish, creamy paste. Scrape the sides of the processer bowl to push bits of peanuts back into the mixture, when required during processing.
8. Once the peanuts have become a smooth paste, you can add in the salt and any sweeteners, if using and process for another 30-60 seconds to blend these in. If the peanut butter looks too thick or dry, you can add oil a little bit at a time while the food processor is running, until the peanut butter reaches your desired consistency.
9. Taste your homemade peanut butter and adjust the seasoning if needed. You can add more salt or sweetener to suit your preference.
10. Store your homemade peanut butter in a sealed container in the refrigerator. It will usually keep for about 2 months.
11. That's it! Now you have homemade peanut butter. This recipe is very flexible so you can add more or less salt, sweetener, and oil to suit your personal taste, and you can even mix in other flavours, like a little cinnamon or cocoa powder, for a twist.
Absolutely, a pestle and mortar is a great rustic way to make a home-made peanut butter but do keep in mind that it will take much more energy and effort on your part!
Simply follow the method provided above for home-made peanut butter using a food processor but add the ingredients to the mortar and process with the pestle until the peanuts are ground into either a smooth or chunky paste.
Depending on the size of your pestle and mortar you may need to process the peanuts in more than one batch.
Yes, simply follow the instructions provided above for home-made peanut butter but substitute the peanuts for sunflower seeds [make sure the seeds are not still in their shells!]. The sunflower seeds may require longer time to process as they are quite small compared to peanuts but it can be done so keep at it! Adding oil during processing can help the seeds process much more smoothly.
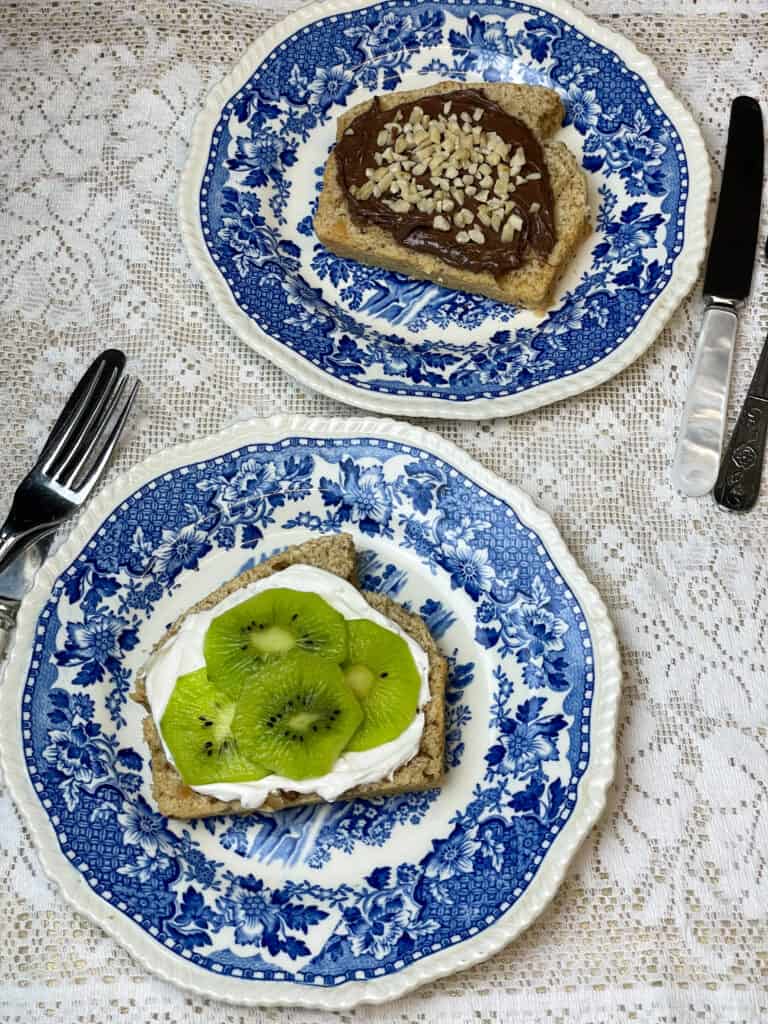
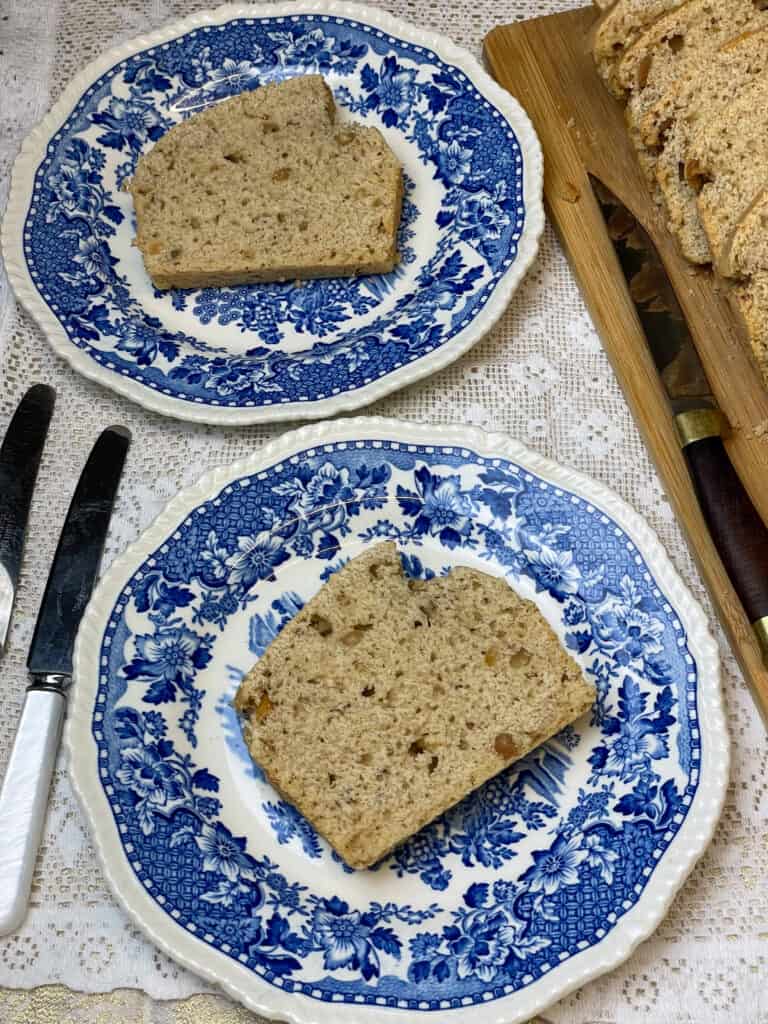
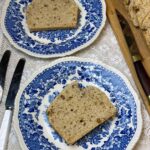
The top photo is a slice of peanut butter bread with vegan chocolate spread and sprinkled with chopped mixed nuts. The bottom photo is a slice of peanut butter bread spread with vegan soft cream cheese and topped with thin slices of kiwi fruit which made for an especially tasty breakfast. Alternatively instead of kiwi fruit pop on some blueberries, raspberries, or sliced strawberries.
More easy vegan quick bread and sweet loaf recipes
Who doesn't love a quick and easy bread or sweet loaf recipe?
These old-fashioned recipes do not require any yeast and are prepared with everyday pantry ingredients, and are utterly delicious for snacks, breakfast, brunch or even your morning cuppa.
For more easy vegan baking recipes check out our Vegan Baking Recipe collection to discover your new family favourite bake.
***please note: for US measurements click the 'US customary button' within the recipe and the measurements will switch to tablespoons, cups, and ounces.***
📖 Recipe
Vegan Depression Era Peanut Butter Bread
Equipment
- sieve
- Mixing bowls
- 1 Ib loaf pan lined with greaseproof or baking paper
- wire rack
Ingredients
- 300 grams plain flour all-purpose flour
- 60 grams soft brown sugar light brown sugar or other brown sugar
- 1 tablespoon baking powder use a level tablespoon, meaning run a knife over the top of the tablespoon measurement to avoid using too much powder
- 135 grams peanut butter crunchy or smooth
- 280 millilitres plant-based milk such as soya or oat, or your usual milk
- ¼ teaspoon salt optional as your peanut butter may be salty enough
- 2 teaspoons vanilla extract optional but adds more flavour
Instructions
Preheat the oven to 140 Fan, 160 C, 325 Fahrenheit, Gas 3.
- Prepare a loaf pan by greasing with a little vegan butter, margarine or oil and lining with greaseproof or baking paper.
- Sift the flour and baking powder into a mixing bowl and stir through the sugar salt.300 grams plain flour, 60 grams soft brown sugar, 1 tablespoon baking powder, ¼ teaspoon salt
- In a jug or small bowl mix the peanut butter, milk and vanilla together.135 grams peanut butter, 280 millilitres plant-based milk, 2 teaspoons vanilla extract
- Scoop the peanut butter mix into the flour and mix until its all combined.
- Add the batter to the loaf pan and level out the surface.
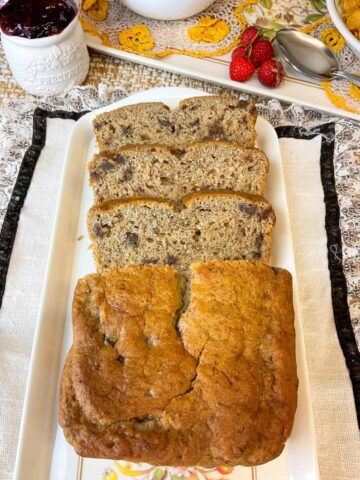
- Bake for 45-60 minutes, on the middle oven shelf. Exact times will depend on your oven and the bread will be ready when it has risen, is firm, and light golden. also a skewer popped in the bread will come out clean once it has baked through. As this is a quick bread there will likely be a crack on the surface but this is perfectly fine and is to be expected.Fan ovens bake faster so check after 45 minutes for doneness, our bread was ready after baking in a fan oven for about 45 minutes.
- Allow to cool for at least 15 minutes in the loaf pan before removing to cool completely on a wire rack or even just place on a chopping board.
Notes
- Nutritional information is provided for guidance only and is not a strict calculation as ingredients vary.
- Store peanut butter bread wrapped well in greaseproof paper and an extra layer of kitchen foil for up to 4 days. The wrapped bread can also be placed in a bread tin or other covered container. Or place into a food-grade bag intended for keeping bread fresh.
- To re-freshen staler slices toast or grill slices of bread. Or place in a warm oven for a few minutes.
- Freeze well wrapped in a layer of greaseproof or baking paper and a second layer of kitchen foil or a freezer-proof bag or food wrap for up t2-3 months.
- The vanilla extract is optional but does provides additional flavour. The salt is also optional and may not be required if salt is already an ingredient within your peanut butter.
- For an easy method on preparing your own home-made peanut butter or sunflower seed butter using a food processor or a more energy consuming method; a pestle and mortar, check out the recipe notes and FAQ section above the recipe.
- For a nut free bread replace the peanut butter with sunflower seed butter [ground sunflower seeds] or toasted soya butter which is a peanut butter replacement. One brand is Wowbutter creamy toasted soya spread and can be found on Amazon, Tesco, Holland & Barrett, and Walmart.
- For a gluten-free peanut butter bread replace the flour with gluten-free plain flour or all-purpose gluten-free baking flour, use gluten-free baking powder, and add about ½ teaspoon of xanthum gum to the flour to help the crumb bind together. An extra tablespoon of milk may need to be added if the bread batter looks too dry.
Nutrition
Prepared our delicious Vegan Peanut Butter Bread? Do let us know how you got on with the recipe as we love hearing from you. Thanks so much, Jacq x

Leave a Reply