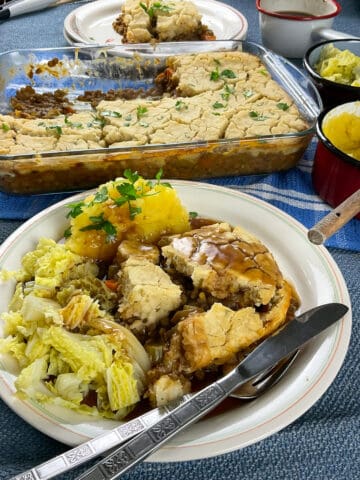
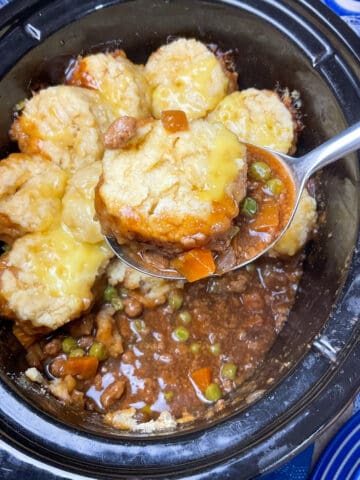
This Vegan Chicken Pie is crispy, creamy, savoury, and packed with wholesome vegetables, vegan chicken pieces [can be subbed out with creamy white beans], and hearty potatoes. We use shop-bought puff pastry for an extra quick veggie pie. However, instead of pastry go with a hotpot topping - thin sliced potatoes or other root veggies for a Vegan Chicken Hotpot, or a mashed potato or mashed veggie topping for a Vegan Cottage Pie, or a crispy topping - breadcrumbs, perhaps some crushed cornflakes, nutritional yeast flakes, and a few dots of vegan butter for a Vegan Chicken Gratin or Crumble! Or simply enjoy the filling as a delicious Vegan Chicken Stew and enjoy scooped over a mound of mashed sweet potato. So versatile, so easy, and so delicious!
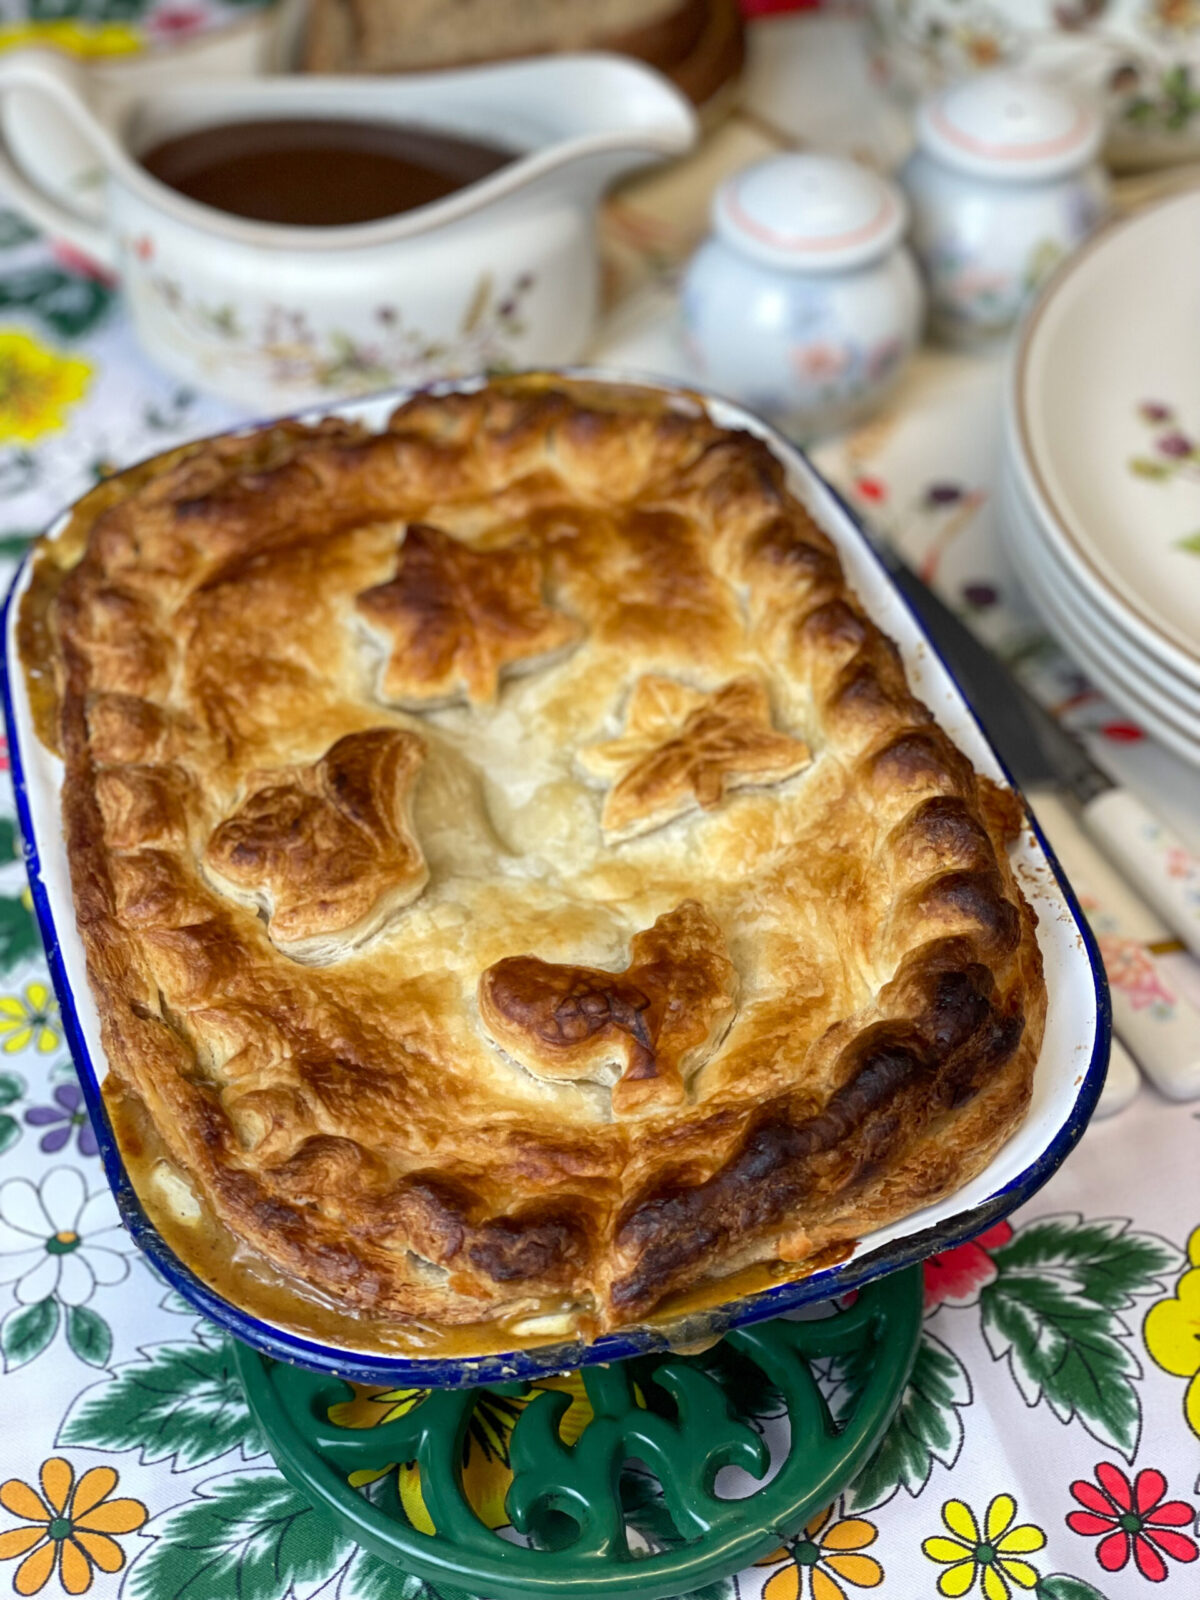
We use a puff pastry topping for our Vegan Chicken Pie but of course you can use shortcrust pastry instead. Alternatively, prepare a Vegan Chicken Pot Pie by lining the pie dish with shortcrust pastry, then pre-bake the pastry to avoid a soggy base, add the filling and top with a sheet of puff pastry. A delicious double crust veggie pot pie!
Jump to:
- History of pies and chicken pie
- Pies during ancient times
- Medieval pies
- 17th-18th Century pies
- Early Stuart era pie recipes
- The first American recorded chicken pie recipe
- Hannah Glasses 1805 Georgian [Hanoverian] chicken pie
- 19th century Victorian pies
- Modern pies
- Vegan, vegetarian, and plant-based no-chicken pies
- How to prepare
- Recipe notes
- Storing
- Freezing
- Reheating
- FAQ'S
- More vegan pie recipes
- 📖 Recipe
History of pies and chicken pie
Pies are centuries old, dating back to ancient times, and were very popular during medieval Europe. However, the pastry used to bake early pies was not always intended to be edible! Rather, during the middle ages it was simply a thick, tough, vessel of moulded pastry that was precooked before the filling was added and baked in an oven or cooked over a fire in a makeshift oven.
Pies during ancient times
The concept of baking a combination of ingredients inside a pastry shell originated in ancient civilizations like Egypt, Greece, and Rome, although these early pies were not exactly the same as modern pies.
Drawings of pies were discovered on the tomb walls of the Egyptian Valley of the Kings, and some sources claim that a chicken pie recipe was found on a 2000BC tablet! These pies would have been prepared with ancient grain flours and water, and filled with ingredients such as meat, fruits, honey, spices, and nuts.
The ancient Greeks baked open pies, with ingredients such as honey, meats, cheese, herbs, and garlic, with a bottom pastry crust. The ancient Romans took the Greek pie and added a top crust as well as extending the fillings for both savoury and sweet tarts and pies with fillings such as spiced fruits, vegetables, herbs, seafood, and meats. Roman soldiers helped to spread the new pies to the different regions that they conquered, including over to Britain.
Medieval pies
During the Middle Ages, pies, often referred to as 'pyes,' were a staple in European cooking, particularly in England. Pies were eaten by both peasants and the nobility, and these pies contained meats such as beef, lamb, mutton, wild duck, goose, and even birds like rooks, starlings, and pigeons. Chicken, or 'capon,' was another common filling. Additionally, medieval pies may have contained any of the following ingredients - spices, sugar which was also classed as a spice, honey, herbs, wine, ale, broth, root vegetables, leeks, cabbages, cheese, milk [including almond milk], fish, eggs, and fruits, including dried fruits.
During medieval times, pies were primarily vessels for fillings. The crust, termed a 'coffin,' was often hand-shaped into a raised pie. Typically, this crust was baked to such a hardness that it could potentially break teeth if consumed! In some cases, the pastry might be half-baked, rendering it inedible. As a result, people typically lifted the pastry lid and scooped out the filling. Yet, the less fortunate, who sought food from noble households, might be given these tough pastry crusts. After soaking in the pie's fillings, these crusts could potentially become softer and more edible, although it was probably still quite hard to chew through!
The term "coffin" originates from the Anglo-French language, meaning "basket" or "box." Some pies were crafted to be individual-sized, making them portable, with the pastry serving as a convenient casing or lunchbox. In contrast, other pies were grand in scale, intended to serve a large gathering. Surprisingly or even horrifyingly, these larger pies occasionally housed live birds, frogs, or other small creatures that would spring out when the pie was sliced, providing a spectacle at banquets and feasts!
The grand stand-alone pies were often crafted into intricate designs resembling castles, adorned with pastry "battlements" and "towers". These edible architectures housed a medley of fillings - from custards and fruit compotes to herb sauces and meat stews. To further the entertainment value, these pastry castle towers were sometimes flambéed, igniting into a mesmerizing spectacle!
For more information see Cooking & Dining in Medieval England [2020 edition] by Peter Brears.
These grand medieval pies is where the old children's nursery rhyme originates - ''Sing a song of sixpence''
The lyrics:
''Sing a song of sixpence,
a pocket full of rye,
four and twenty black birds baked in a pie,
when the pie was opened the birds began to sing,
wasn't that a dainty dish to set before the king?''
Unknown author [dating back to medieval times and early Renaissance Times]

Photo of a medieval style pie, sourced from Canva Pro
17th-18th Century pies
Similar to ancient and medieval pies, 17th and 18th century pies were baked as a means to preserve the ingredients and smaller hand pies were common as they were nice and portable making them the perfect street food for travellers as well as those working in the fields or down the mines. For example, the Cornish coal miners with their meat hand pies - Cornish pasties, which were technically a whole meal within a thick edible pie pastry, and could be baked with no need for pie dishes.
Early Stuart era pie recipes
Recipes for savoury pies were published in ''The Compleat Cook'' (1658) by W.M, which had a recipe for a chicken or pigeon-pye - and the ingredients included lots of different meat as well as the chicken, orange and lemon juice, dates, mace, nutmeg, sweet marjoram, artichokes, marrow, chestnuts or gooseberries,grated bread, egg yolks, wine, and as much sweet creame as required!
In Hannah Woolley's' cookery book ''The Queen-Like Closet or Rich Cabinet'' [1672] she describes how to prepare a chicken pie -
Having your paste rolled thin, and laid into your baking pan, lay in some Butter,
then lay in some Chicken quartered, and seasoned with Pepper, Nutmeg and a little Salt,
then put in Raisins, Currents, and Dates, then lay Butter on the top,
close it and bake it, then cut it up,
and put in Clouted Cream, Sack and Sugar.
Hannah Woolley [1672]
If your wondering what the ingredient Sack was - its an old term for fortified wine or a dry sherry and it was also mentioned in Shakespeare's play Henry IV [1598] where the main character drinks lots of sack!
The first American recorded chicken pie recipe
''American Cookery" (1796) by Amelia Simmons stands as the first cookery book published in the American colonies. Before its release, colonists primarily relied on British cookbooks. Amelia's recipe for chicken pie was much more plainer than previous chicken pie recipes as it was mainly prepared with pastry, chicken, butter [one and half pounds in weight!], salt and pepper, and gravy. This highlights how the colonists were tailoring their cooking to the ingredients available in the colonies, sparking the beginning of a new American cuisine.
Hannah Glasses 1805 Georgian [Hanoverian] chicken pie
In her book, "The Art of Cookery Made Plain and Easy" (1805), Hannah Glasse featured a chicken pie recipe reflective of the periods cooking methods. After baking the pie, it was customary to lift the crust, pour in gravy, and then replace the crust before serving. Alternatively, some recipes called for a small hole in the pastry's center, allowing for the addition of liquids like gravy, eggs, or cream after baking. Glasses' chicken pie was flavoured with lemon, thyme, mace, salt, and pepper. It was further enriched with ingredients like suet, anchovies, breadcrumbs, artichokes, truffles, and morels, a type of spring mushroom.

A pie filling is essentially an extra thick stew so technically the pie filling can be enjoyed on its own or with some creamy mashed sweet potatoes or mashed turnip. If your not a fan of pastry you can always add a scalloped potato topping which is just thin slices of parboiled potato, and your pie will transform into an amazing vegan chicken hotpot!
19th century Victorian pies
Mrs Beeton has a recipe for a ''raised pie of poultry or game'' within her book ''Mrs. Beeton's Book of Household Management'' [1861] which contains - poultry [chicken] or game, veal, ham, forcemeat, egg, gravy, nutmeg, allspice, salt, pepper, and optional ingredients of truffles, mushrooms, or lard, which if included Mrs Beeton claims will result in a much nicer pie. The pastry was prepared with flour, butter, water, egg yolk and salt.
Mrs Beeton's chicken pie was a raised pie that was prepared using a pie mould or timbale to shape the pie, whereas previous raised pies would have been simply shaped by hand without moulds or pie dishes.
Mrs Beeton claims this method was much easier and the result was that the pie crust could be eaten. [see chapter XXV11 Recipes, Mrs Beeton's Book of Household Management for more details]. Elsewhere in her book Mrs Beeton claims that traditional raised pie crusts, prepared by hand, were rarely eaten.
Mrs Beeton's edible pie crust demonstrates the changing attitudes to pie crusts towards being actual food to be eaten and not discarded! Also, around this time French cooking techniques were heavily influencing British baking and this also helped transform pastry recipes into flakier, softer, buttery, pie crusts.
Modern pies
Chicken pie's popularity grew in the 20th century, and it became a common meal for many American, British, and Australian households. By the mid-20th century Chicken pie became more widespread with the introduction of frozen, ready-made versions by many different food companies.
Vegan, vegetarian, and plant-based no-chicken pies
Nowadays, with the rise in popularity of vegan, vegetarian, plant-based diets, as well as flexitarians, the chicken pie has undergone further evolution as many manufacturers are producing meat-free versions such as - In the UK: Pukka Vegan Chicken and Mushroom Pie, Linda McCartney Vegetarian Chicken and Mushroom Pie [also vegan], Quorn Vegetarian Chicken and Leek Family Pie [sadly not vegan], and from Greggs the bakery - Vegan Mexican Chicken-Free Bake which may also be found in the grocery shop Iceland although they state they are limited edition. In the US: Marie Callender's Chick'n Pot Pie [vegetarian], and Vegan Chicken Pot Pie by Alpha Foods.
These are all just a few examples and new plant-based options are always becoming available, including supermarket and stores own brands of vegan pies which tend to be less expensive, so its always worth a look for new products.
Numerous recipes for vegan versions of chicken pies, that can be baked at home are also increasing in popularity, as many more people evolve towards plant-based foods and enjoying traditional familiar favourites but with a kinder vegan twist!
How to prepare
Preparing a pie may seem like a daunting task but really its not as difficult or time consuming as it sounds, especially if you bake a pie with just a top pastry crust that is shop-bought and ready rolled!
Also the pie filling can be prepared a day or two in advance, and the pie made up and refrigerated, so it can be a simple case of pulling the pie out of the refrigerator and baking. Alternatively, freeze the vegan chicken pie either unbaked or baked, for a super quick meal for those extra busy days.
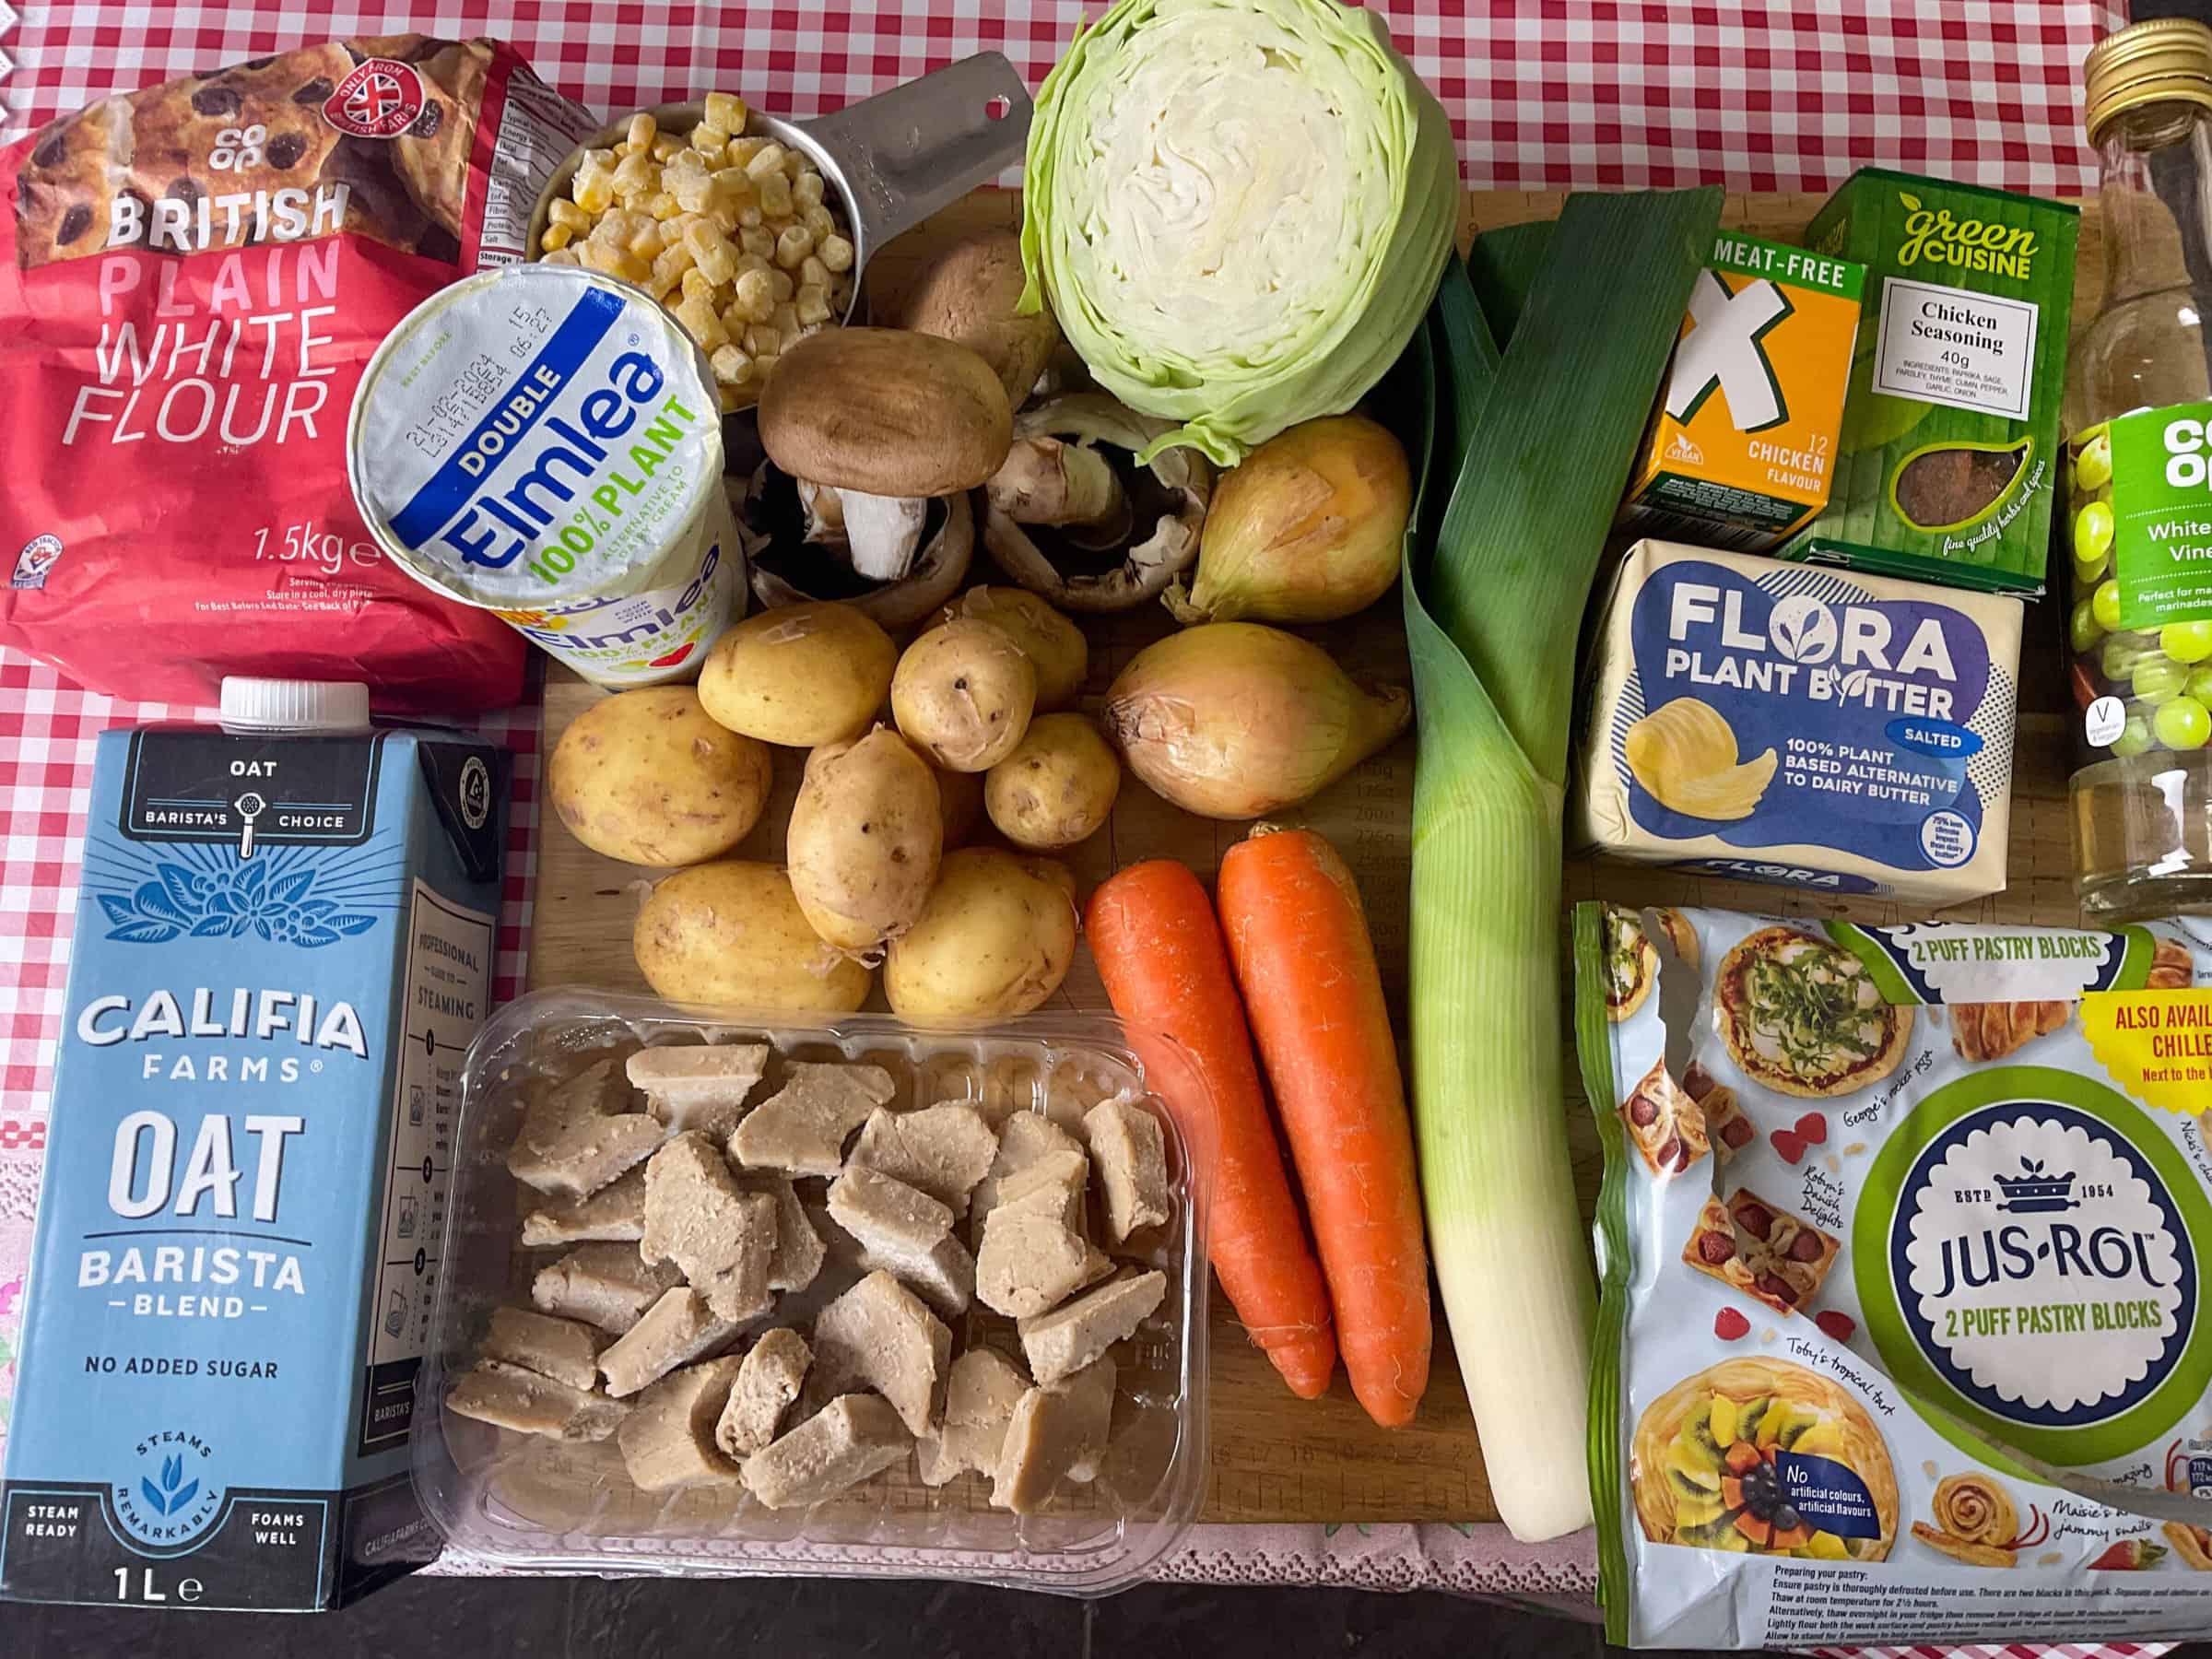
First gather all your ingredients together and prepare the vegetables.

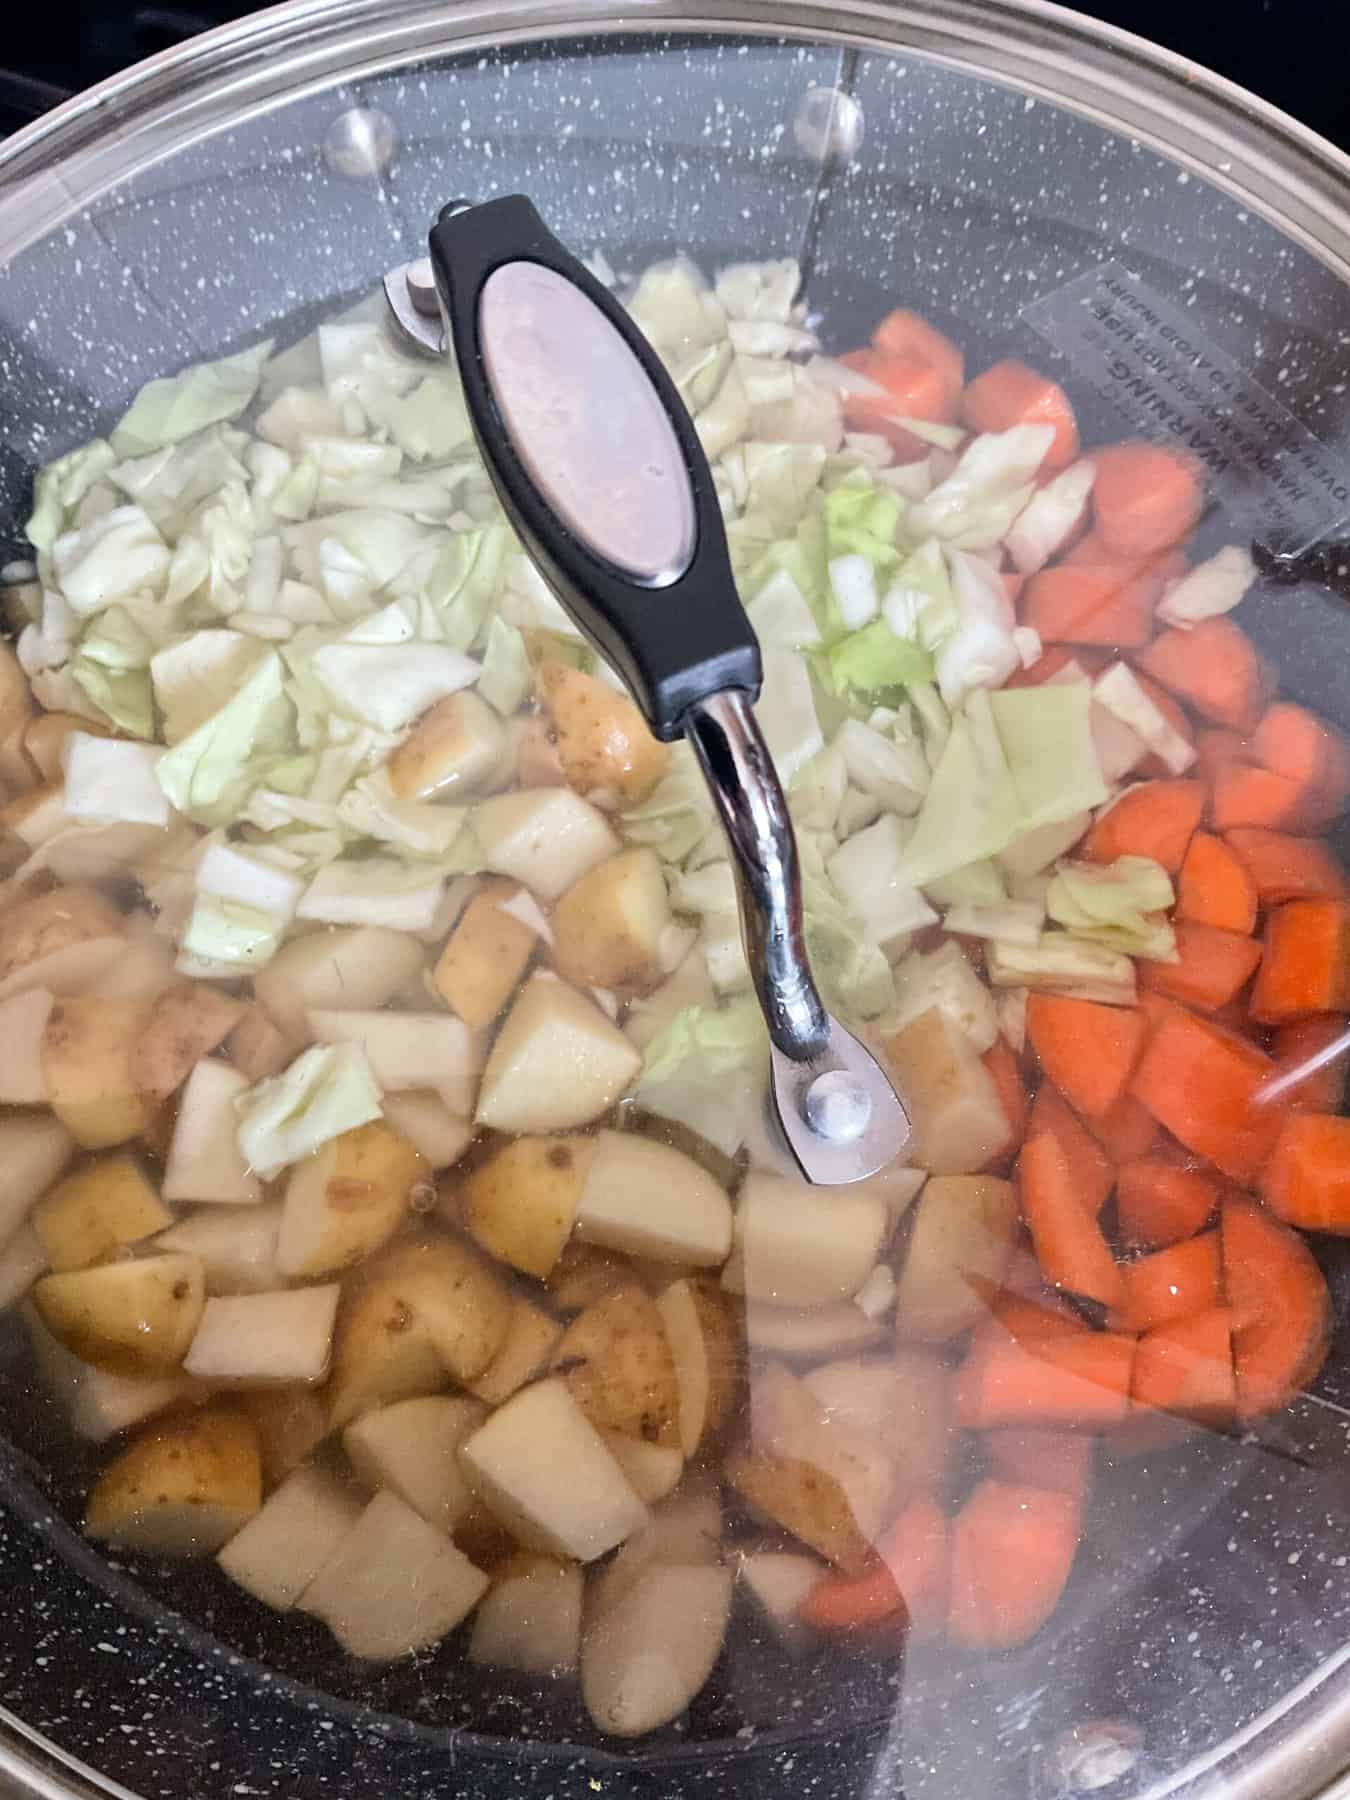
Next, precook the chopped cabbage, along with the potato and carrot chunks in a few cups of water until soft. Drain the liquid and use it to prepare the vegetable stock if using stock or bouillon cubes, powder, or a paste.
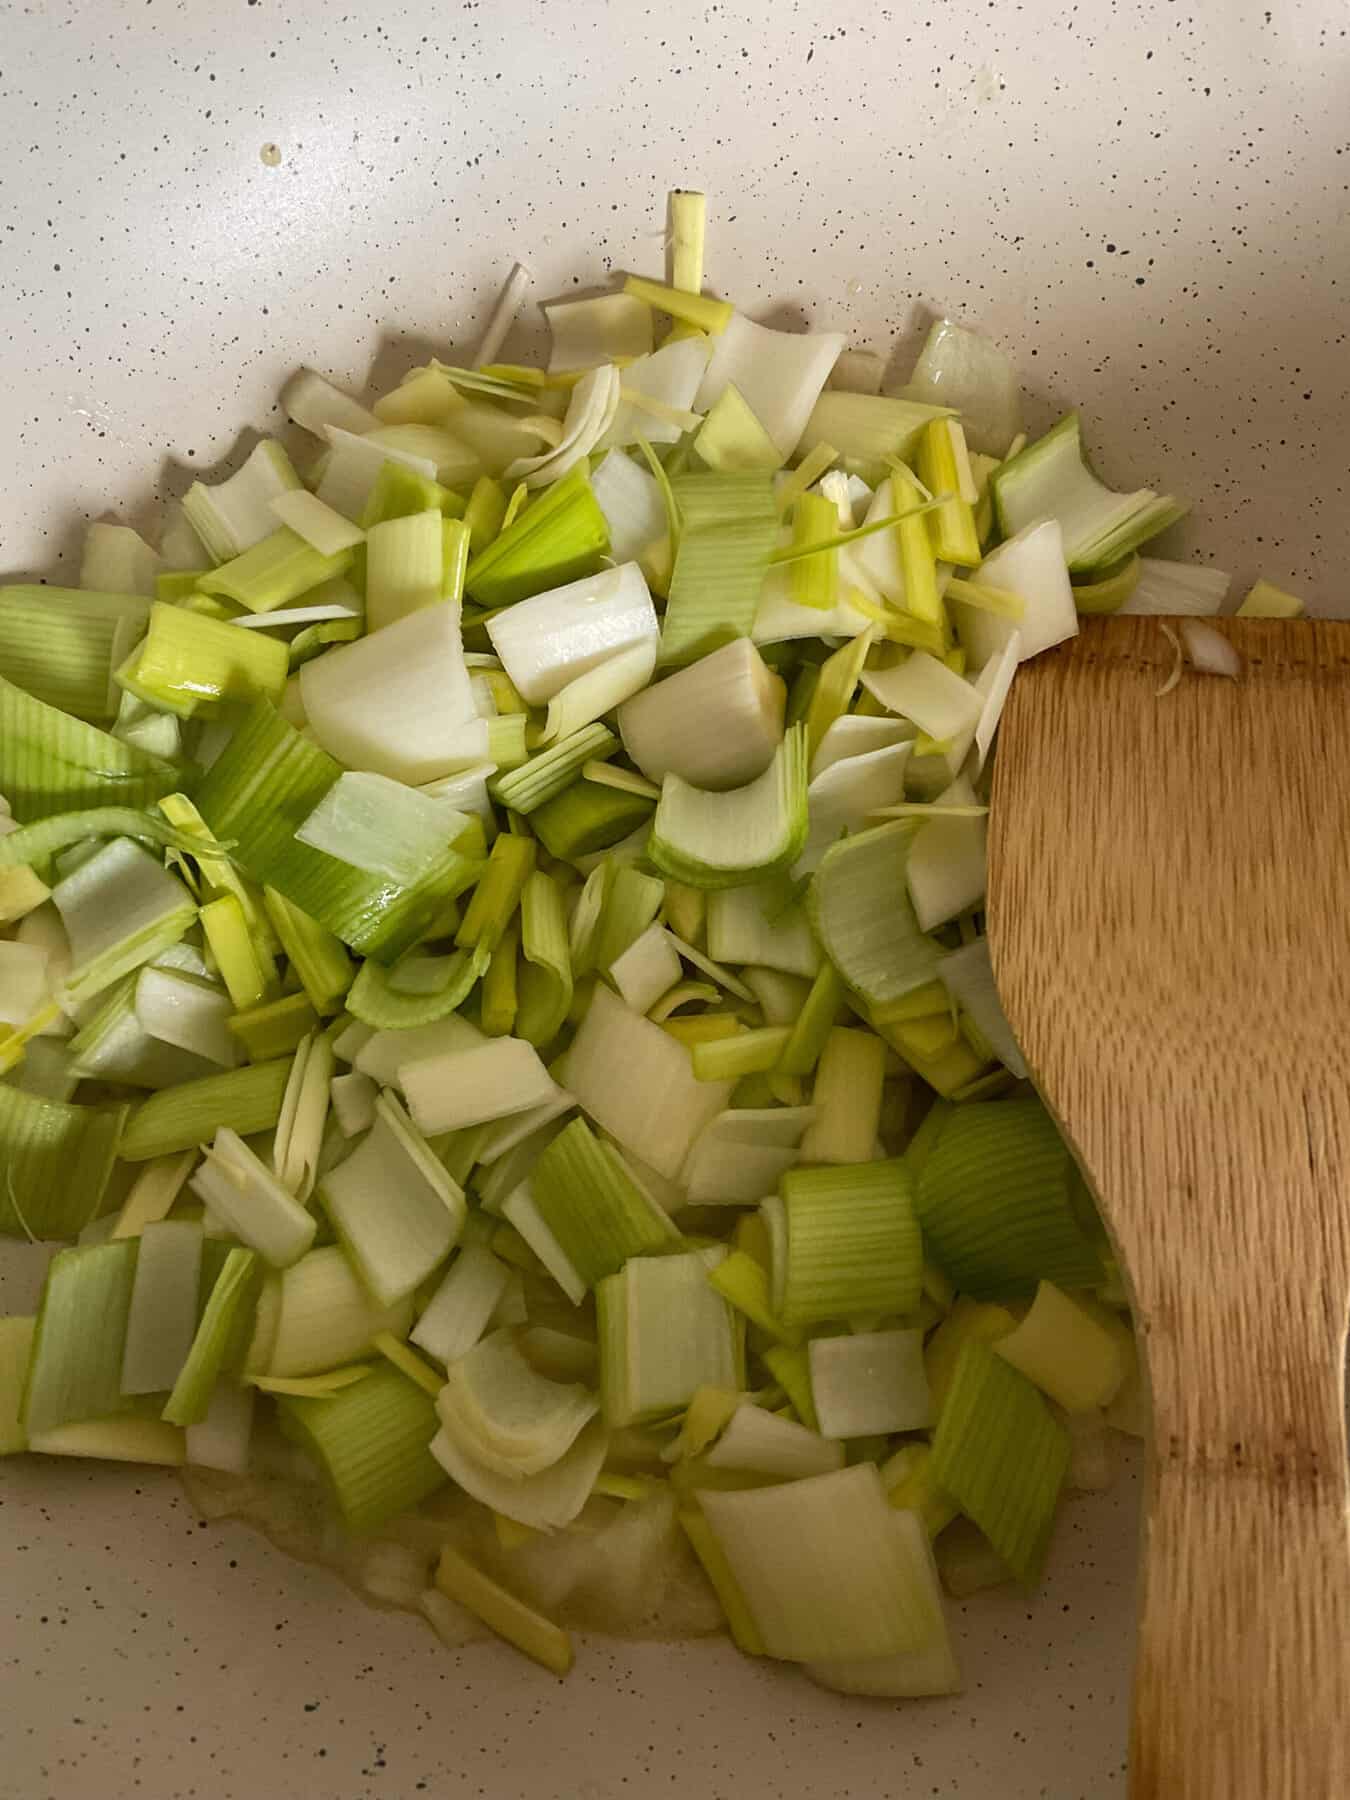
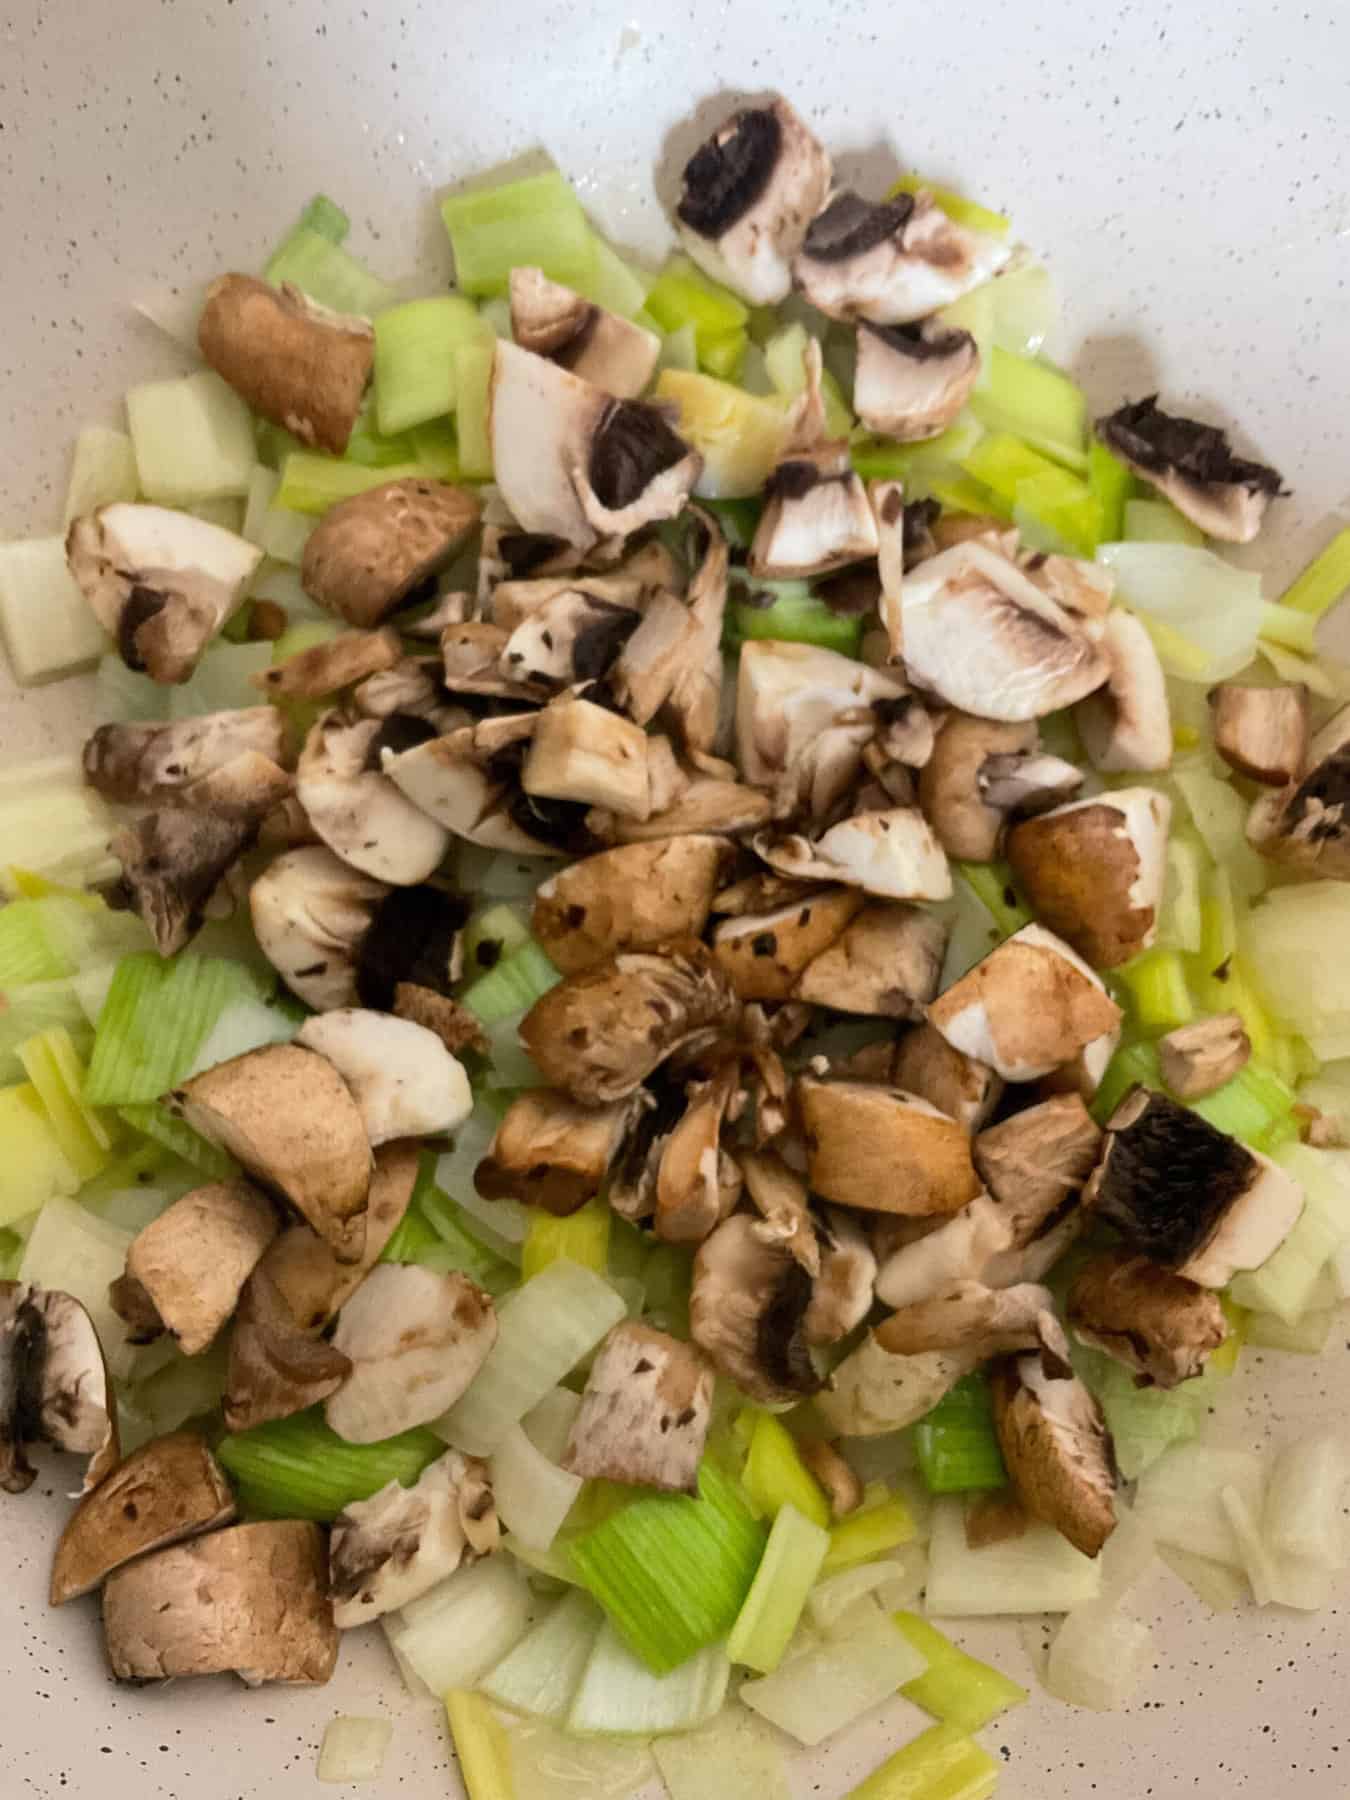
Melt the vegan butter [alternatively heat about ¼ cup of veggie broth or stock] and cook the leeks and onions for a few minutes.
Add the mushrooms and cook for a few minutes.


Next, add the sliced vegan chicken pieces [or replace with a white bean such as butterbeans, haricot [navy] beans, or cannellini beans] and the sweetcorn. Stir through the vegan-friendly poultry seasoning [or a dried herbs mix] and garlic powder.
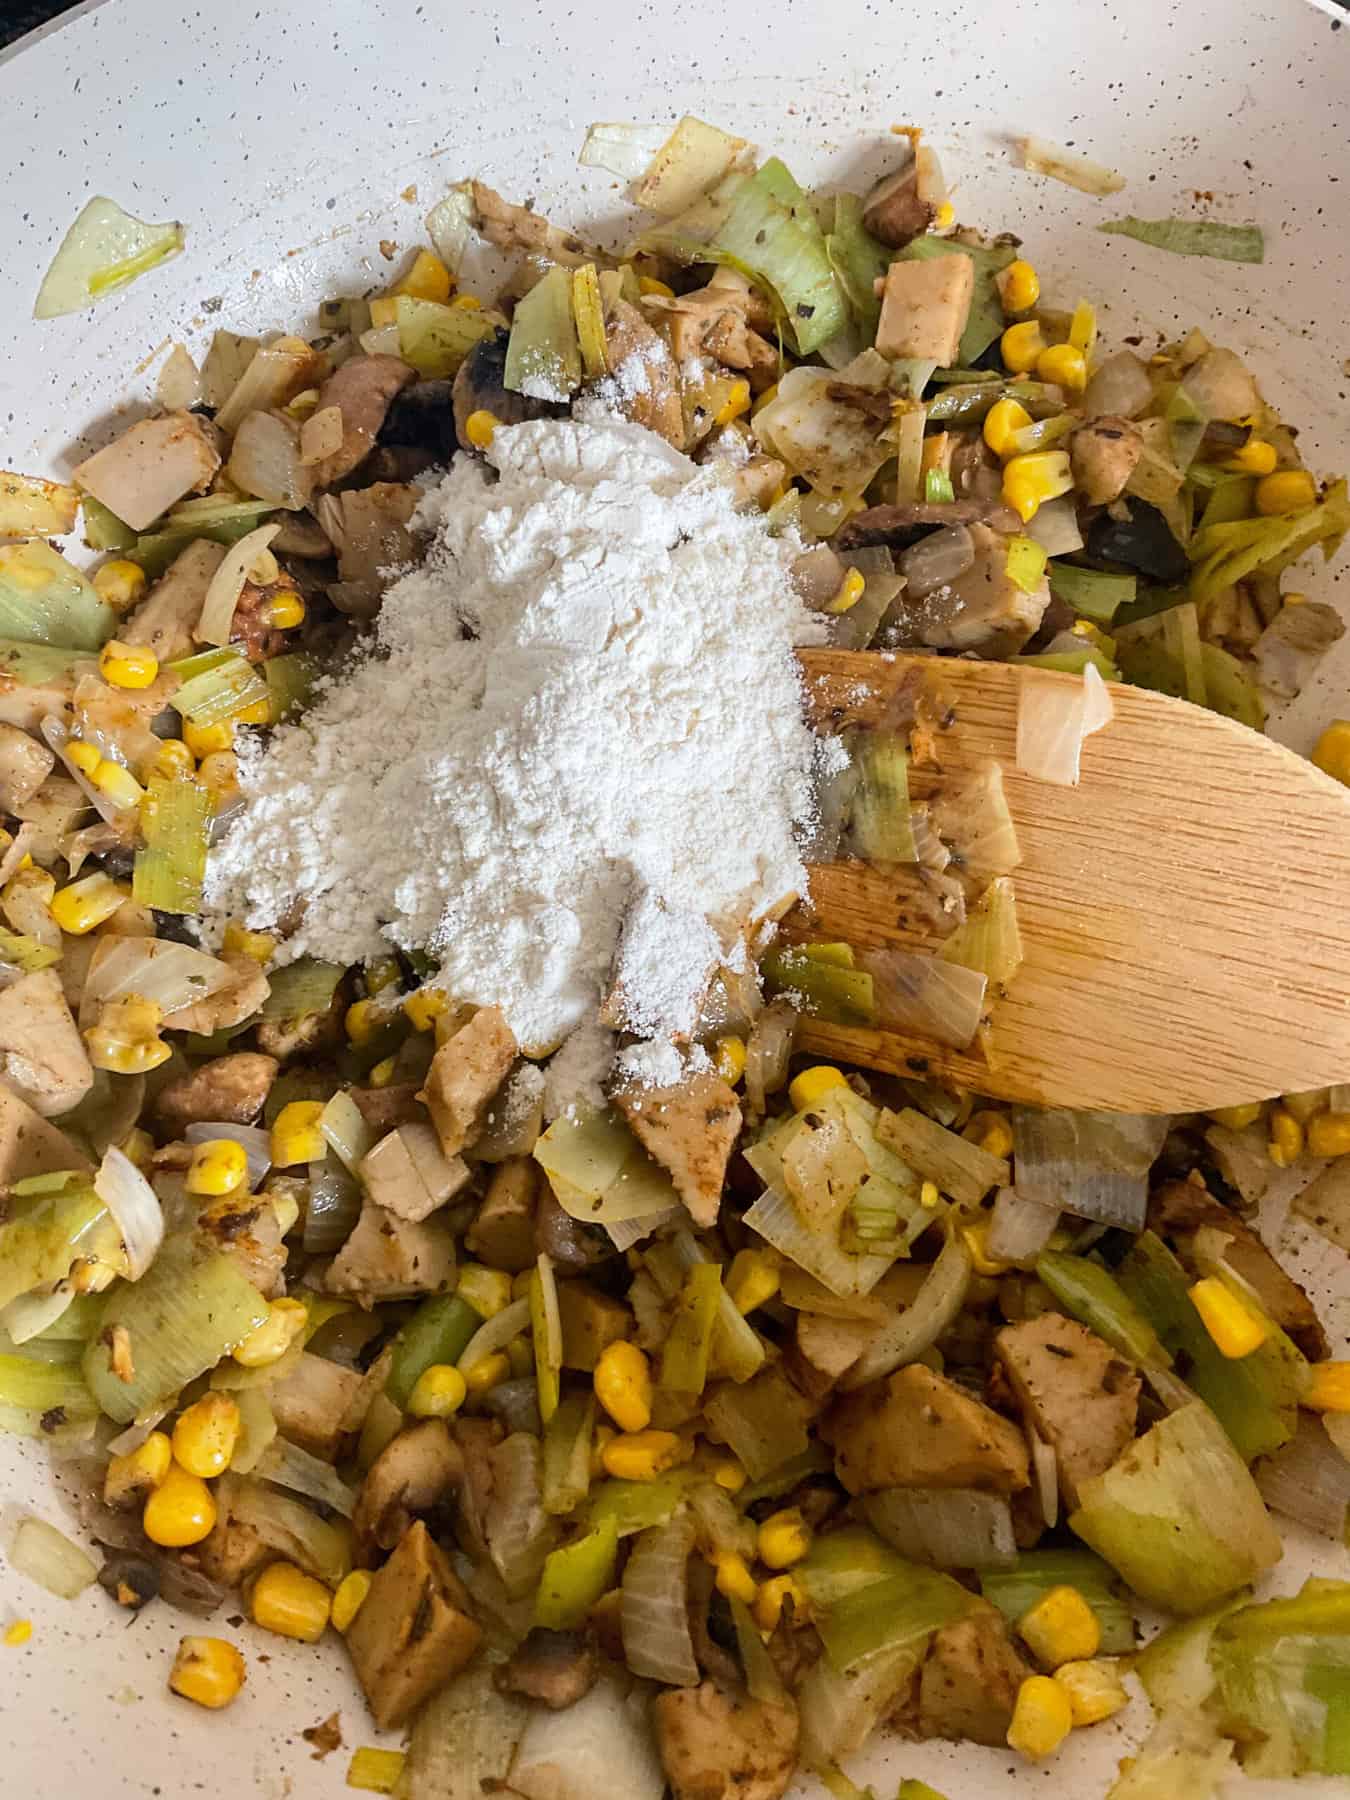

Stir through the plain flour. Pour in the white wine vinegar, vegan 'chicken' stock, and plant-based milk.
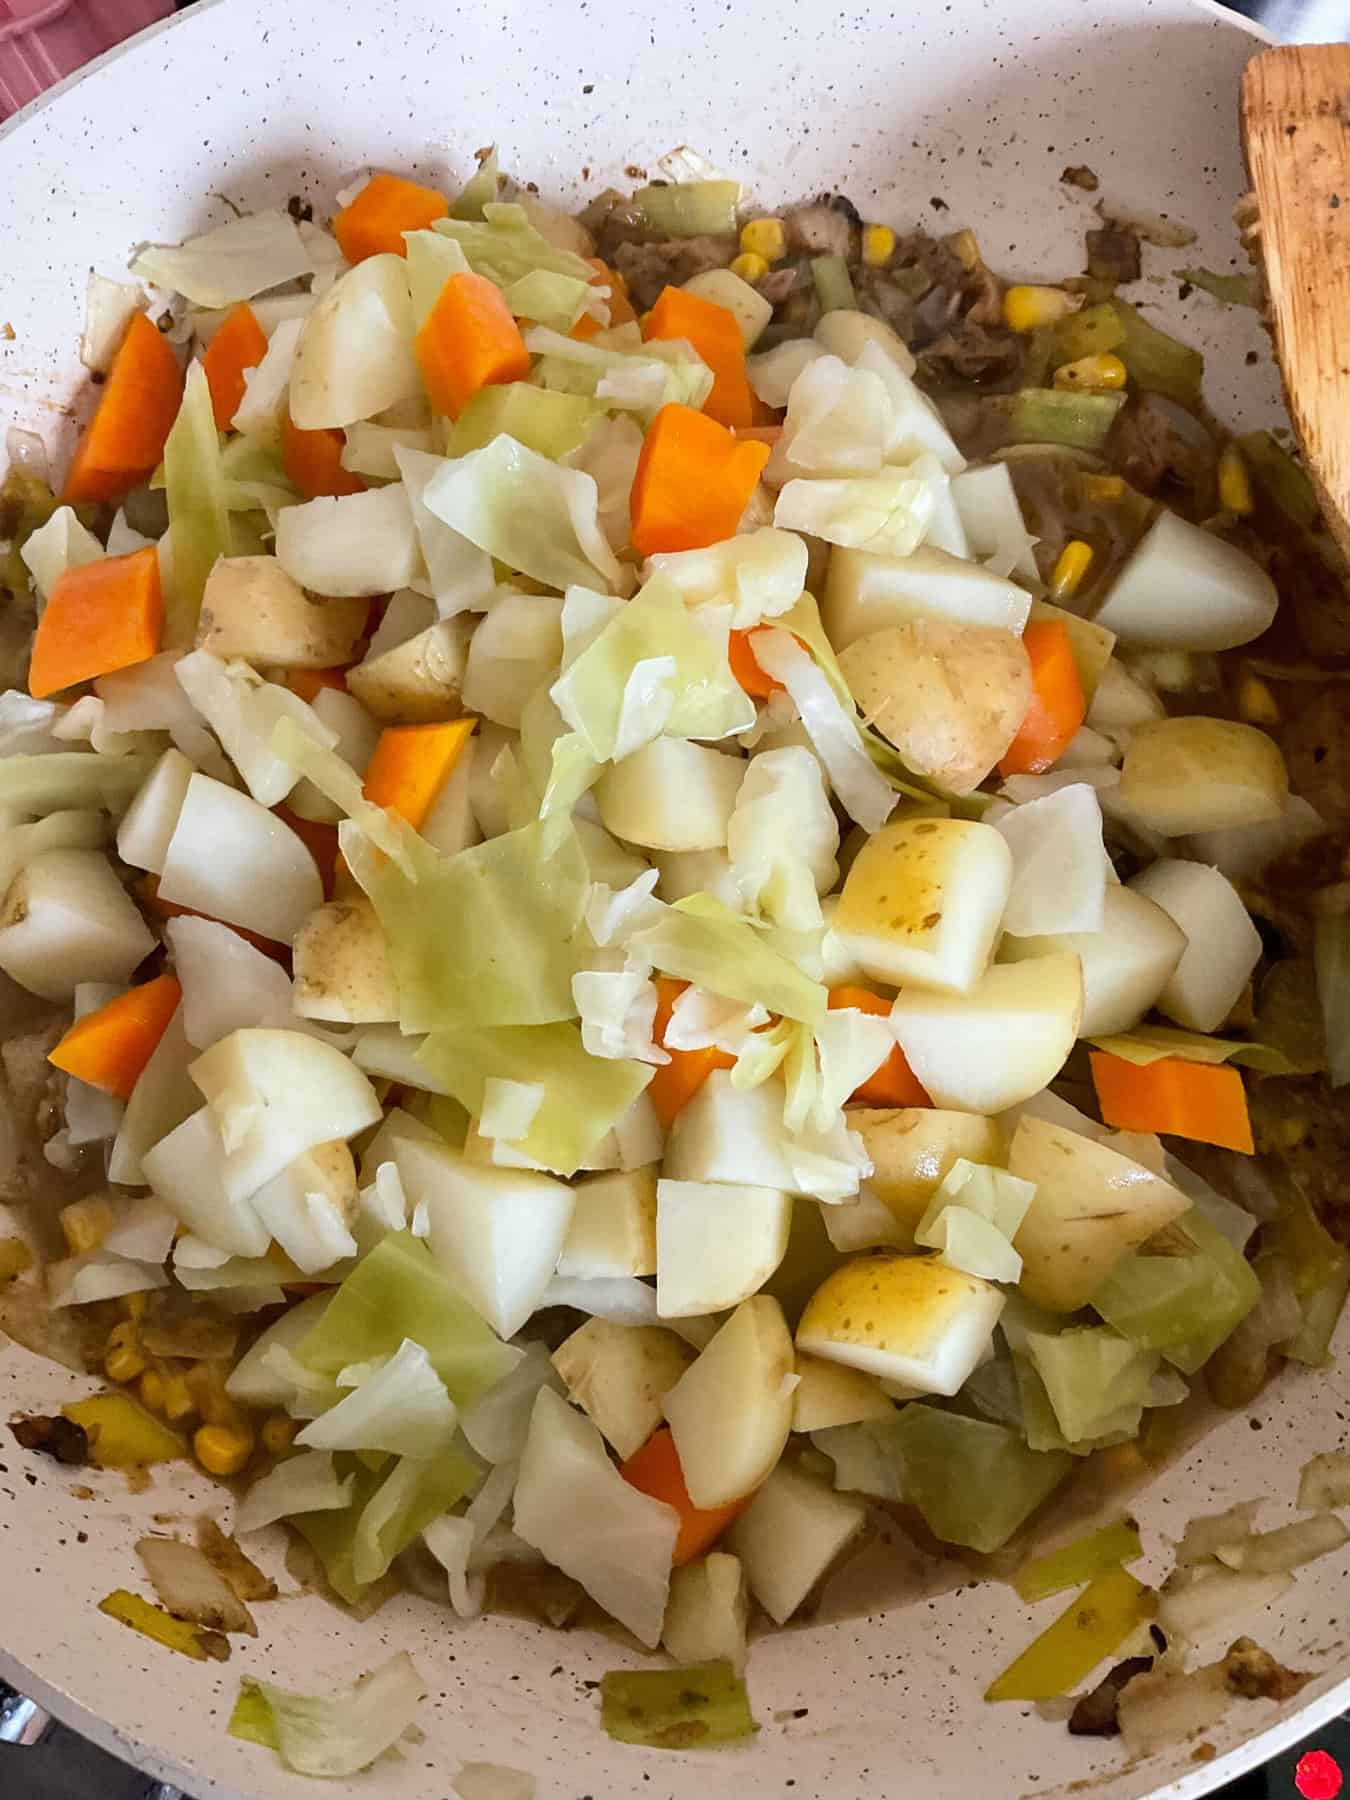
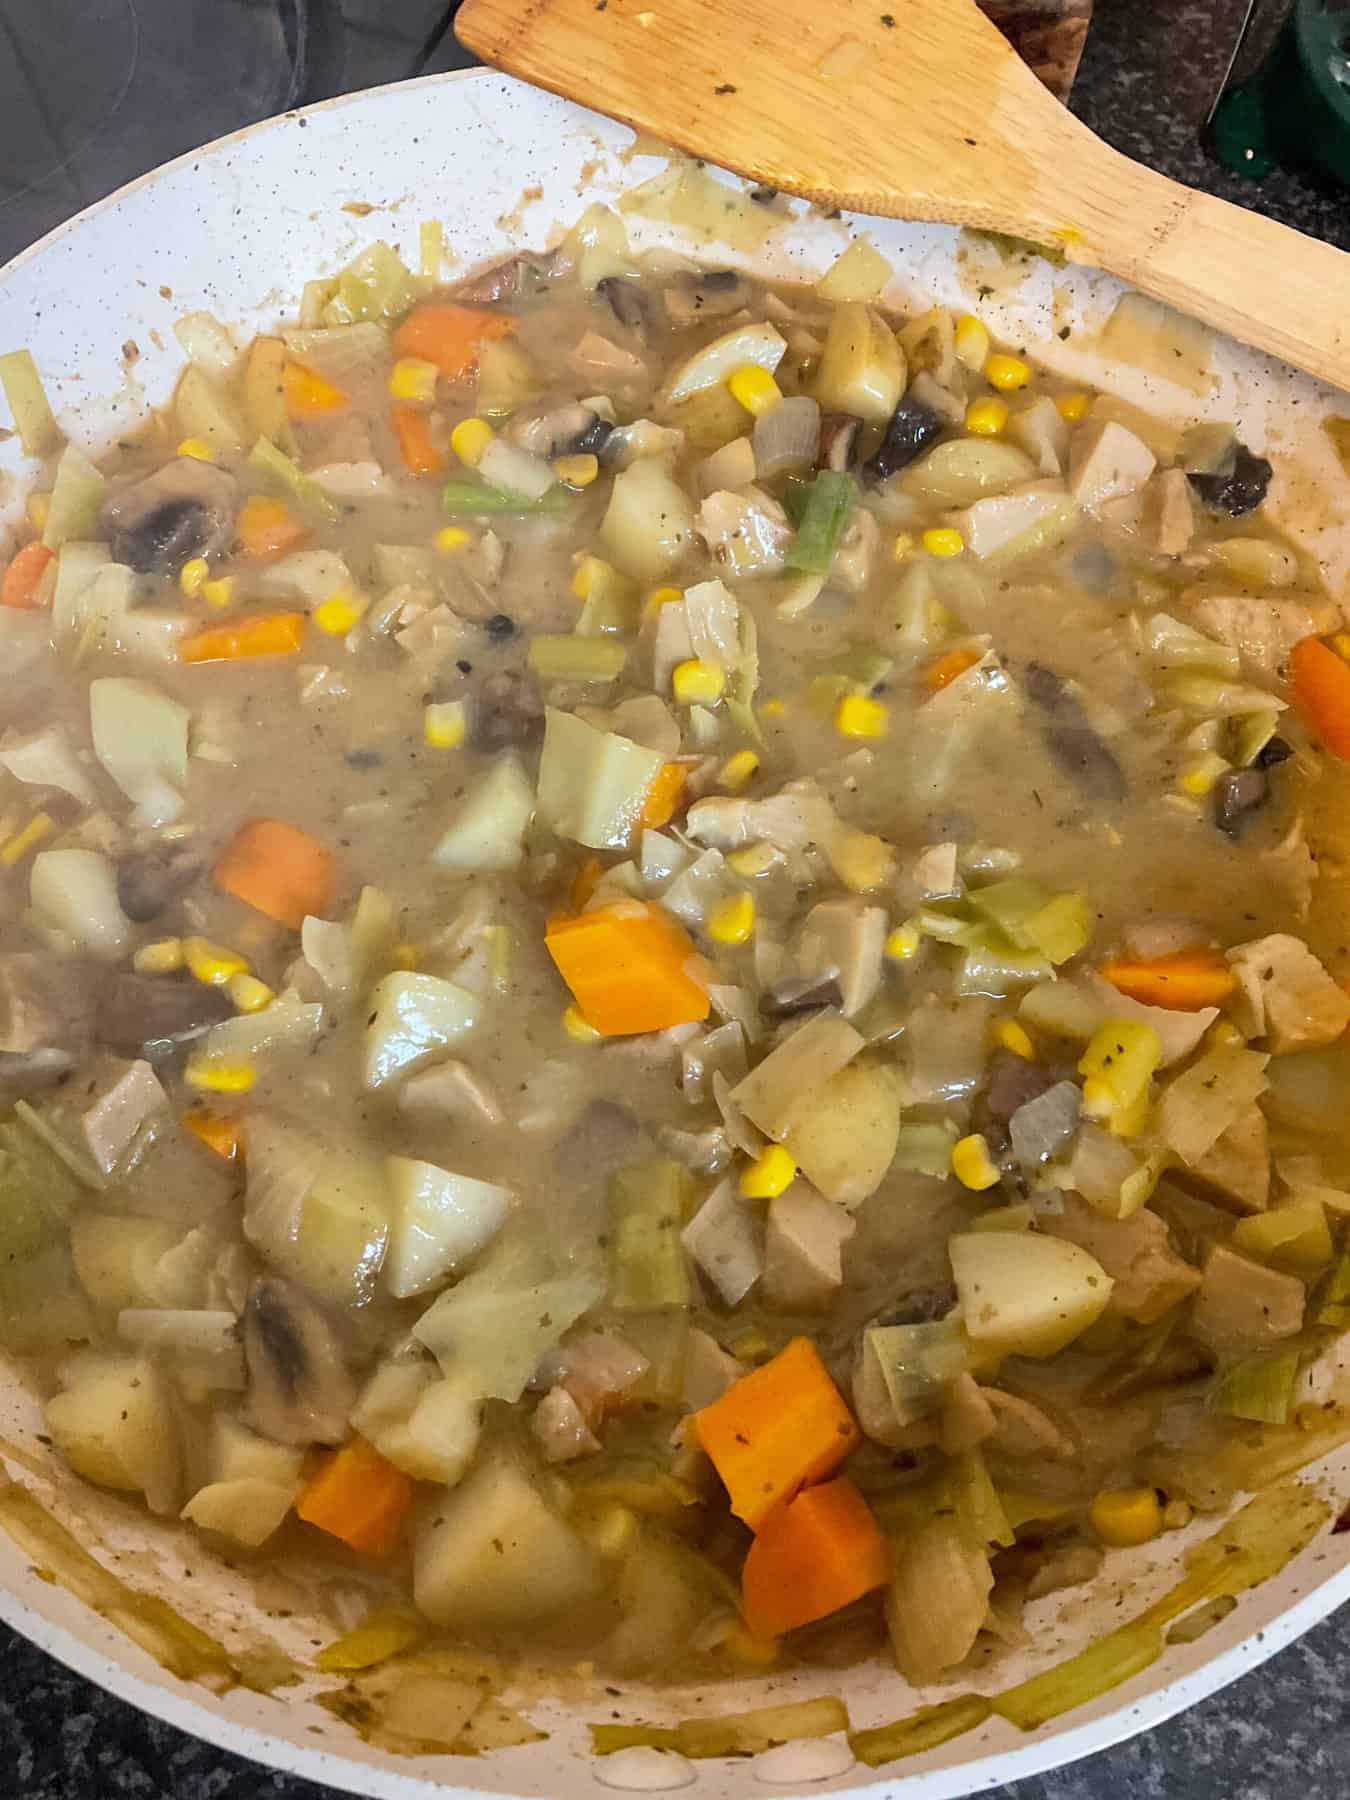
Tip in the cooked cabbage, carrot, and potato chunks, give it all a good stir and bring to the boil. Simmer for about 5 minutes before decanting the filling into a pie dish to cool for at least 30 minutes.
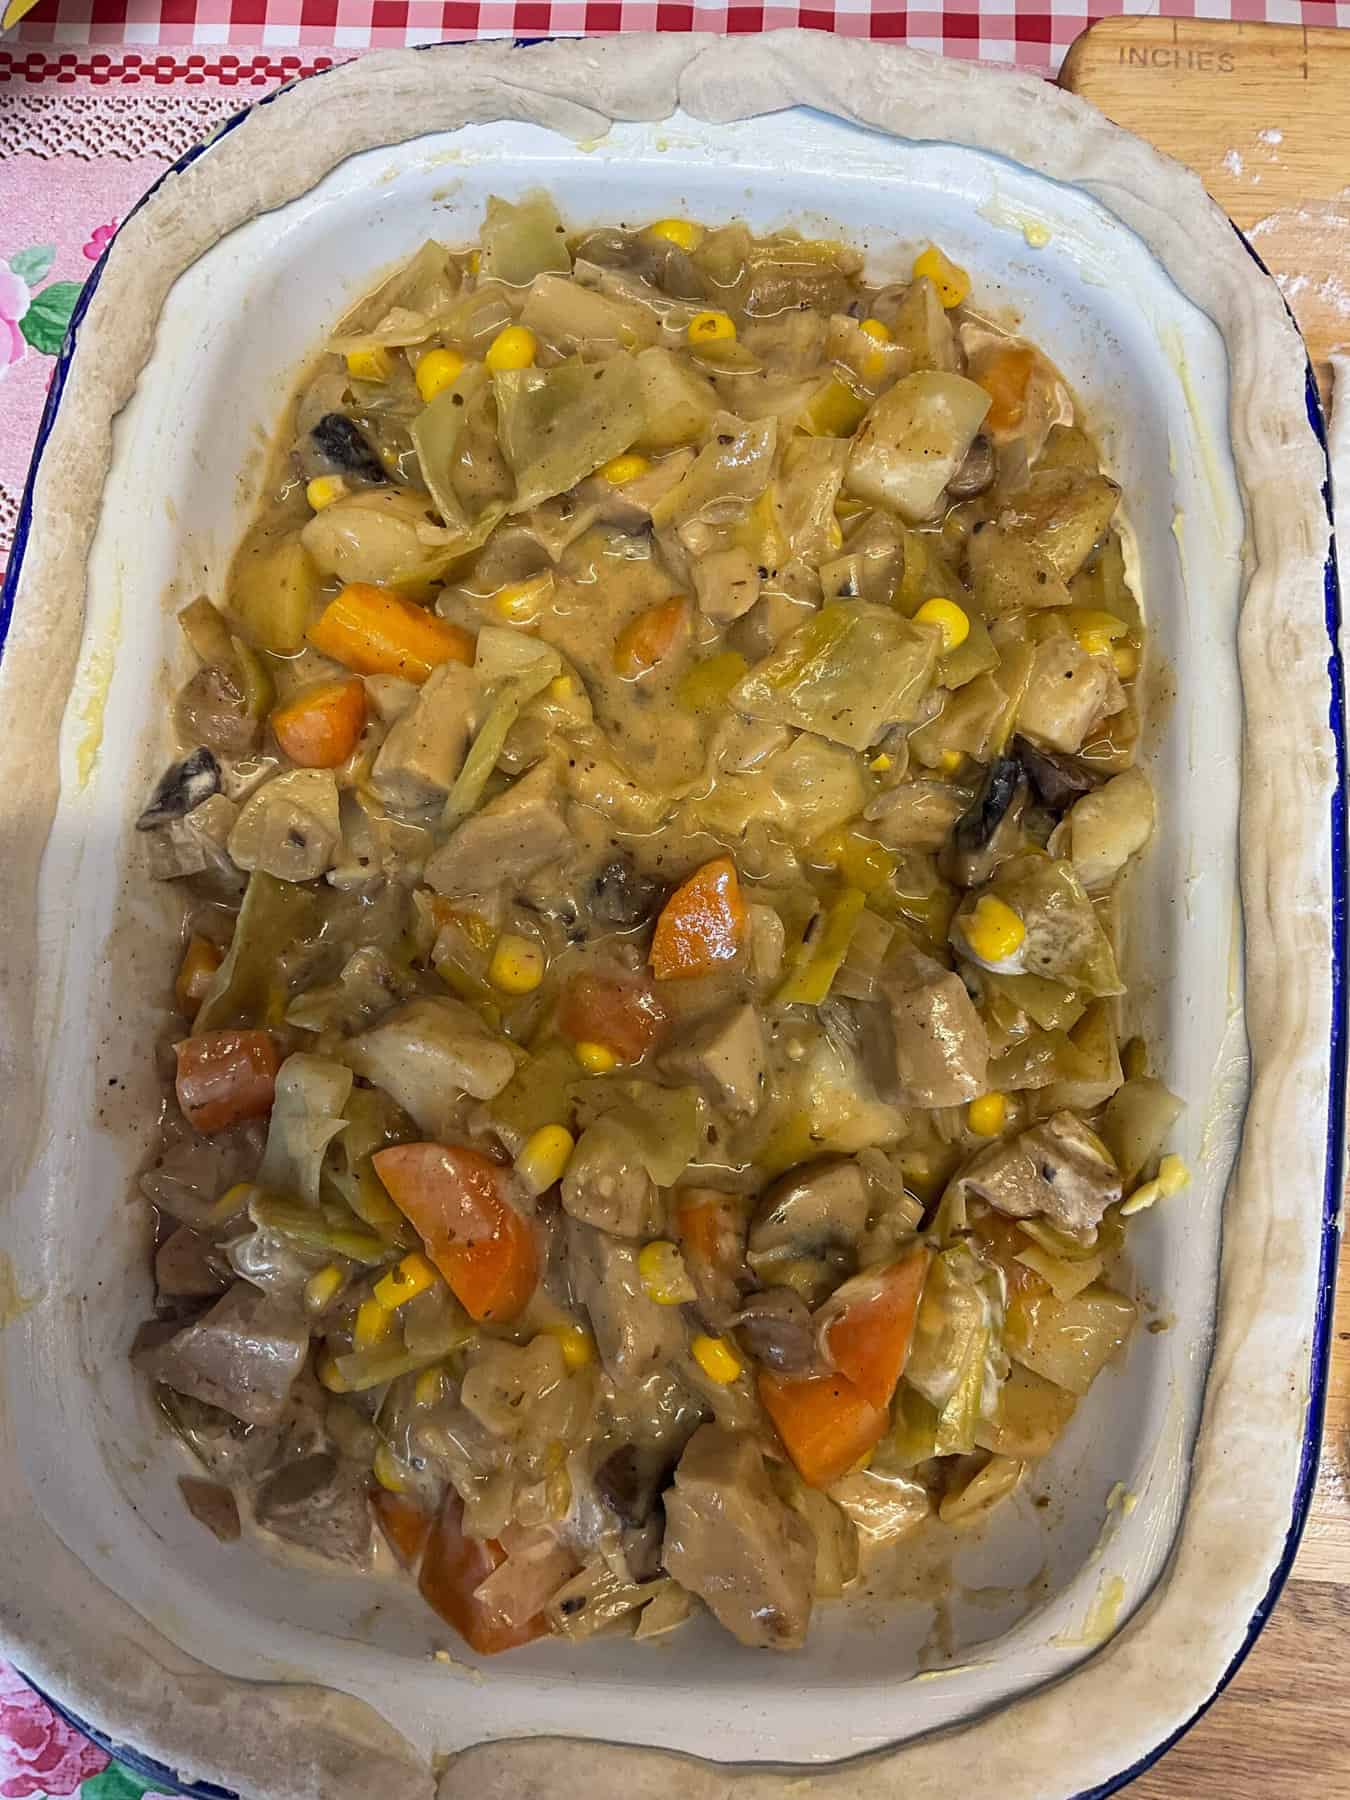
The pie filling is enough to feed 6 people so if using a 4 serving pie dish, use an extra 2 person pie dish or 2 small individual pie dishes. Optional: stir a little vegan cream through the pie filling.
To prepare the pastry:
Roll a long thin piece of pastry big enough to fit around the pie rim, grease the rim with some vegan margarine and press the pastry rim on.
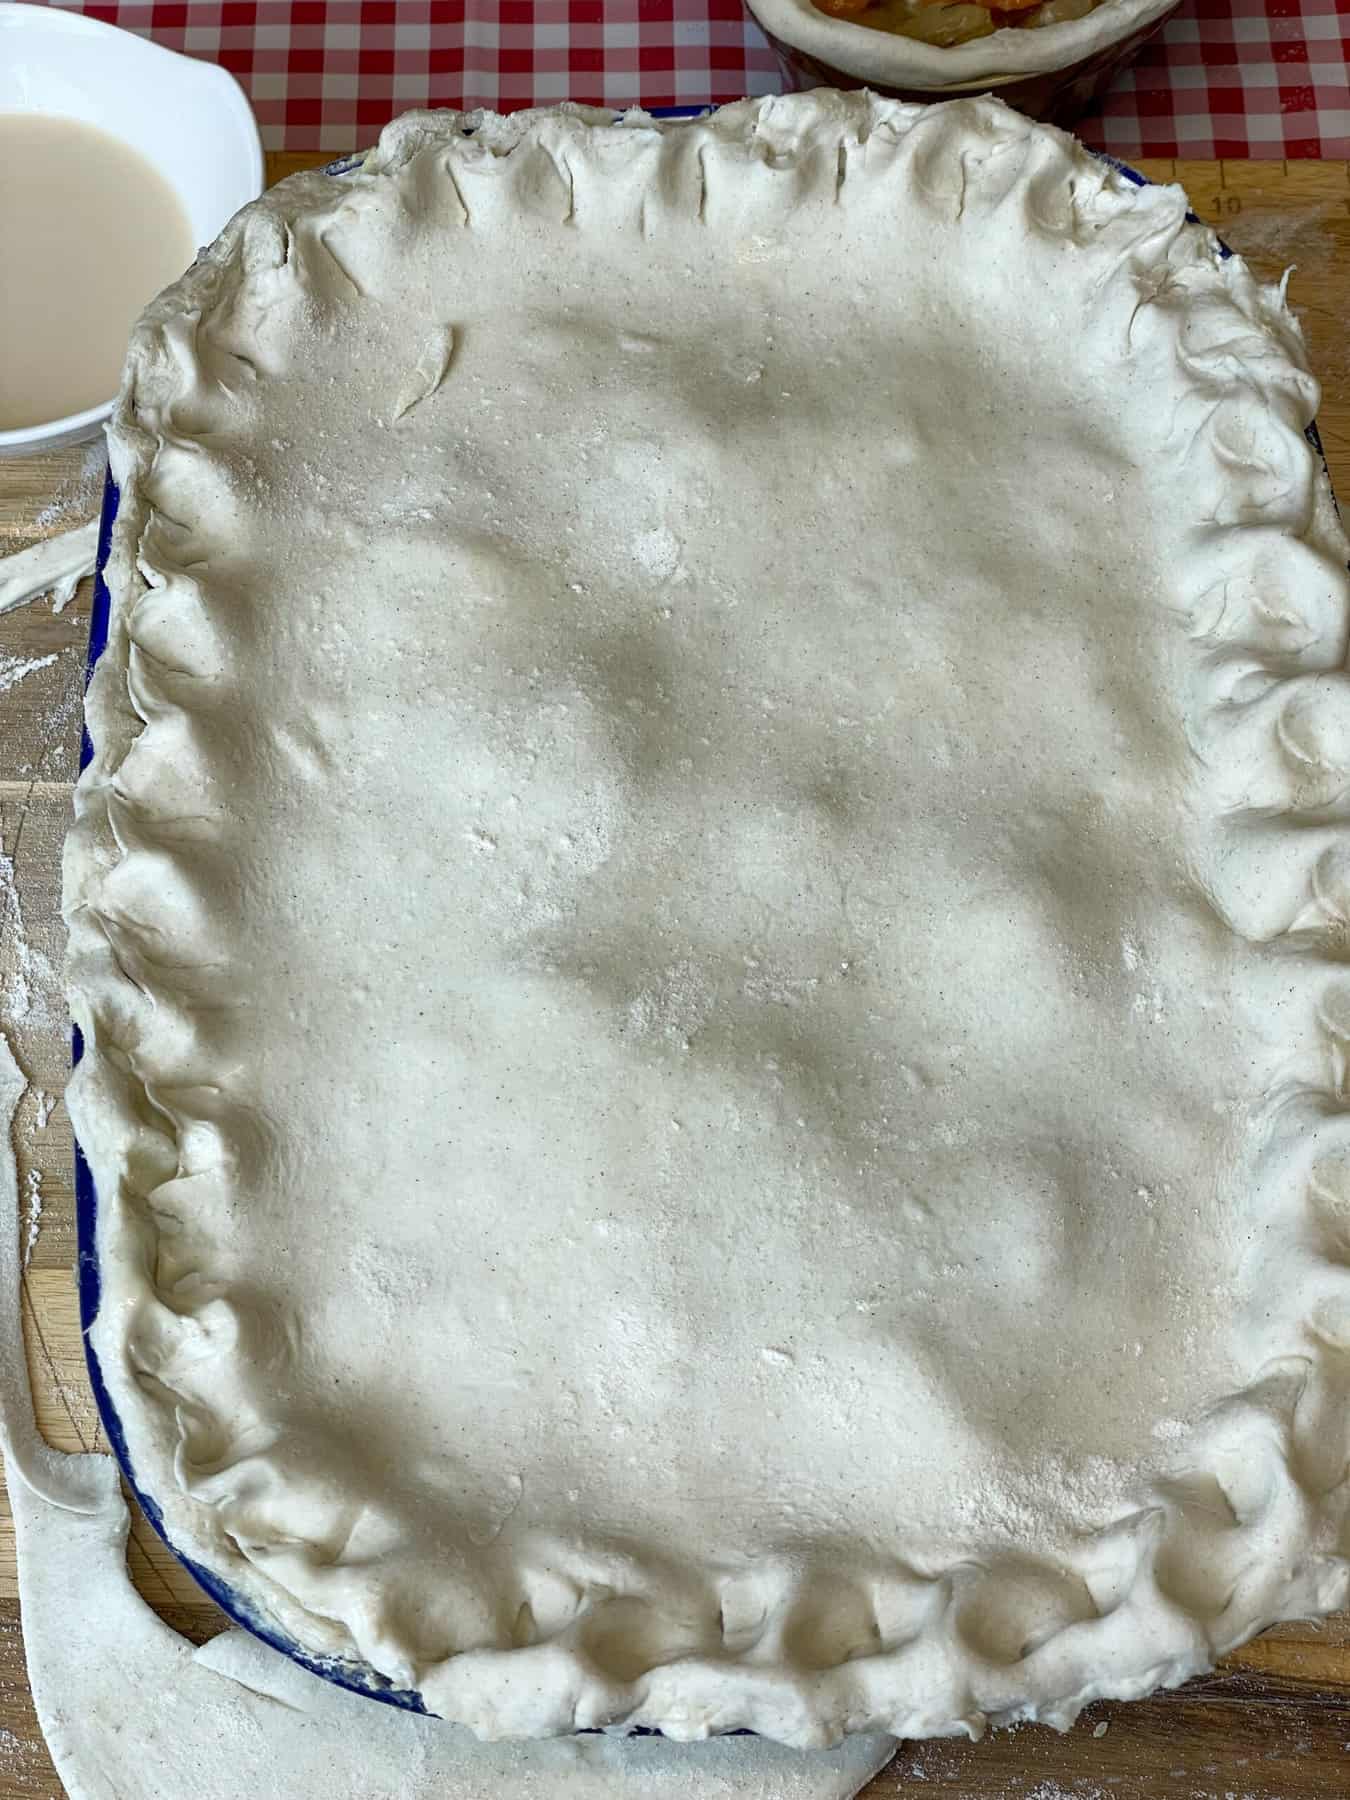
Roll a piece of pastry large enough to cover the pie dish and press the edges over the pastry rim to seal.


Optional: With your thumb and index finger pinch the edges together into a nice rustic pattern or use a cutlery fork to press a pattern along the sides. Brush the pastry with a little plant-based milk and add cookie cutter pastry shapes if liked. Brush the shapes with milk.
Slice a small opening in the middle of the pie.
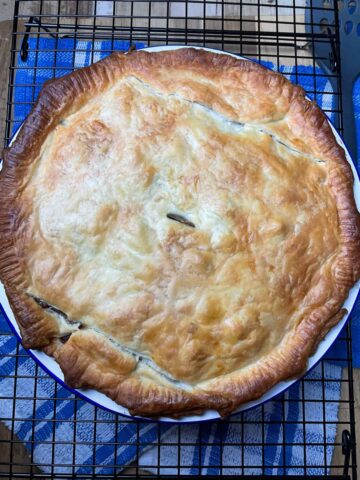
Bake for 35-40 minutes until the pie is golden brown, puffed up, and the filling is bubbling hot.
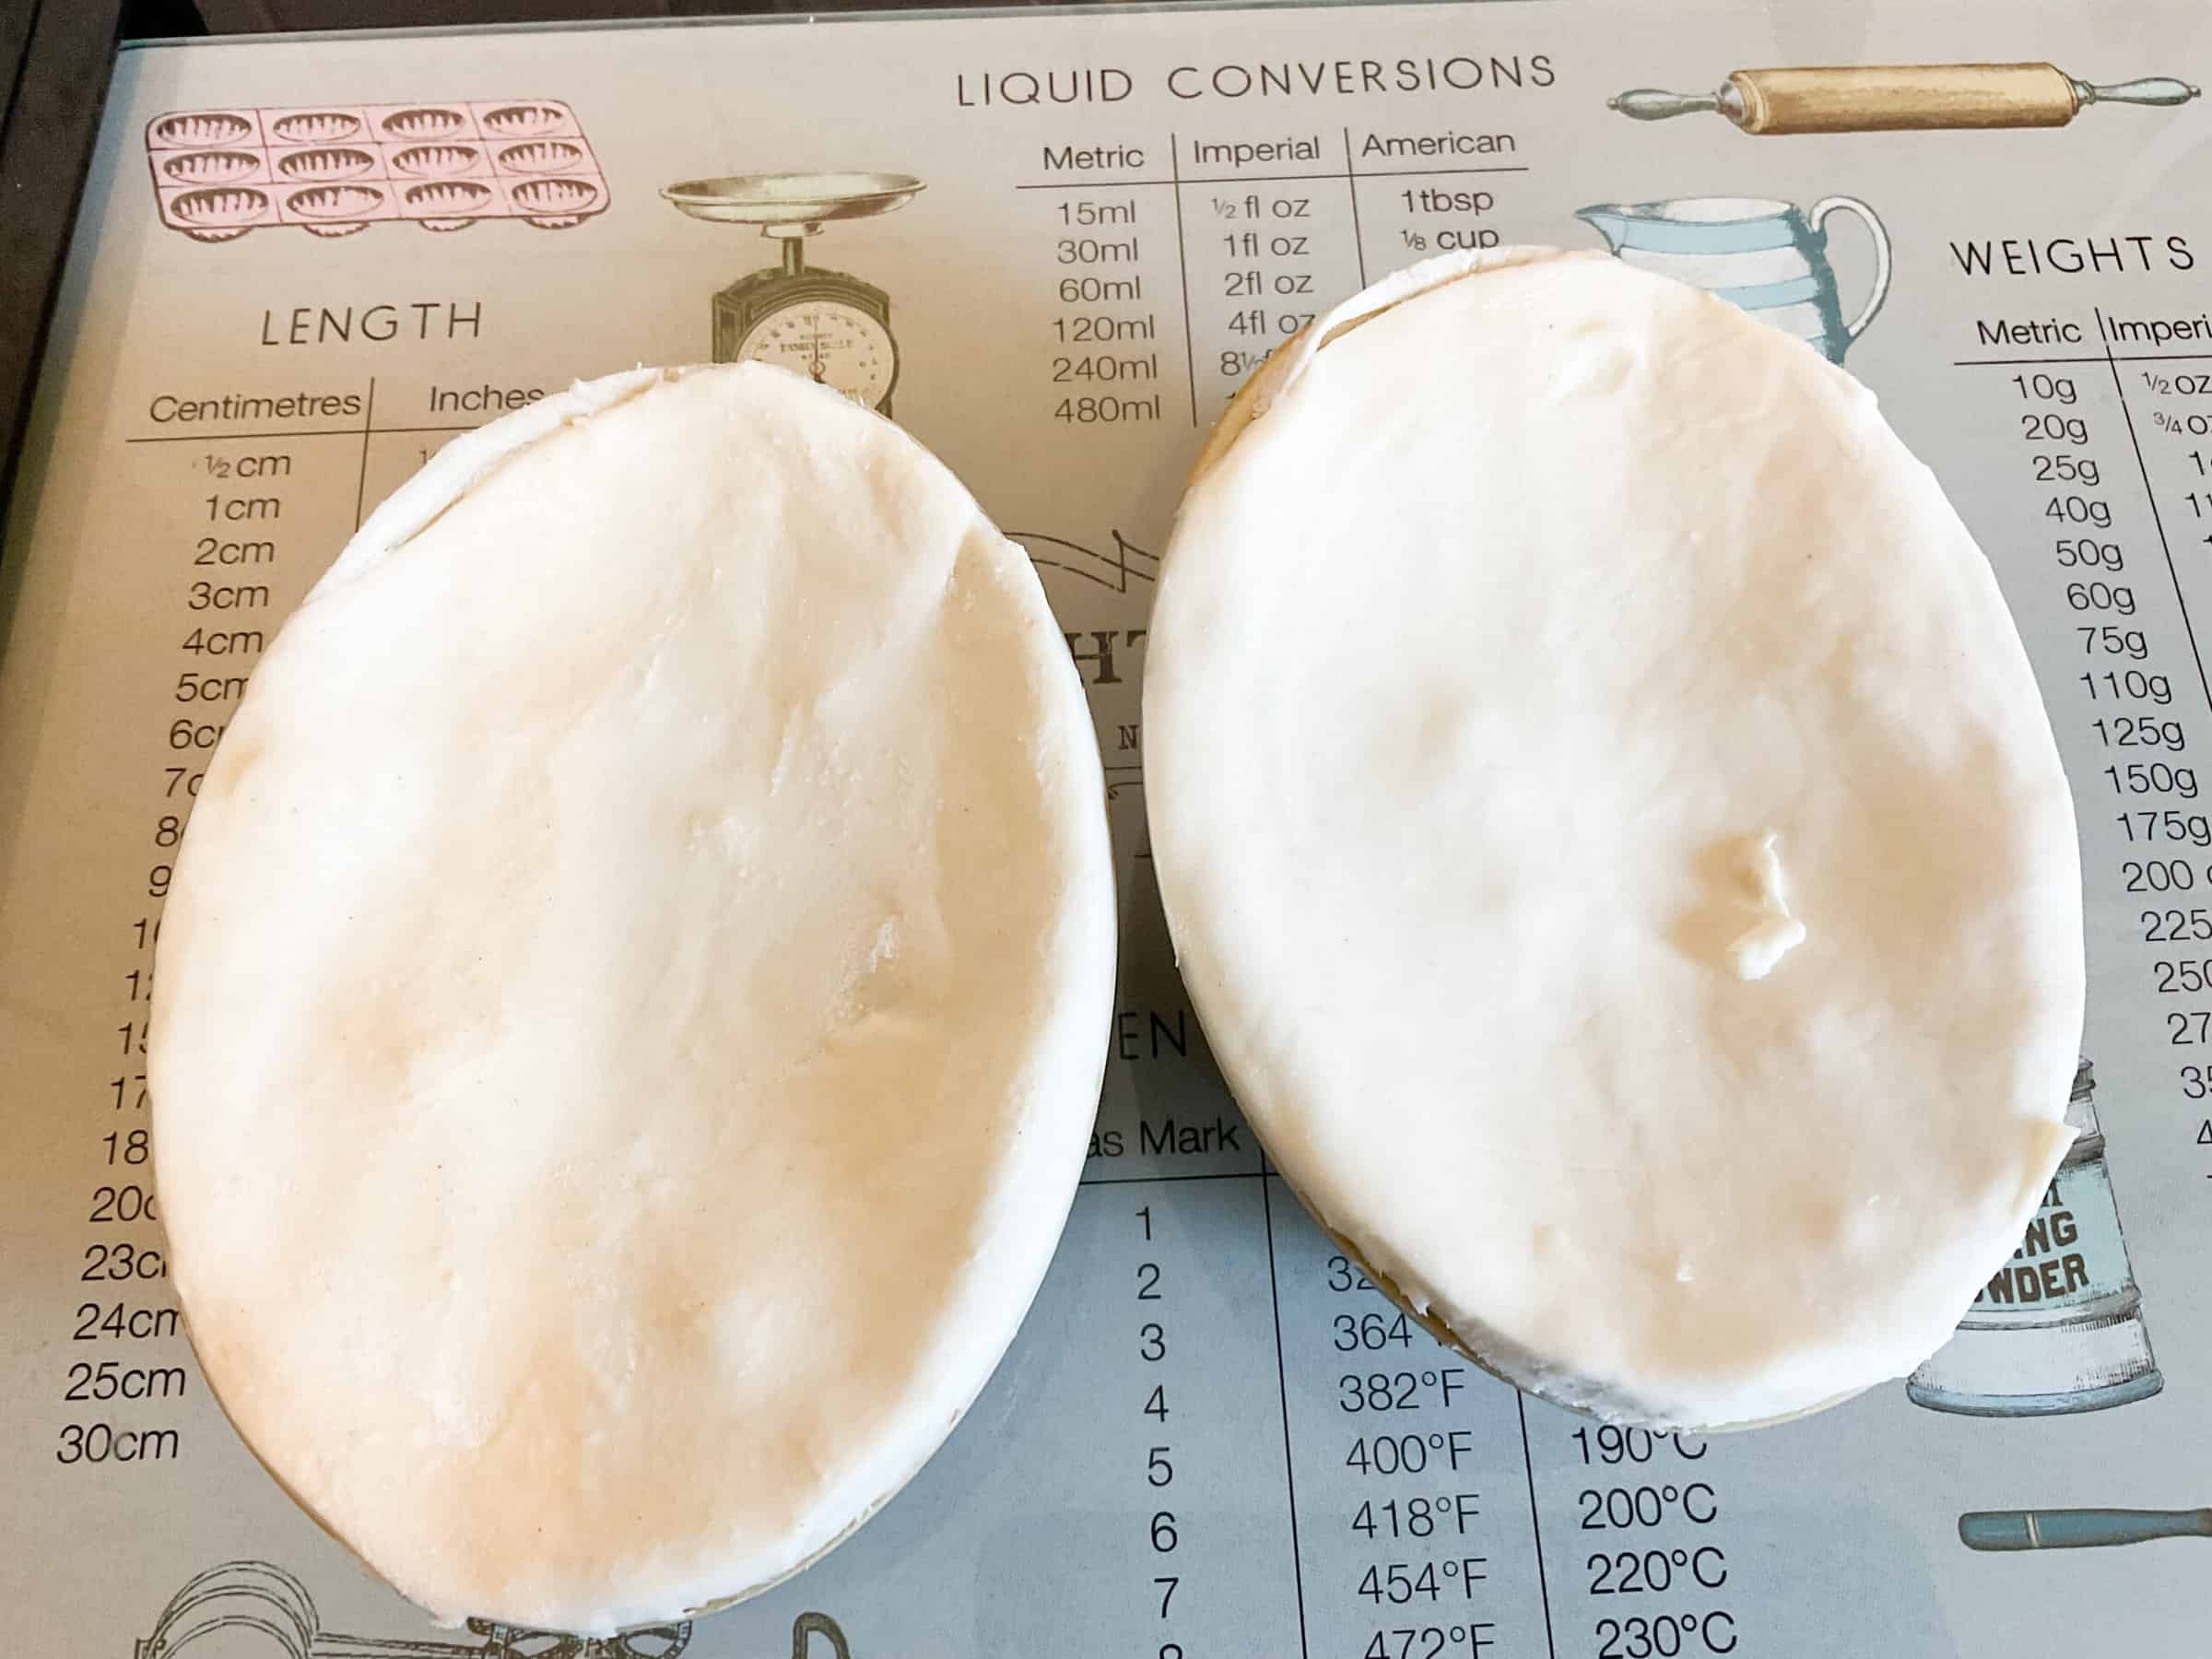
If preparing individual pies repeat the process to cover with pastry and bake. Or cover with pastry and store in the refrigerator for 1-2 days before baking. Alternatively wrap well and freeze for 2-3 months.
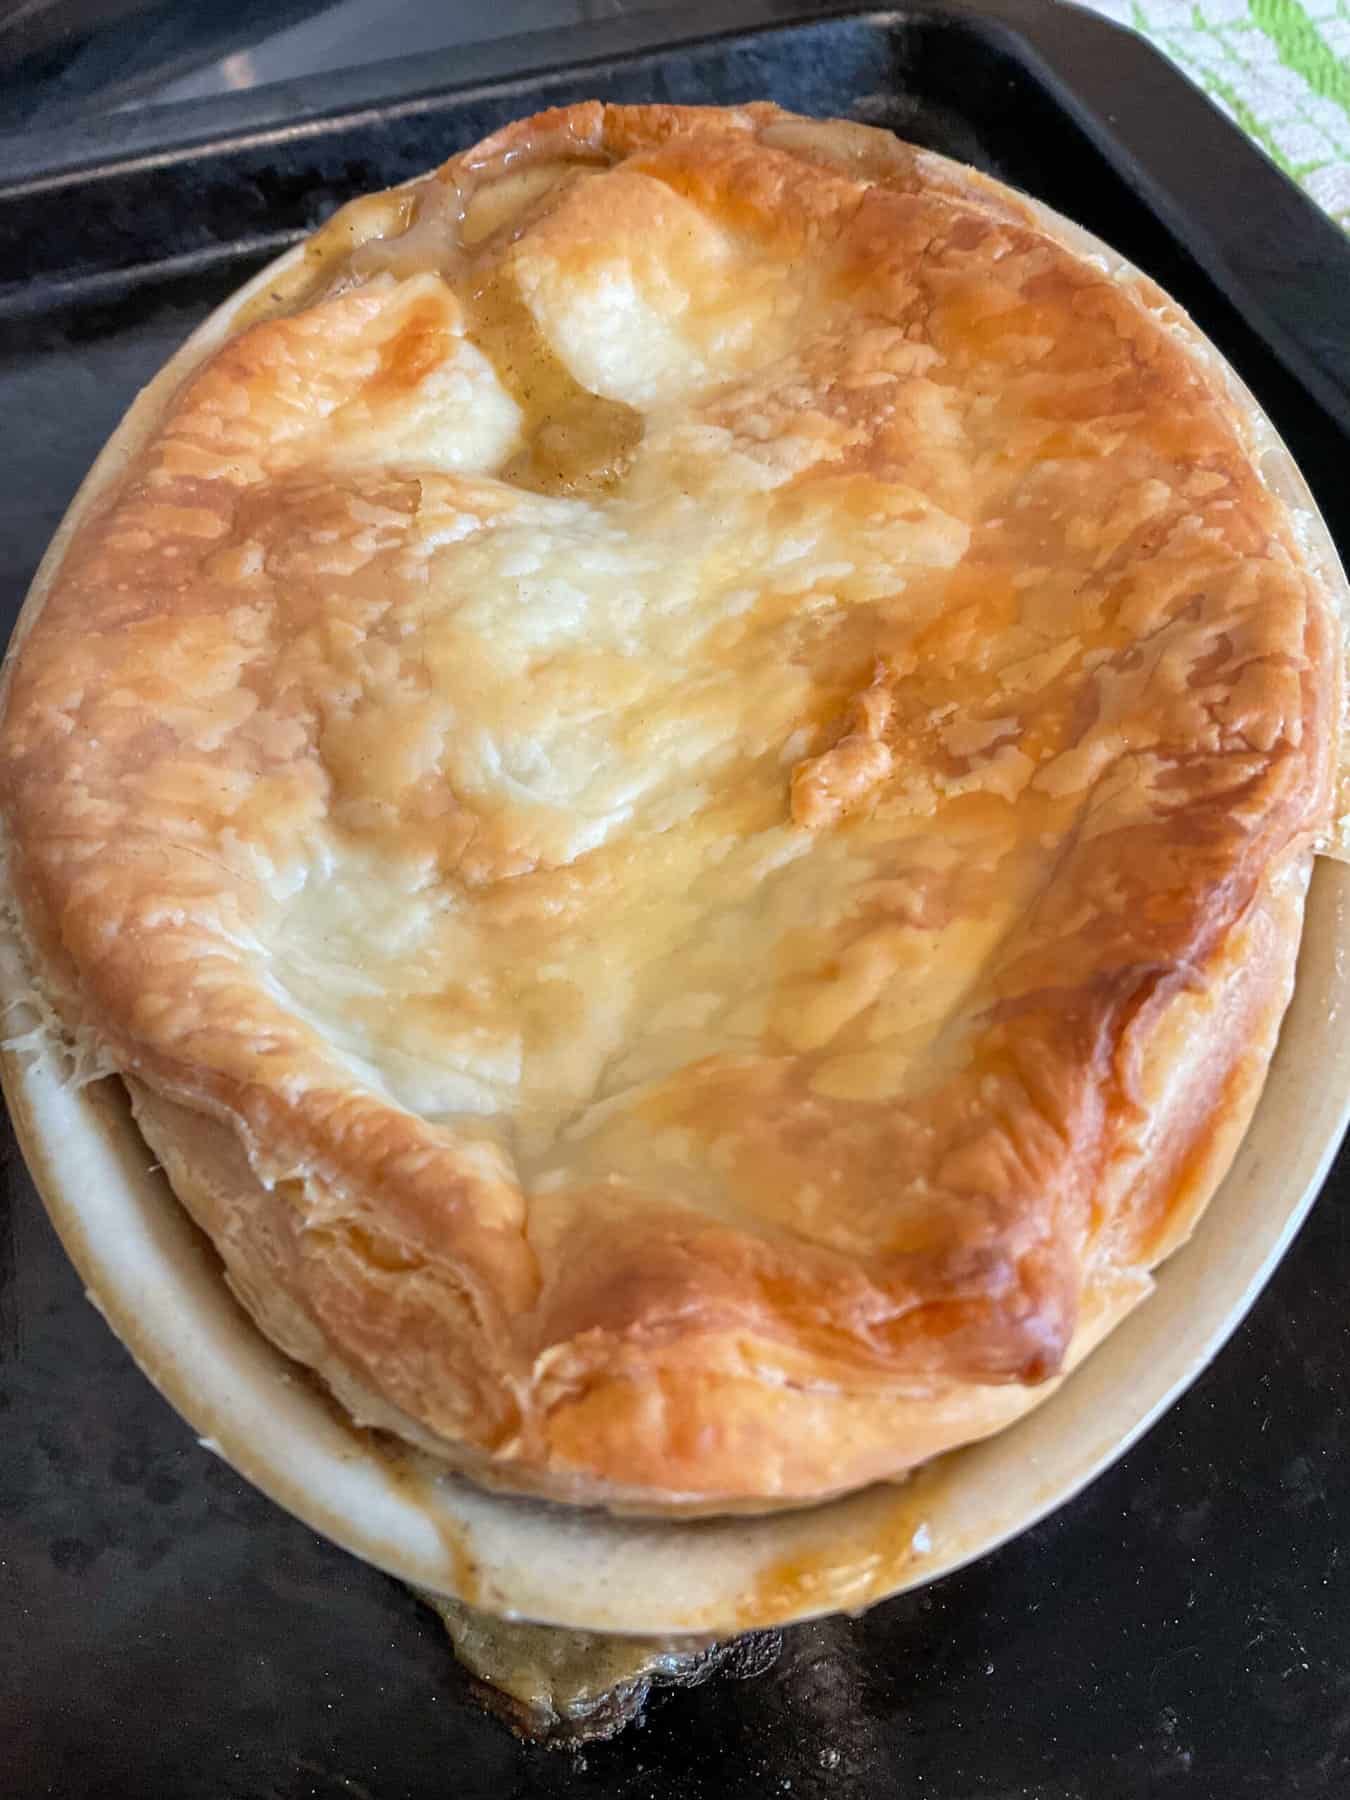
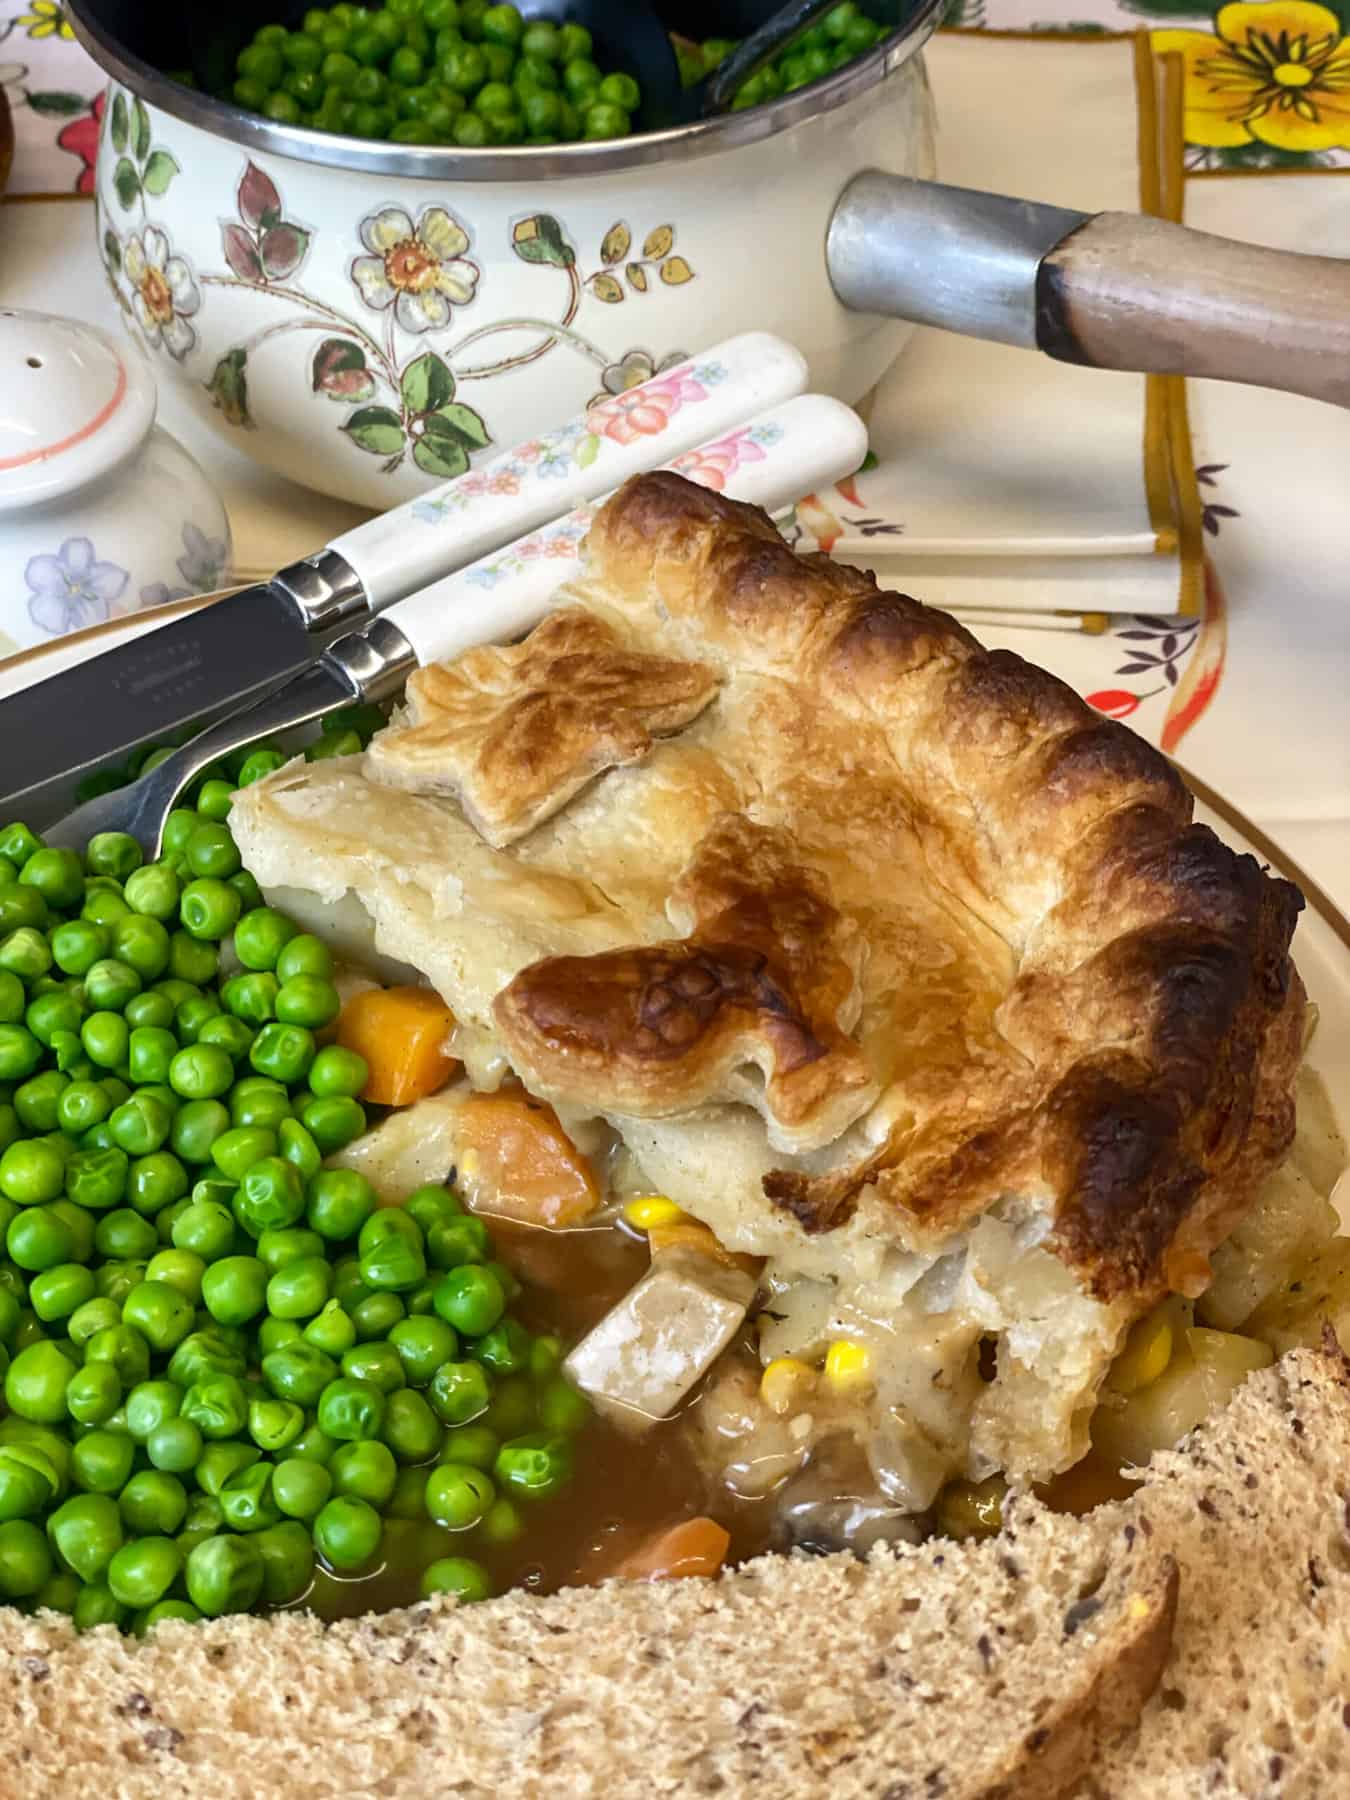
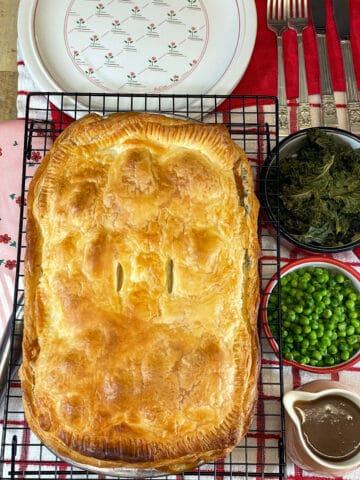
Once the pies are baked, enjoy with optional sides of green veggies and lots of gravy. Bread and butter is a traditional British side for many dinners as it fills up the tummies of those extra hungry family members and is a nice way to mop up the gravy and pie juices.
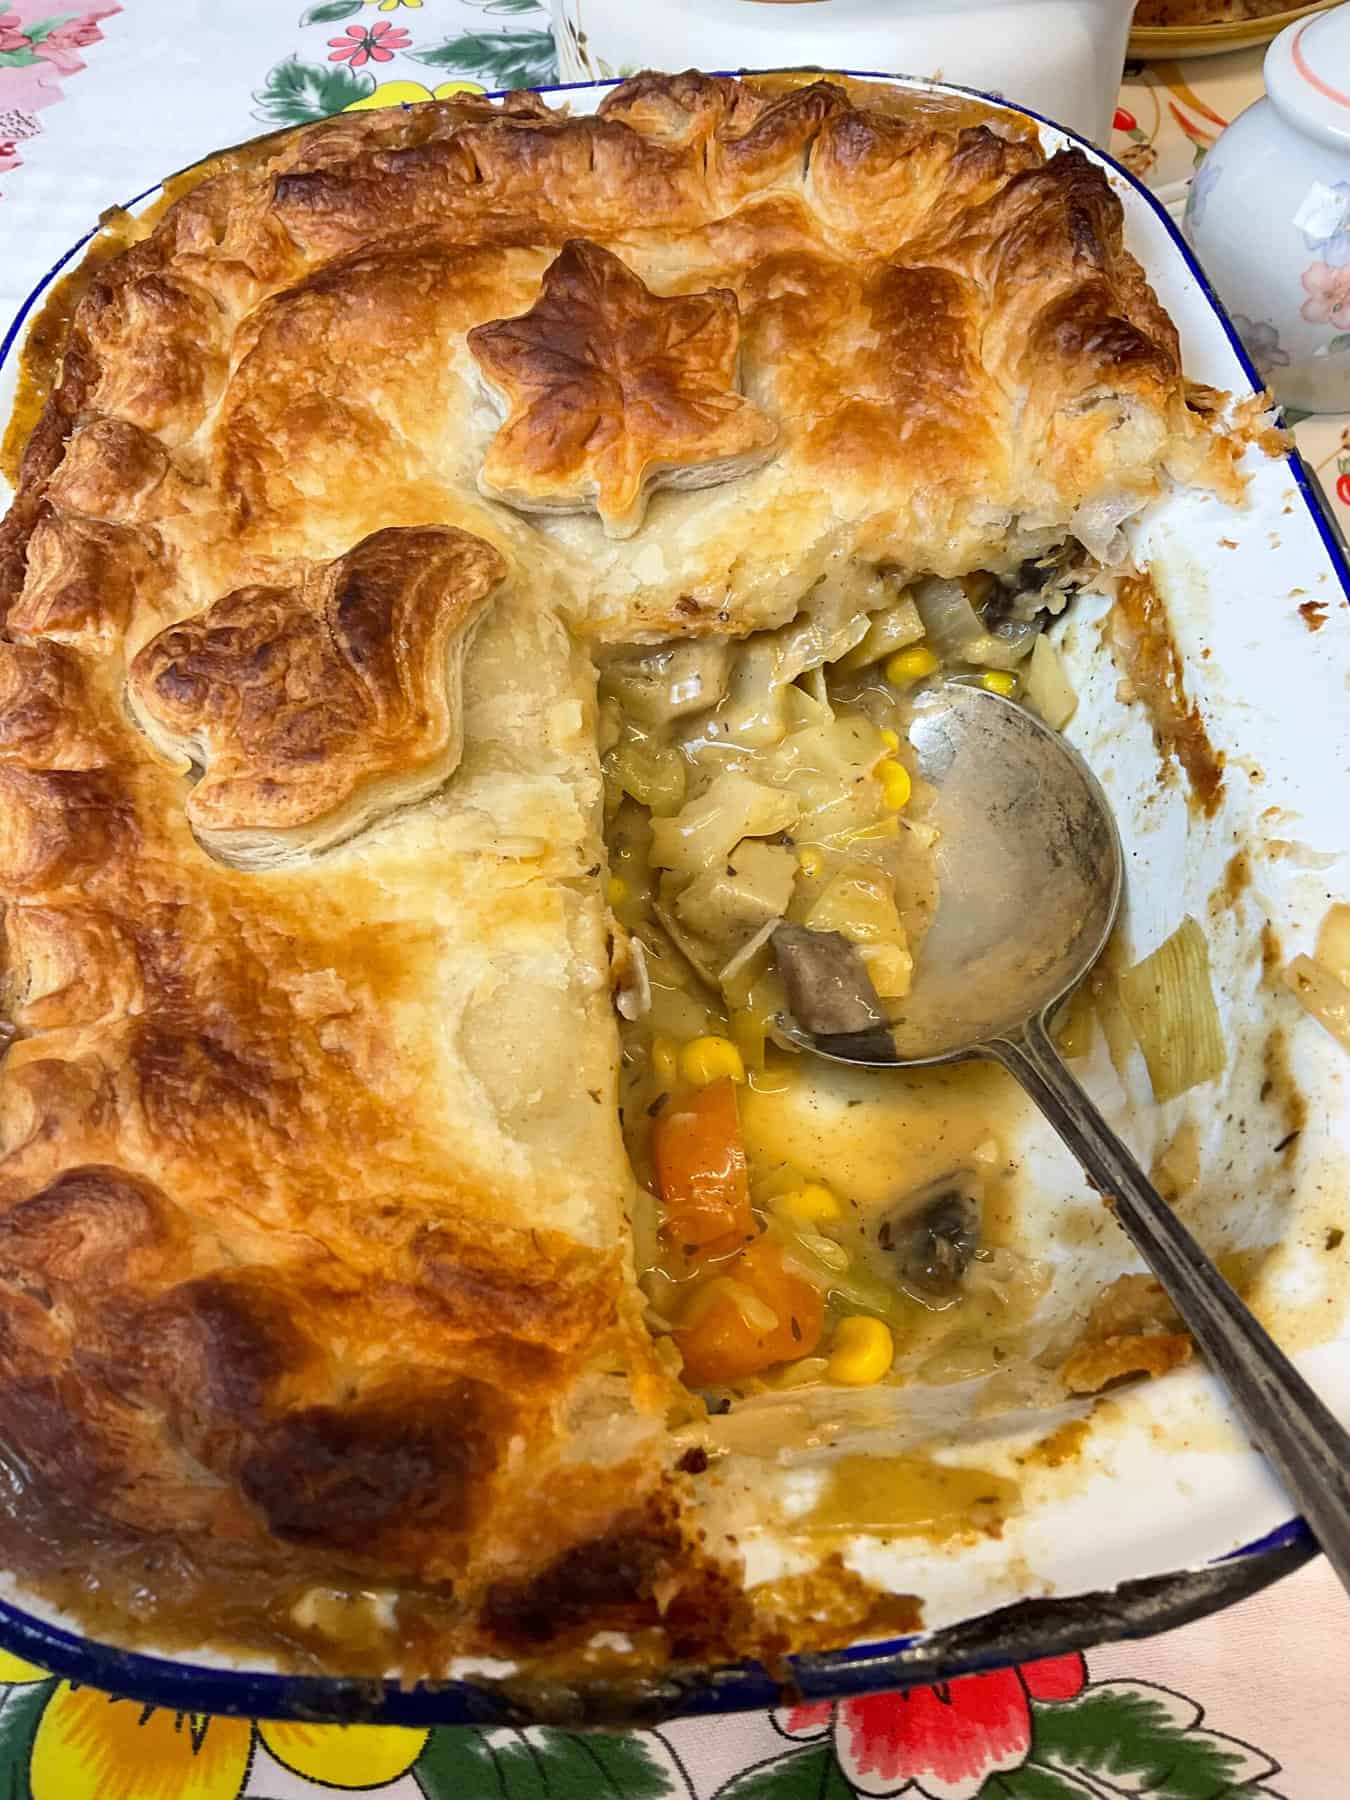
Instead of puff pastry use a shop-bought shortcrust pastry or prepare your own pastry. We have a half-an-half [plain-wholemeal] pastry over on our British Homity Pie recipe that can also be used as a top-crust. Or go with a 100% wholemeal pastry crust and use the pastry recipe over on our Cheese and Potato Pie recipe.
Recipe notes
Storing
Once the pie is completely cool it can be stored within the refrigerator for 3 days. The pie can be kept within the pie dish and covered with kitchen foil, reusable food wrap, or a suitable plate. Or carefully transfer the pie to a covered container. To make it easier to move the pie, first lift the pastry lid off and put it to the side before scooping the filling into your container, and then placing the pastry back on.
Freezing
Freeze leftover pie for 2-3 months.
Unbaked pies can also be frozen or stored within the refrigerator and either cooked from frozen or thawed.
If cooking from frozen add 10-15 minutes on to the cooking time and keep your eye on the pie as it will be ready once its golden brown, the pastry has puffed up, and the filling is bubbling hot. Keep in mind that different ovens and pastry cook at different times.
Reheating
Its not recommended to reheat pie in a microwave as the crust will likely become soggy. An oven, or perhaps an air-fryer for a small individual pie or slice of pie, is the best way to reheat leftover pie.
From Chilled:
- Preheat: Start by setting your oven to 150°C Fan, 170°C, 350°F, or Gas Mark 3.
- Placement: For even reheating, position the pie on a baking sheet on the middle oven shelf.
- Reheat: Let it warm up in the oven for 20-25 minutes or until its piping hot.
- Watch the Crust: If you notice the edges or top of your crust browning too quickly, use a piece of aluminum foil or kitchen foil over the top or around the pie edges as this will deflect direct heat and prevent over-browning.
From Frozen:
- Thawing is Key: Ideally, transfer your pie from the freezer to the refrigerator and let it thaw overnight.
- Reheat Once Thawed: Use the instructions provided for reheating from chilled.
- Direct from Freezer: Should you choose to skip thawing, be prepared for a longer reheating duration, potentially up to 45 minutes. Continually check until the pie's center is bubbling and piping hot.
- Choose Your Dish: Extreme temperature changes can cause certain dishes to crack, especially those made of glass or ceramic. If your pie is stored in such a dish, avoid direct reheating from the freezer. When in doubt, refer to the manufacturer's guidelines on temperature resistance. For the safest and most efficient reheating directly from the freezer, use an enamel or metal pie dish.
FAQ'S
For individual pie servings, consider ramekins, soufflé dishes, large muffin tins, mini casserole pots, or small gratin dishes.
For bigger pies [4-6 serves], opt for pie dishes, brownie pans, casserole dishes, Pyrex dishes, lasagne pans, or pans designed for flans, quiches, and tarts. Enamel pie dishes are particularly effective, as they provide good heat conduction for quicker cooking.
Tip: Thrift and charity shops can be treasure troves for unique and affordable pie dishes. Keep an eye out for those hidden gems!
It's easy to bake a pie with no pie dish as the pastry top can be baked separately and used to top cooked pie filling. Here's a simple guide:
1. Line a baking sheet with parchment paper or grease it with margarine, butter, or oil.
2. Roll out the puff pastry and shape it according to your desired pie size, or create mini pie crust lids.
3. Bake as per the package directions, until the pastry puffs up and turns golden brown.
4. To serve, ladle the hot pie filling onto plates and crown with a piece of the baked crust. No pie dishes needed!
Yes of course, follow this simple guide:
1. After the pie filling has cooled, roll out your pastry into desired shapes: such as circles, ovals, or squares.
2. Spoon the filling onto one side of the pastry shape, ensuring you leave an edge for sealing. Be mindful of the filling quantity; overfilling might make sealing tricky.
3. Fold the pastry over the filling, pressing the edges together with a fork to create a tight seal. For better adhesion, brush the edges with plant-based milk before pressing.
4. Optionally, brush the tops with more plant-based milk for a golden finish.
5. Bake until the pastry turns golden and crisp. While puff pastry is ideal for these variations, shortcrust pastry is a great alternative too.
If you have leftover filling as well as leftover pastry, prepping a few hand pies are a great idea for an easy next day lunch, or freeze for quick future meals.
There are many options for preparing a tasty vegan pie that doesn't actually use traditional pastry. A few ideas:
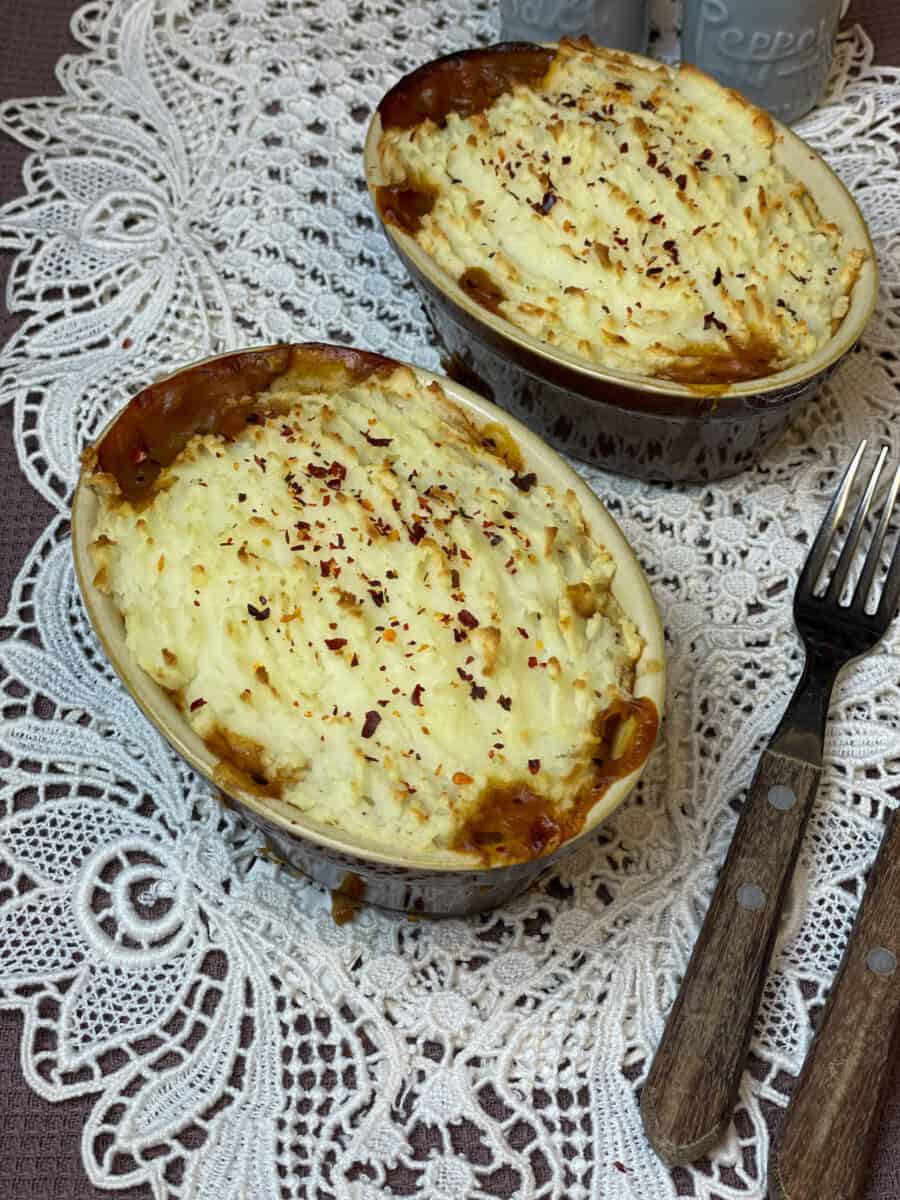
1. Mashed vegetable or potato topping: such as mashed potatoes, sweet potatoes, turnips, swede [rutabaga], celeriac, parsnip, carrot, or cauliflower. A mixture of several vegetables makes a delicious mash such as this Wartime British Champ recipe. For an easy method for preparing mashed potatoes have a look at our Vegetable Hotpot recipe. For a fancier topping you can add the mashed veggies to a piping bag and pipe on the filling.
2. Grated root vegetable or rosti topping: For an unusual topping grate a carrot, parsnip, sweet potato, potato, etc any combination of root vegetables and mix with 1-2 tablespoons of melted vegan butter or a tablespoon of oil, salt and pepper, and any seasonings you like. Scatter over the pie filling and cook until crisp and golden.
2. A cooked polenta topping: add cooked polenta flavoured with herbs, spices, nutritional yeast flakes or grated vegan cheese. Preparing the polenta with vegetable broth adds extra flavour. Bake as per the pie recipe but keep an eye on the polenta as it may take less time to bake.
3. A crumble or au gratin topping: mix home-made breadcrumbs or crushed cornflakes, with herbs, spices, perhaps some chopped nuts or seeds, nutritional yeast flakes, grated vegan cheese, salt and pepper, etc. A few tablespoons of melted or soft vegan butter can be drizzled or dotted over the topping, or use an olive oil spray, as this can help the topping crisp up as it bakes. Sprinkle the topping over the pie filling and bake until golden and crisp. Have a look at our Vegetables Au Gratin recipe which uses a topping prepared with cornflakes, walnuts, and nutritional yeast flakes, and our Chickpea 'tuna' and Potato Mornay which has a nutritional yeast flakes and breadcrumb topping.
If you do replace the pastry with an alternative topping then do adjust the baking times as different toppings will likely cook at different times. In general when a topping is hot, soft but crisp, and golden, its cooked enough.
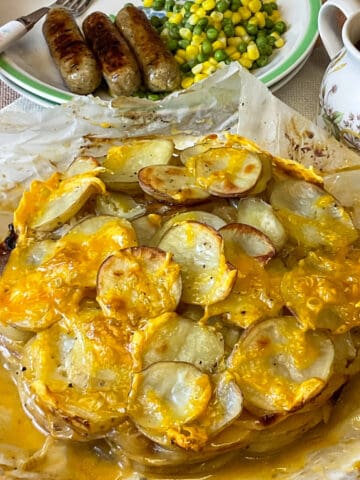
Yes, a scalloped potato or thin slices of potato arranged on top of a creamy pie filling is a delicious pastry alternative and transforms the pie into a British Hotpot! Other root veggies can also be used instead or along with potatoes such as thin slices of sweet potato, parsnip, turnip, swede, or celeriac.
Here is an easy guide to preparing a scalloped potatoes topping for a vegan chicken pie:
Ingredients:
* Potatoes, thinly sliced, a mandolin can be used but its not essential
* Vegan butter or olive oil
* Salt and pepper, to taste
* Optional: grated vegan cheese, garlic powder, nutritional yeast flakes, and herbs like rosemary, thyme, or paprika for added flavour
* Plant-based milk or cream
* Instructions:
1. Pre-cooking the potatoes (optional but recommended): In a pot, bring some salted water to a boil. Add the thinly sliced potatoes and cook for about 2-3 minutes. This will ensure they are partially cooked and will finish cooking in the oven. Drain and set aside being carefully not to break the pieces up.
2. Layering: After you've added your vegan chicken pie filling to the pie dish, begin layering the thinly sliced potatoes on top. Overlap them slightly, creating a nice pattern, similar to fish scales, as you go. Depending on the depth of your pie, you can have multiple layers of potatoes or just one.
3. Seasoning: Between layers (if you have multiple layers) or on top, sprinkle some salt, pepper, and any optional herbs or spices. Drizzle a little vegan butter or olive oil over the potatoes. If you want a richer taste, you can sprinkle some vegan cheese or nutritional yeast between layers or on top. Instead of oil or butter you can use about a tablespoon of white miso paste with 1-2 tablespoons of water whisked through, and use this to brush over the potatoes for extra savoury flavour.
4. Baking: Bake as per your pie's instructions. The potatoes should turn golden brown and crispy on the edges. If you notice the potatoes starting to brown too quickly while baking, you can cover the pie with some aluminum foil and continue baking until the potatoes are soft, with golden and crispy bits.
5. Serving: Let the pie sit for a few minutes before serving to allow the bubbling pie filling to settle.
For additional guidance and a photo of a scalloped potato topping have a look at our Vegan Traditional Lancashire Hotpot recipe.
Absolutely, its easy to prepare vegan chicken pie as safe for gluten-free diets with a few modifications.
Such as use a gluten-free flour blend instead of plain or all-purpose flour, select gluten-free vegan chicken chunks or use an alternative such as butter beans, also ensure that your seasonings and vegan stock or broth are also gluten-free, and check that the white wine vinegar, and vegan cream if using, are also gluten-free.
Finally, for the pastry topping use a gluten-free shop bought puff pastry or other gluten-free pastry. For instance, in the UK Jus-Roll have a gluten-free puff pastry sheet available in Sainsburys and Tesco's.
Alternatively prepare your own gluten-free pastry topping, such as one of the puff pastry recipes from coeliac.org.uk but replacing the butter with a vegan butter.
Or go with one of the pastry alternative suggestions above such as scalloped potatoes, mashed veggies, or a crumble topping.
Yes, the vegan chicken pieces or chunks provide a meaty texture and flavour that many people enjoy as it reminds them of their traditional favourite and familiar dinners but not everyone likes meat alternatives and happily these can be easily replaced. Try one of the following alternatives:
1. Cooked butterbeans, haricot [navy] beans, cannellini beans: These have a creamy texture that works well in pies and they can be a straight swap for vegan chicken pieces.
2. Cooked chickpeas or garbanzo beans: These offer a firmer texture and can be used whole or slightly mashed.
3. Cooked lentils: Especially whole green, brown or black lentils, as they retain their shape well when cooked and they add a nice texture and are a great source of protein. Have a look at our Vegan Meatloaf recipe as it has an easy method for cooking green lentils.
4. Tofu, tempeh, or seitan: these can be sliced into small chunks and used the same as the vegan chicken pieces. Using a vegan 'chicken' flavour stock or broth while preparing the pie filling will provide a chicken-y flavour to the pie filling. A tip is to freeze a block of firm tofu, and then thaw it out before pressing it to remove excess liquid before using it in a recipe, as the freezing increases the meaty texture of the tofu.
5. Jackfruit: Drain a can of jackfruit, and use two cutlery forks to pull the fibres of the jackfruit pieces apart before adding to the recipe. Jackfruit has a meaty, stringy texture that resembles chicken pieces. It doesn't have much flavour but it will absorb the tasty pie filling flavours.
6. Soy curls or TVP chunks: rehydrate these and use the same as the vegan chicken pieces in the pie recipe. Using a vegan 'chicken' flavoured broth or stock to soak the dried chunks will give more chicken flavour to the vegan chicken pie.
7. Extra mushrooms: such as shitake, Portobello, flat mushrooms or king oysters can be sliced and used instead of vegan meat alternatives. These types of mushrooms have a meaty texture and lovely umami flavours.
8. Extra vegetables: Instead of vegan chunks simply add extra vegetables such as small bitesize florets of cauliflower or broccoli.
9. Pearl barley: Peal barley can be pre-cooked and used instead of the vegan chunks and although the barley will not provide meaty textures it does have a mild pleasant flavour and contains useful nutrition. Cooked Farro or cooked rice can also be used.
10. Walnuts: For extra texture and nutrition especially if you like a crunchy nutty flavour, chopped walnuts could be added to the pie filling. Chopped cashews are also a nice addition and will add extra creamy flavours.
The potato provides extra heartiness to the pie filling as well as extra nutrition and a nice texture but it can be replaced if preferred. A few ideas are turnip, swede [rutabaga] chunks, parsnips, celeriac, cauliflower, broccoli, sweet potatoes, butternut squash, acorn squash, pumpkin, marrow, or courgette.
Yes, the mushrooms can be simply omitted and a different ingredient added or include more of the other vegetables. A few suggestions are small chunks of aubergine, sundried tomatoes, bell peppers, artichoke hearts, asparagus, green beans, peas, or for a different flavour combination try a few green or black olives.
See the questions and answers above for more substitution ideas as those suggestions can also replace the mushrooms.
A crisp green salad or steamed green veggies are the perfect accompaniment to a tasty veggie pie. Other sides include: gravy, a white sauce such as a parsley sauce or peppercorn sauce, mashed potatoes or mashed veggies, roast Brussel sprouts, asparagus, champ, potato chips, fries, or wedges, sweet potato fries, Boston baked beans, peas, baked beans in a tomato sauce, traditional British mushy peas, green beans, mangetout, sugar snap peas, corn cobs, pickled onions, pickled beetroot, cornbread, or quick dinner rolls.
Of course, the best way to prepare pie without requiring a rolling pin to roll out the pastry is to use ready-rolled shop-bought pastry! However, if you have simply misplaced your rolling pin or don't have one there are a few ways you can still roll out your pastry. Such as:
1.Wine bottle: If you have an empty (or even a full) wine bottle on hand, it can act as a makeshift rolling pin. Just make sure to clean the outside of the bottle before using it.
2. Canned or tinned foods: A can of soup, beans, or other pantry goods can be used to roll out dough, although it's smaller than a rolling pin, so it might take a bit more time, but it'll get the job done if your in a pinch.
3. Glass: A tall, smooth drinking glass can also serve as a rolling pin substitute. It might not cover as much surface area as a rolling pin, but it can help in flattening the dough.
4. Hands: If you have no other tools available, you can use your hands. It's best to press from the center of the dough outward, turning the dough frequently to get an even thickness. This method is more time-consuming and might not yield a perfectly even pastry, but it's doable.
5. Glass: A tall, smooth drinking glass can also serve as a rolling pin substitute. It might not cover as much surface area as a rolling pin, but it can help in flattening the dough.
6. Freezer bag method: For dough that needs to be rolled, you can place it between two large freezer bags or plastic wrap and then press it out using your hands, a book, or another flat surface.
When using these alternative methods, it's helpful to frequently check the dough's thickness to ensure it's even throughout. Also, using a little flour on your work surface, your rolling pin alternative, and the dough, as this will help prevent the pastry from sticking.
There are a few reasons why your pastry may not be cooking correctly and going a nice golden brown colour. Have a look at these issues and solutions:
1. Oven Temperature:
* Your oven might not be reaching the correct temperature or might be uneven in its heat distribution.
* So a solution is to use an oven thermometer to check the actual temperature inside the oven. If it's not accurate, adjust the temperature accordingly, and if you discover that your oven has hotspots consider rotating your pie during baking.
* You'll soon know if your oven has a hot spot as when baking, a certain side of the food may become too dark and if you have cooler spots parts of the food will be a lot lighter in colour than the rest.
2. Pastry Ingredients:
* The type and amount of fat in your pastry can affect its browning. For instance, some butters, margarines, and shortenings lead to a better golden brown crust whereas others lead to a lighter pastry.
* If you often encounter this issue consider adjusting your pastry recipe by using a different fat source, or trying a different shop-bought pastry.
3. Milk Wash:
* Brushing the top of your pastry with a simple milk wash helps achieve a golden-brown finish so if you omit the milk it could result in a lighter or pale crust.
* The solution is easy - brush your pastry with your usual milk! For the traditional golden pie finish an egg wash is normally used but for vegan and plant-based diets this is not an option, so a vegan pie may have a different golden finish but will still have an amazing golden colour all the same!
4. Baking Position in Oven:
* The position of the pie in the oven can also affect how it browns. If it's on an oven shelf that is too low and close to the bottom of the oven the pastry may not rise as well or become nice and golden, and if it's too high, the top might brown too fast and may even burn, leaving the under pastry crust unevenly baked.
* The solution is to use the middle rack of the oven or if the pie is not browning well then shift it to the rack that is under the top rack.
5. Baking Time:
* If the filling cooks faster than the crust can brown, you might end up with a pie that's done but looks pale, or if your filling is not cooked but the pastry is then you'll end up with a half-raw filling with the vegetables too crunchy!
* So the solution is to use a pie filling that is mostly cooked or just needs reheating in the oven, as this way the filling will heat up nicely while the pastry cooks to perfection.
* Also if the edges of the pastry are browning too much while the middle needs more time, the edges can be covered with aluminum foil so that they do not become burnt to a crisp!
6. Type of Pastry:
* Some pastries, especially those with higher fat contents, sugar-free recipes, gluten-free recipes, any pastry that is different from traditional pastry, might not brown as much.
* There may not be a solution for this especially if dietary needs dictate the need for a different pastry so you may just have to accept that the pastry will be lighter in colour. However, do follow all of the above suggestions, especially applying a milk wash, as these tips will help your pastry become as golden as it can!
7.Old Ingredients:
* If using a home-made pastry then ensure that your ingredients - flour, baking powder, or baking soda if used, are all in date as they can lose their effectiveness over time and may not produce the desired outcome.
*The solution is to ensure that your shop-bought pastry is not past its expiration date, and any ingredients that you use for home-made pastry are in date and fresh, as this way you'll achieve the best results.
The perfect pie is one that is home-made so is wonderfully homely and rustic looking. A nice golden crust with the odd darker bit of pastry for those who like the burnt bits! With the filling bubbling over the pie dish and likely making a nice mess in the oven! Bliss!
However, here are a few hints and tips for preparing the best home-baked pies:
1. Chill the Dough: For flaky pastry, especially pie crusts, make sure your dough is cold when you roll it out as this ensures that the fat, remains solid and forms pockets of air when baked, leading to a flaky texture.
2. Rest the Dough: If you home-made your dough, let it rest in the refrigerator for at least 30 minutes as this allows the gluten to relax, making it easier to roll out and resulting in a more tender crust.
15. Pie Pans: Consider using glass or dark metal pie pans for pies with a single bottom crust as these conduct heat well and can help in achieving a crispy crust. For pies with just a top crust any baking vessel, such as ceramic, enamel, glass, metal, will work as long as its oven proof to the baking temperature. Even a deep ovenproof serving plate can work if your in a pinch.
3. Blind Bake: If your adding a bottom layer of pastry to your pie its a good practice to blind baking (pre-baking) the crust as this will help prevent a soggy bottom. However, not all pies require a bottom crust and our vegan chicken pie is prepared with just a top crust, but of course a bottom crust can be added.
4. Baking Beans: If you do add a bottom crust, before blind baking cover the crust with a piece of parchment paper or aluminium foil and add baking beans or ordinary dried pulses or rice, so that the pastry can not puff up during baking. Pricking the pastry base all over with a cutlery fork, before blind baking, also helps prevent it from rising too much.
5. Avoid Overworking: Handle pie dough as little as possible to prevent developing too much gluten, as this can result in a tough pastry crust.
6. Use Fresh Ingredients: use the freshest ingredients available for the best flavour and texture, however even the saddest looking vegetable in the refrigerator can be brought back to life in a delicious veggie pie, as long as there is no mould!
7. Taste Your Filling: Before adding your filling to the crust, taste it to make sure the seasonings are just right, and add salt and pepper if not.
8. Add a Dash of Acid: A touch of acid (like a squeeze of lemon juice in an apple pie) can help to balance the flavours and brighten the overall taste of the pie. We use white wine vinegar in our vegan chicken pie recipe and it brightens up the creamy sauce beautifully.
9. Milk Wash: Brush the top crust with plant-based milk so that the pastry becomes golden during baking.
10. Ventilation: For pies with a top crust, be sure to cut slits in it as this allows steam to escape that builds up during baking.
11. Temperature: Always follow the recipes stated cooking times and oven temperatures as this will usually ensure your pie cooks as it should. However, its also a good idea to look at the cooking directions for any shop-bought pastry that you may use encase the cooking times and temperatures need to be adjusted.
12. Protect the Edges: The edges of pies can burn before the center is done so if it looks like your edges are getting overbrown you can protect them by wrapping them in aluminum foil or using a pie shield. However, many people love the burnt crispy edges of the pastry!
13. Cool Properly: Most savoury pies benefit from cooling for at least 2-3 minutes before cutting as this helps the filling set and makes for cleaner slices.
14. Understand Your Oven: Every oven is slightly different so get to know your oven's quirks such as does it have hot spots? Does it run hot or cold? Once you have baked a few dishes within your particular oven you'll quickly understand if it has any quirks and then you can adjust your baking accordingly.
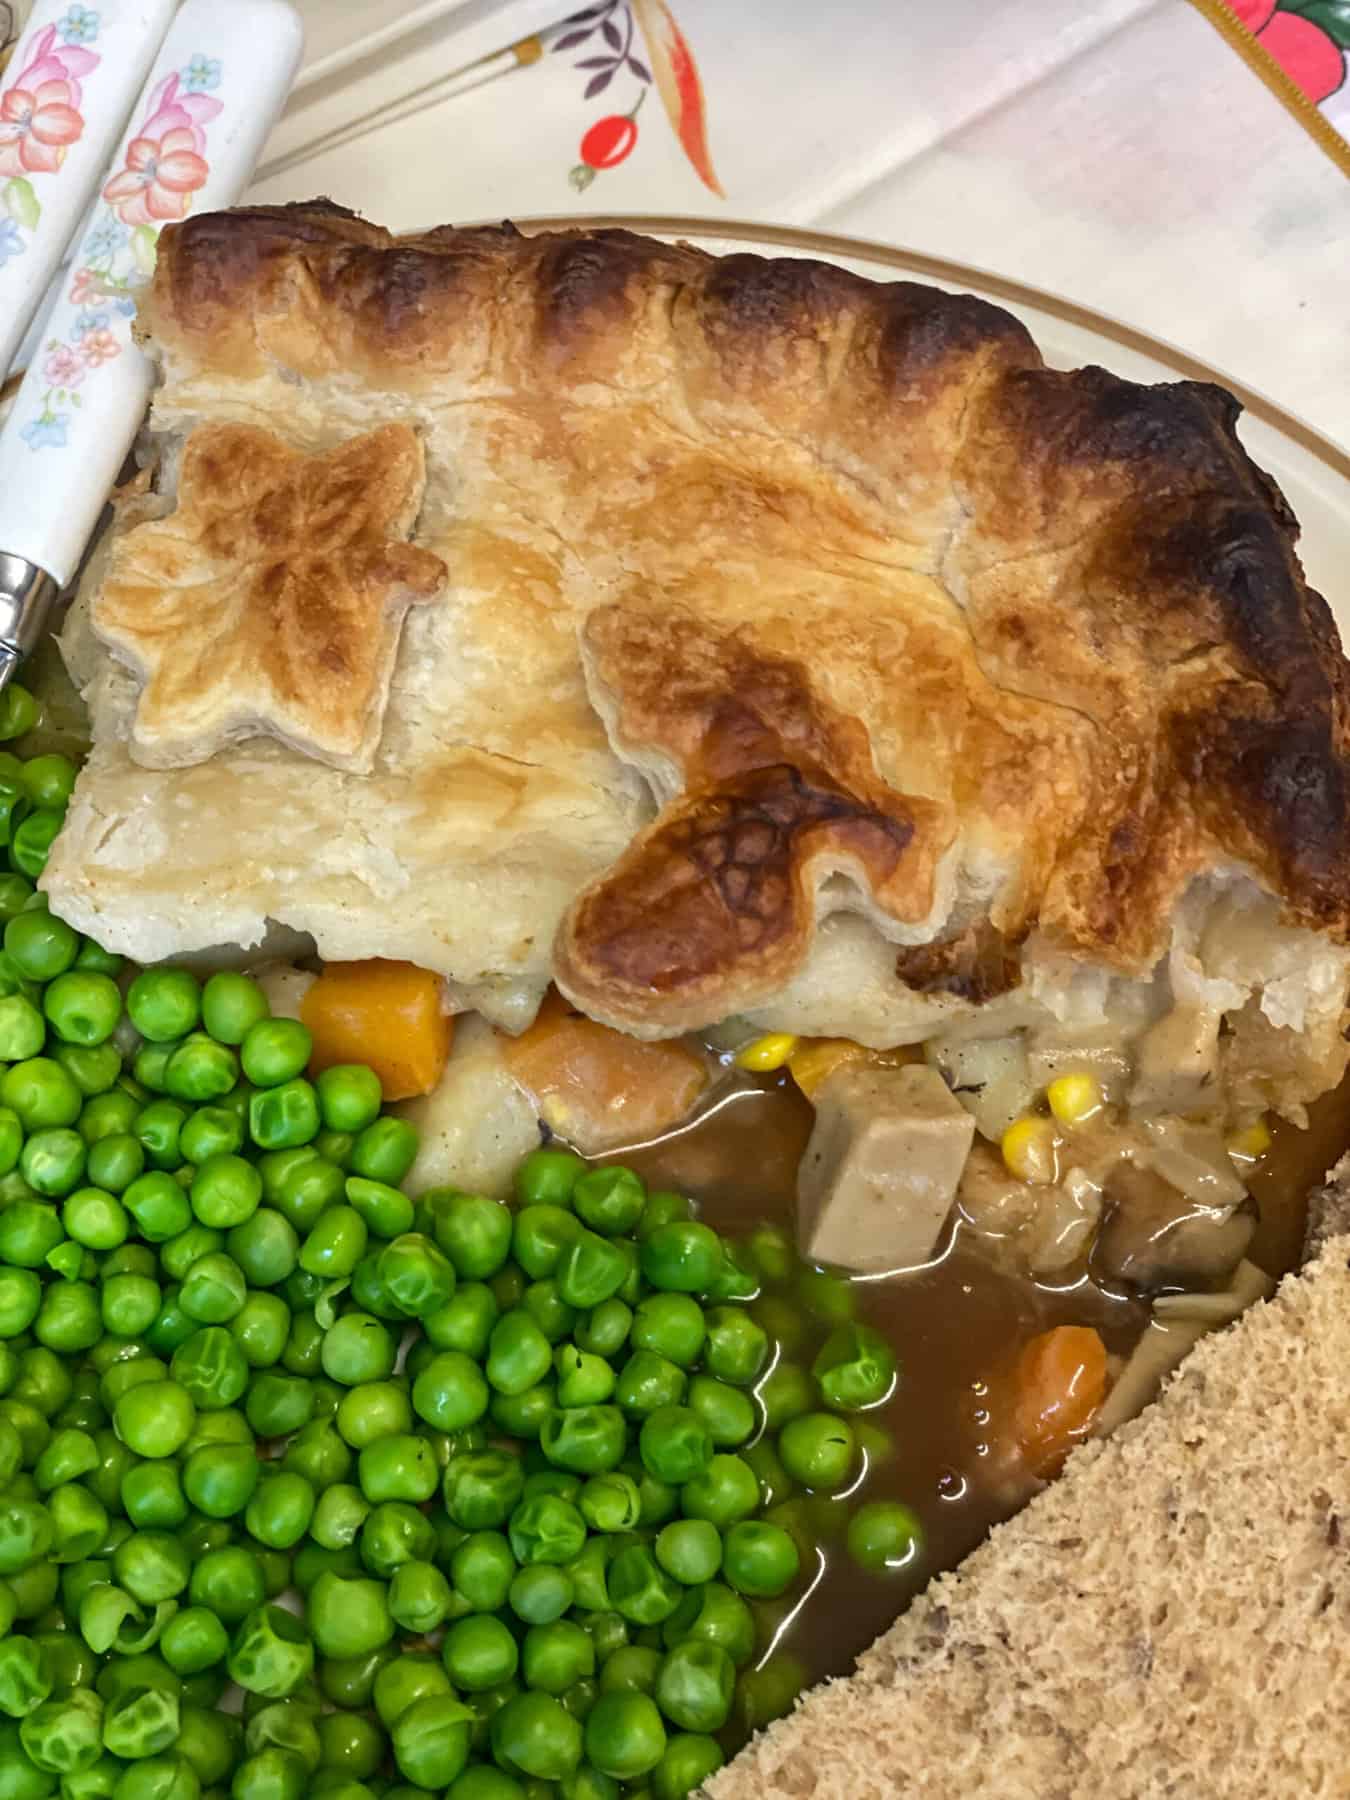
More vegan pie recipes
My family loves all things pies! Pies with just a top pastry crust, or a double crust pot pie, or mashed potato or mashed veggie toppings, pies with an au gratin or crumble topping, open pies, tarts, or flans. As long as the pies are packed with delicious veggie ingredients such as vegetables, lentils, beans, tofu, TVP, vegan meat alternatives, herbs, spices, fruits, or anything edible from a plant!
For more tasty traditional dinner recipes do check out our Vegan Pies, Hotpot, and Gratin recipe collection for some pie inspiration and ideas. More pie recipes are always being added but if you would like to see a particular vegan pie recipe then please do get in touch and request a recipe!
***please note: for US measurements click the 'US customary button' within the recipe and the measurements will switch to tablespoons, cups, and ounces.***
📖 Recipe
Vegan Chicken Pie
Equipment
- Large Saucepan with a lid [for pre-cooking potato, carrot, and cabbage]
- large skillet or deep fry pan or similar [for cooking pie filling]
- Rolling pin
- large pie dish [large enough for 4-6 servings, if using a 4 servings dish also use 2 smaller 1 serve pie dishes]. Instead use 8 ramekins for 8 individual mini pies] * see recipe notes below for sizing*
Ingredients
Pastry:
- 500 gram puff pastry [you may not require all the pastry so the excess can be frozen]
Precook:
- 350 grams new potatoes [sliced into bitesize chunks]
- 130 grams carrot [sliced into ½-¾ inch chunks]
- 70 grams cabbage [sliced into bitesize chunks]
Filling:
- 2 tablespoon vegan butter [or replace with ¼ cup veggie stock and use more as required]
- 130 grams onion [rough chopped]
- 160 grams leek [sliced]
- 100 grams chestnut mushrooms [sliced into small pieces]
- 170 grams vegan chicken pieces [or a drained 400g/14oz can of butterbeans]
- 115 grams sweetcorn [fresh, frozen, or canned]
- 2 teaspoons garlic powder [or garlic granules]
- 2 teaspoons poultry [chicken] seasoning mix [use a vegan-friendly mix, or replace with dried herbs, or fresh thyme leaves removed from a few sprigs, and a teaspoon of paprika]
- 2 tablespoon plain flour [all-purpose flour or use gluten-free plain flour, plus extra to dust work surface]
- 1 tablespoon white wine vinegar
- 300 millilitres plant-based milk [plus a little extra milk to glaze the finished pie]
- 400 millilitres vegan chicken stock [we used 2 meat free OXO chicken stock cubes, or replace with vegetable stock]
Optional:
- 6 tablespoons vegan cream [to add to cooked pie filling]
Instructions
Precook veggies: [to save time leftover cooked vegetables could be used instead]
- Add the cabbage, potatoes, and carrots to a saucepan and cover with water, not too much water just enough to cover. Pop a lid over the pan.350 grams new potatoes, 130 grams carrot, 70 grams cabbage
- Bring to the boil, lower the heat to medium, and cook for about 10 minutes or until the veggies are soft. Don't let the pan boil dry.
- Once the veggies are soft, drain the cooking liquid but keep it and use it to make up the vegetable stock if using stock cubes or powder. Set the vegetables aside while the filling is prepared.
Prepare the pie filling: [to save time the filling can be prepared in advance]
- Melt the butter in a pan and over a medium heat cook the onions for 3 minutes, stir frequently.*[If using veggie stock instead of butter simply bring the stock to a gentle boil, and add a little more water or stock as required to prevent the pan drying out].*2 tablespoon vegan butter, 130 grams onion
- Next add the leek and cook for a further 2 minutes, stir every now and again.160 grams leek
- Add the mushrooms and cook for 2 minutes, stirring a few times.100 grams chestnut mushrooms
- Next, add the vegan chicken pieces, or an alternative such as cooked butterbeans or haricot beans, and the sweetcorn. If using frozen sweetcorn it can be added still frozen. Cook for 2 minutes, stirring a few times.170 grams vegan chicken pieces, 115 grams sweetcorn
- Stir through the garlic powder, vegan-friendly poultry seasoning mix, and a few pinches of salt and pepper.2 teaspoons garlic powder, 2 teaspoons poultry [chicken] seasoning mix
- Add the flour and mix it through until it looks like it has disappeared.2 tablespoon plain flour
- Pour in the milk, vegan chicken stock, and white wine vinegar, and stir well to combine.1 tablespoon white wine vinegar, 400 millilitres vegan chicken stock, 300 millilitres plant-based milk
- Add the cooked potato, carrot, and cabbage and over a high heat bring to the boil.
- Reduce the heat to medium and simmer the sauce for 5 minutes until its nice and thick. The sauce will thicken more once off the heat and cooling. Check the seasoning and add salt and pepper to taste.Set the filling aside off the heat to cool for at least 30 minutes.
- With some vegan butter or margarine grease the pie dishes and add the filling to the pie dishes.If using vegan cream add a tablespoon per person so for a 4 serving pie dish add 4 tablespoons and individual dishes add 1 tablespoon, although for extra creaminess you can always add a little extra.6 tablespoons vegan cream
Prepare the pastry: [while the filling cools the pastry can be prepared] Also, if preferred the pie can be assembled and then placed into the refrigerator to be baked later.
- Preheat the oven to 180Fan, 200C, Fahrenheit 375, Gas 5,
- If your puff pastry comes already rolled, place it on a floured work surface and cut a long thin piece of pastry big enough to be pressed on to the rim of your pie dishes. This will be the pastry rim where you can attach on the pastry topping.[If pastry is not pre-rolled, roll it using a rolling pin, into a piece large enough to cover your pie dishes. Dust your work surface with flour as well as the rolling pin so that the pastry does not stick as its rolled.]500 gram puff pastry
- Press the long snake like piece of pastry on top of the edge of the pie dish, and brush the rim with some milk.
- Cut the remaining pastry into a pastry top a little wider than your pie dish rim. Cover the pie with the pastry pressing the edges into the rim by using your fingertips to seal the pie. [You can use your thumb and index finger to pinch a pattern around the edge or use a cutlery fork to press the edges together.]
- Brush the pastry with milk. and if liked use cookie or biscuit cutters to cut out little pastry images such as leaves, acorns, stars, etc. Add these to the top of the pastry and brush with some milk. Cut a small slit in the middle of the pastry to allow steam to escape as it bakes.
- Bake on the middle shelf for 35-40 minutes or until the filling is bubbling, and the pastry is golden and puffed up. Check fan ovens at the 30 minute mark just to see how the pie is going as fan ovens tend to cook faster. [Its also a good idea to have a look at your pastry packaging for directions as depending on your pastry it may require a different cooking temperature and for a different time.]
- Once the pie is baked its best to leave it to rest for a few minutes just to settle the filling as it will make it much easier to cut slices.*[A tip for slicing pie slices: cut a slice of pie and then remove the pastry top, spoon the filling on to a dinner plate and then pop the pastry lid back on.]*
Notes
- Nutritional data: This is provided for guidance only as it is not an exact calculation as ingredients vary.
- Pie dish sizing: We used a 4 serve pie dish that measured slightly larger than 10 x 8 x 2 inch [26 x 20 x 7 cm], and 2 individual pie dishes that were about 5-6 x 4 x 2 inches [15 x 11 x 5 cm]. For 8 smaller pie servings use 8 ramekins, with each ramekin measuring about - 3-4 inch diameter and 2 inch deep [9cm x 5cm].
- No pie dish pie: To prepare a pie with no pie dish, cook the rolled pastry on an oven baking tray or sheet [according to the package instructions], and once baked pop the pastry over hot pie filling directly onto each dinner plate. The pastry can be cut to the desired size before baking.
- Versatility: This vegan chicken pie is highly adaptable. Instead of vegan chicken pieces use cooked butterbeans or haricot beans, and sub any of the vegetables for what you have to hand or prefer.
- Leftover Vegetables: If you have leftover cooked veggies from another meal, they can be a great time-saver, just ensure they're roughly bite-sized and integrate them where the original recipe calls for the addition of the precooked veggies.
- Vegan Stock: We used 2 OXO meat free chicken stock cubes that are available in most UK supermarkets to prepare the vegan stock, a similar vegan chicken flavoured stock can be used or just ordinary vegetable stock.
- Puff Pastry: Instead of puff pastry use a shortcrust or filo pastry but do keep in mind that baking times may vary.
- Pastry Substitute: Mashed potatoes, or mashed swede [rutabaga], or other mashed veggie can replace the pastry, or go for a scalloped potato topping similar to a hotpot, or a crumble/gratin topping. See recipe notes and FAQs above the recipe for more information.
- Vegan Chicken Stew: Instead of a topping, thin the pie filling a little, if necessary, and enjoy the filling as a tasty vegan chicken stew.
- Pastry Decor: Using cookie or biscuit cutters for the pastry is a lovely way to make the pie look more homely and depending on the occasion (such as autumn or fall or winter holidays), themed shapes can add a festive touch.
- Baking: Since oven temperatures can vary, as well as pastry cooking times, it's always a good idea to keep an eye on your pie towards the end of the baking time. A golden-brown crust is a good indicator that it's ready.
- Storage: Leftover pie can be stored in an airtight container, or within the pie dish covered with a plate or kitchen foil, in the refrigerator for up to 3 days. Reheat in a warm oven as this will help retain the pastry's crispness compared to a microwave. Add a cover of kitchen foil to avoid the pastry becoming too dark as it reheats.
- Freezing: This pie is freezer-friendly. You can prepare it up to the point before baking, then wrap and freeze it. When ready to eat, bake from frozen or from chilled, adding about 10-15 extra minutes to the cooking time. Ensure the middle is piping hot and bubbling before serving.
- Check out the recipe notes and FAQ section, above the recipe for more useful substitution ideas, gluten-free pie ideas, as well as lots of information and tips for preparing the best veggie pie.
Nutrition
Prepared our tasty Vegan Chicken Pie? Do let us know how you got on with the recipe and click the star ratings. We love hearing from you so if you have any additional queries or questions about the recipe do pop us a comment below. Thanks so much, Jacq x


Leave a Reply